article
Let’s Make This Quick: Big Kitty
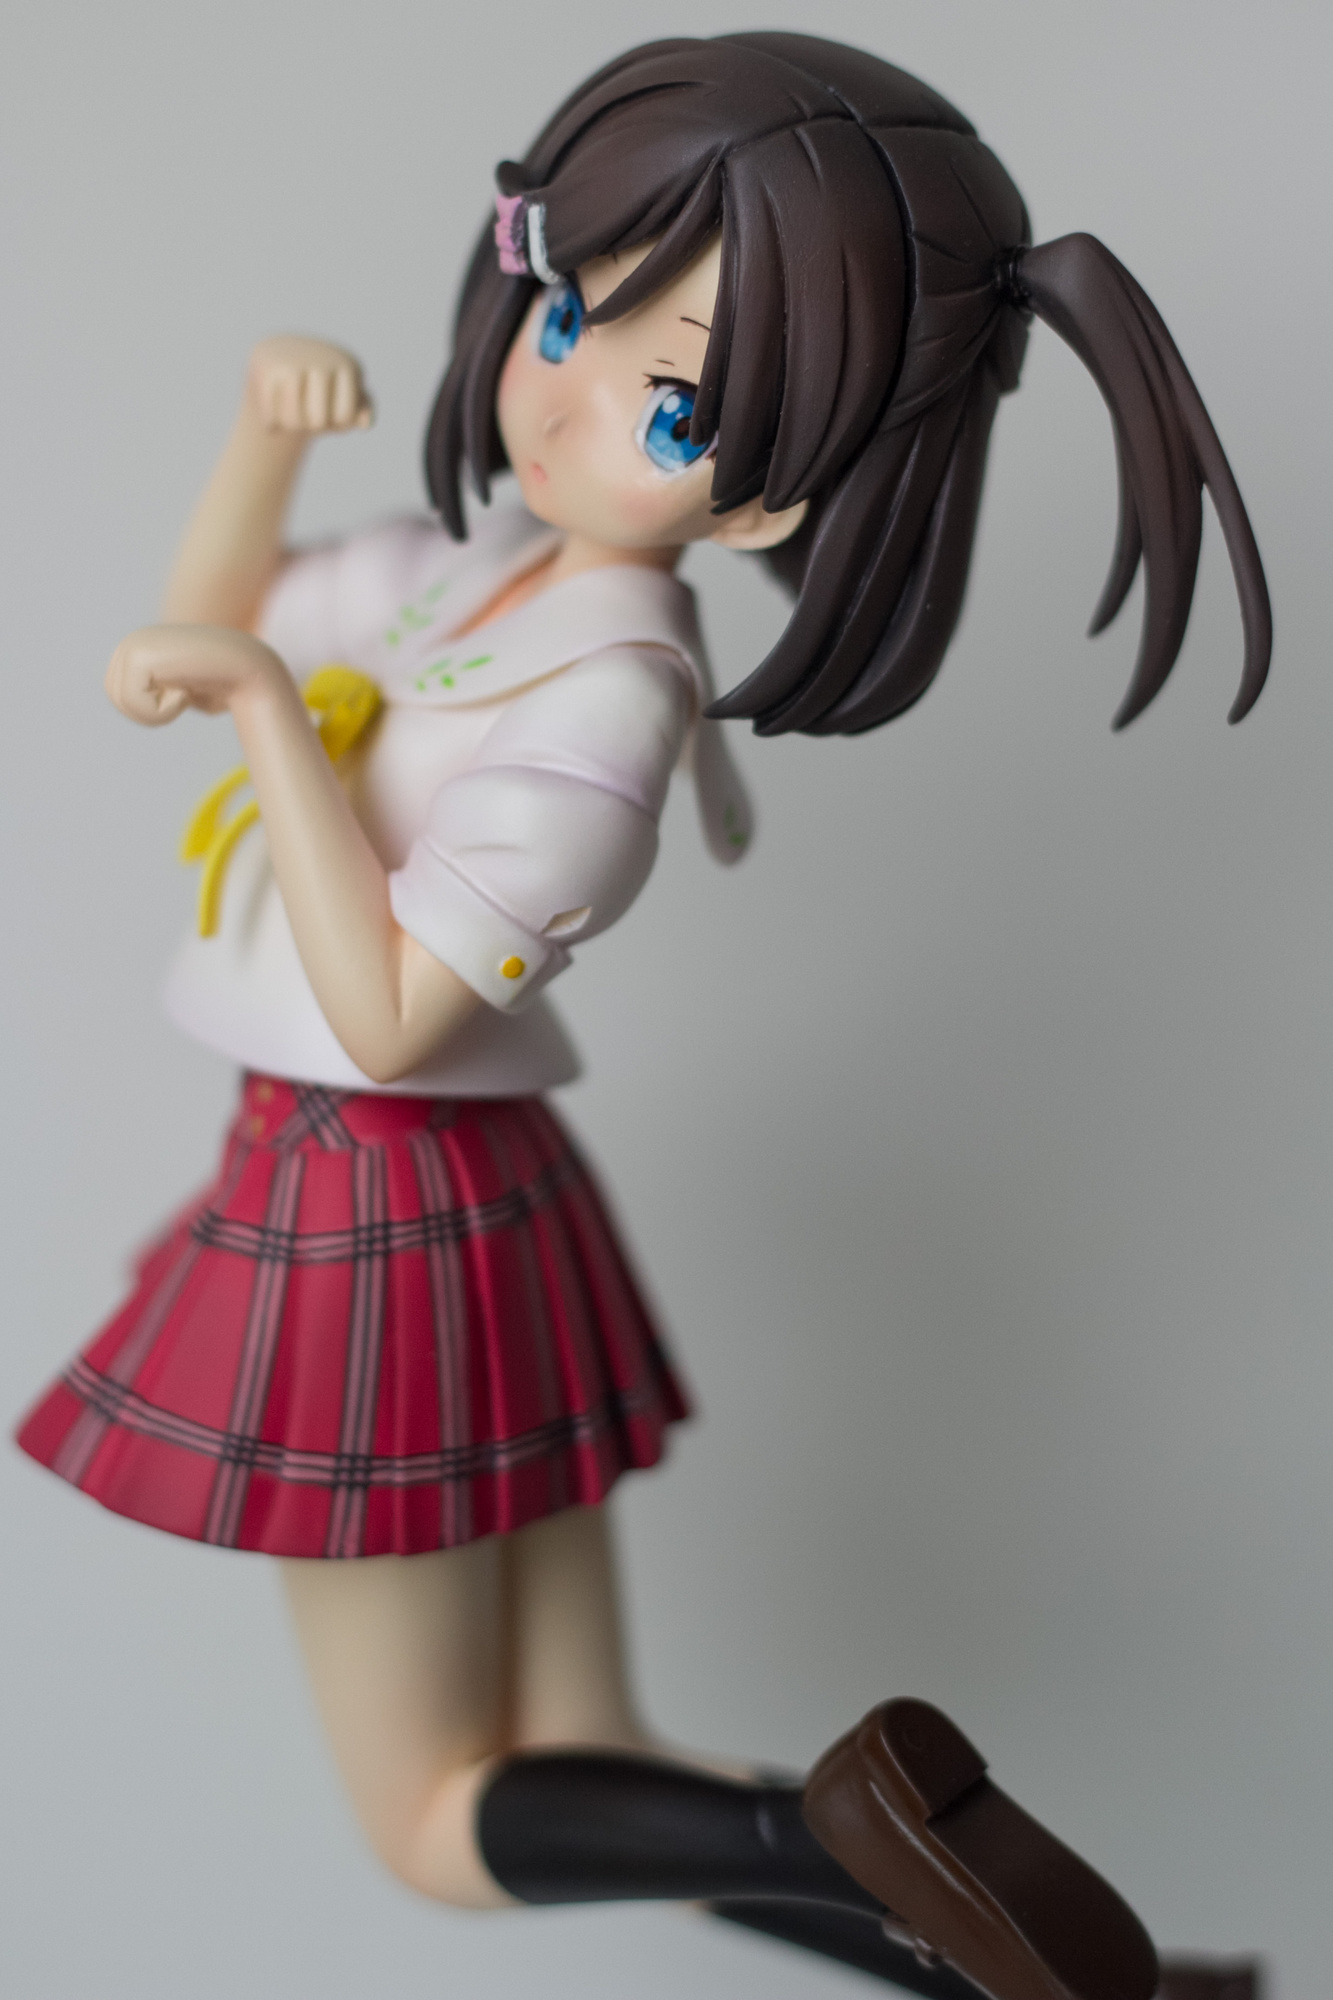
Hi, everyone! I seem to be posting awfully often lately—please forgive me. I’ll report on all my finished kits (only one left!) and then disappear into a six-month long build I hav...
Hi, everyone!
I seem to be posting awfully often lately—please forgive me. I’ll report on all my finished kits (only one left!) and then disappear into a six-month long build  I have this little compulsion to give every kit a concluding blog post. Whenever possible.
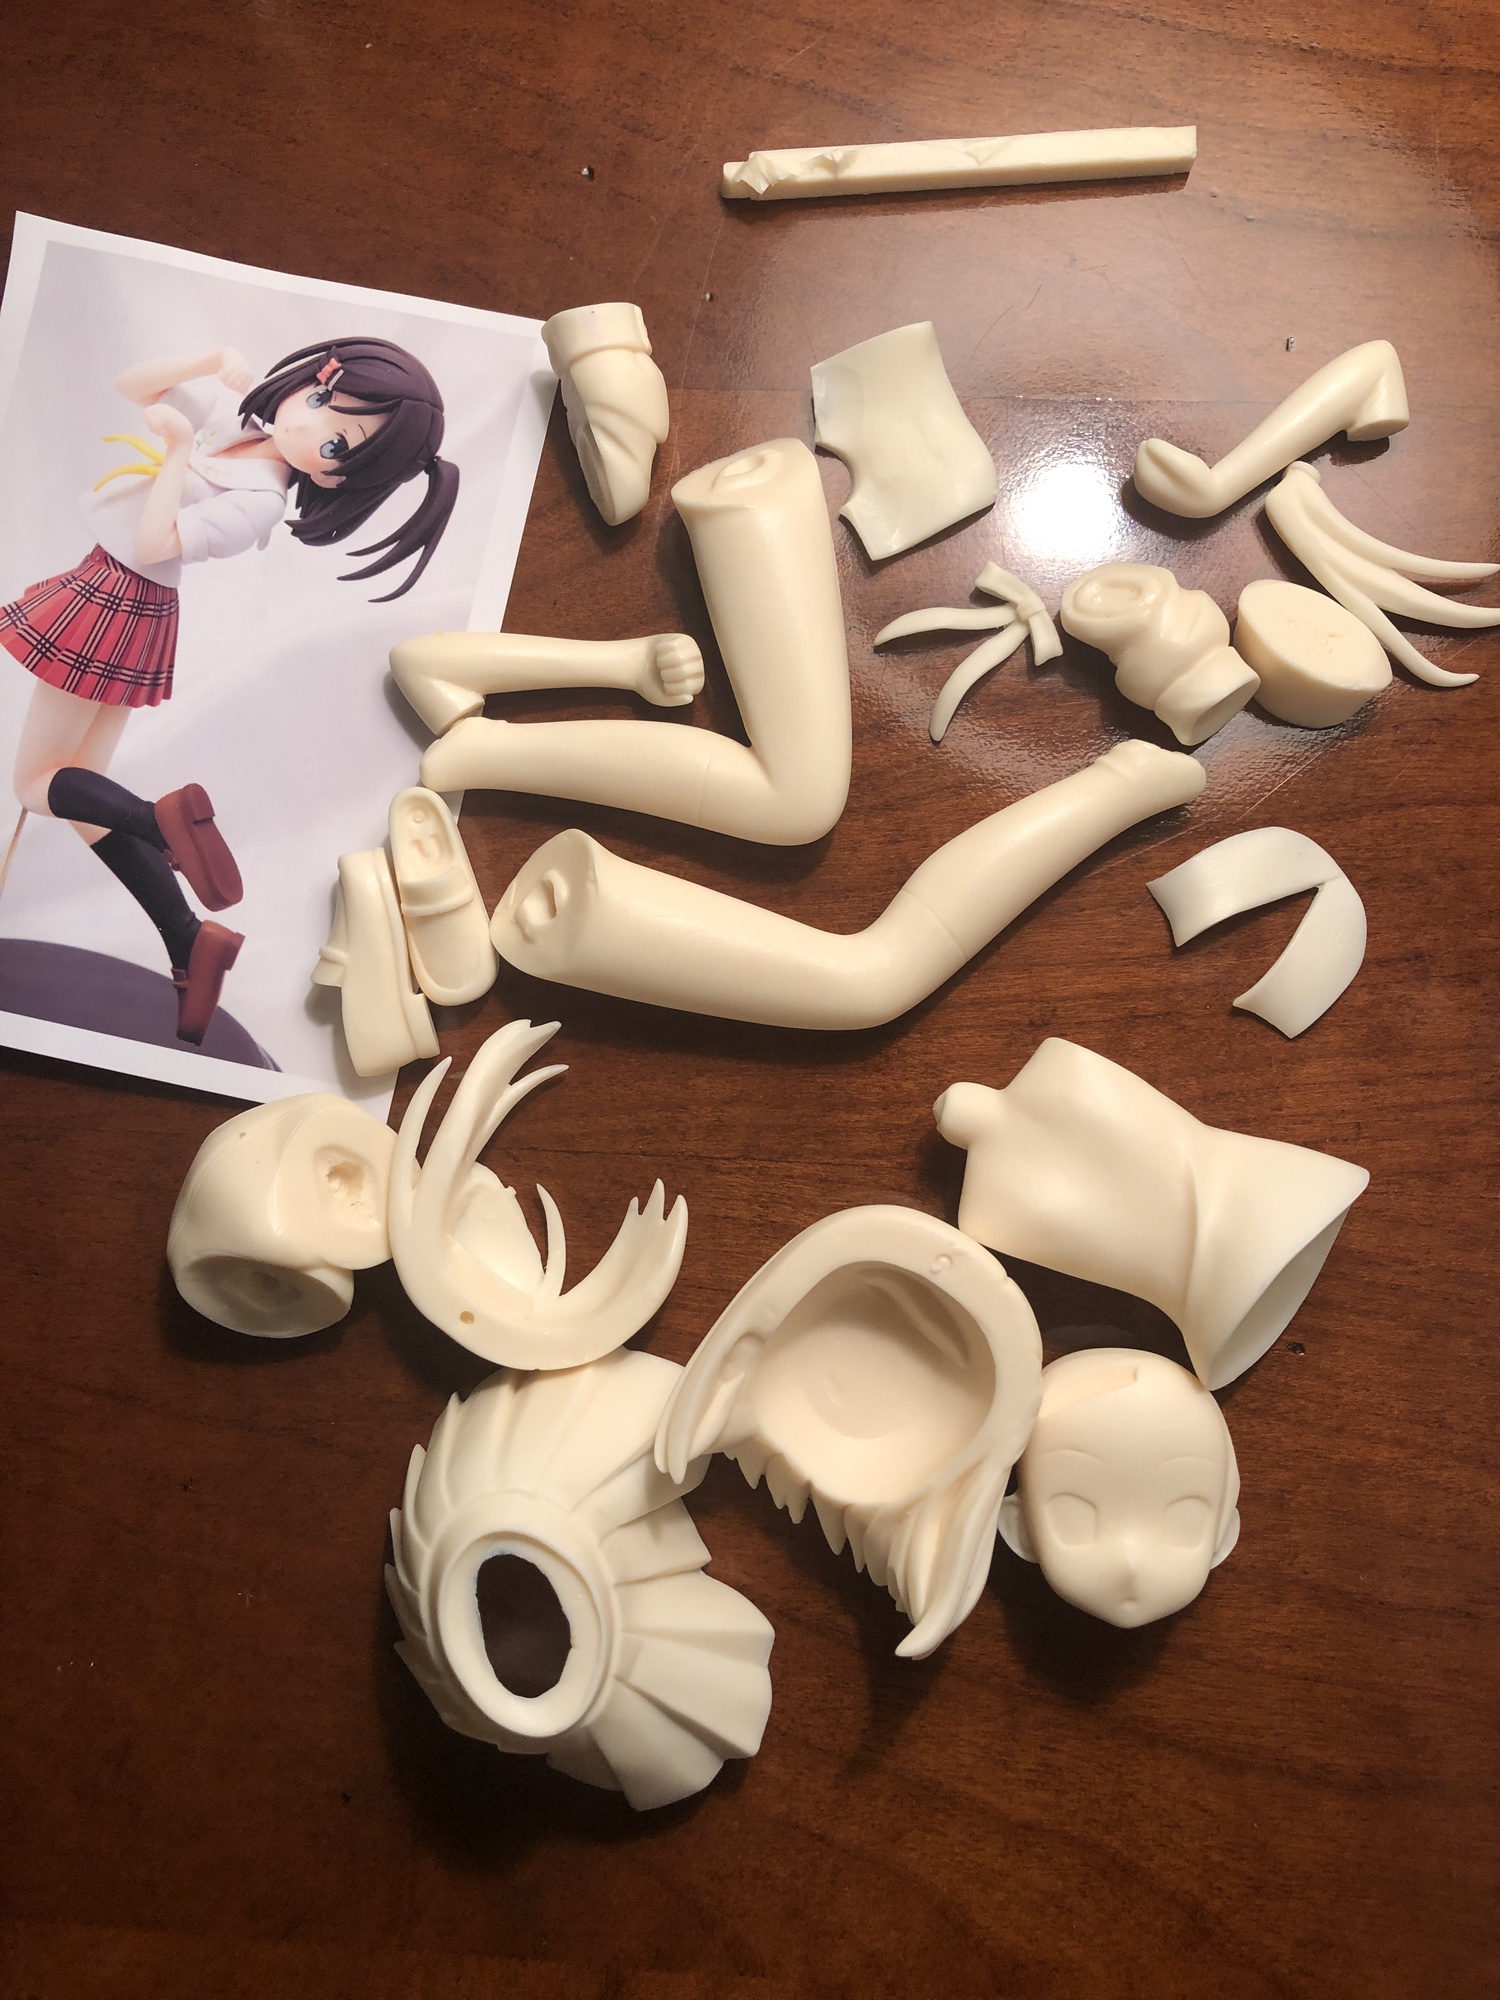
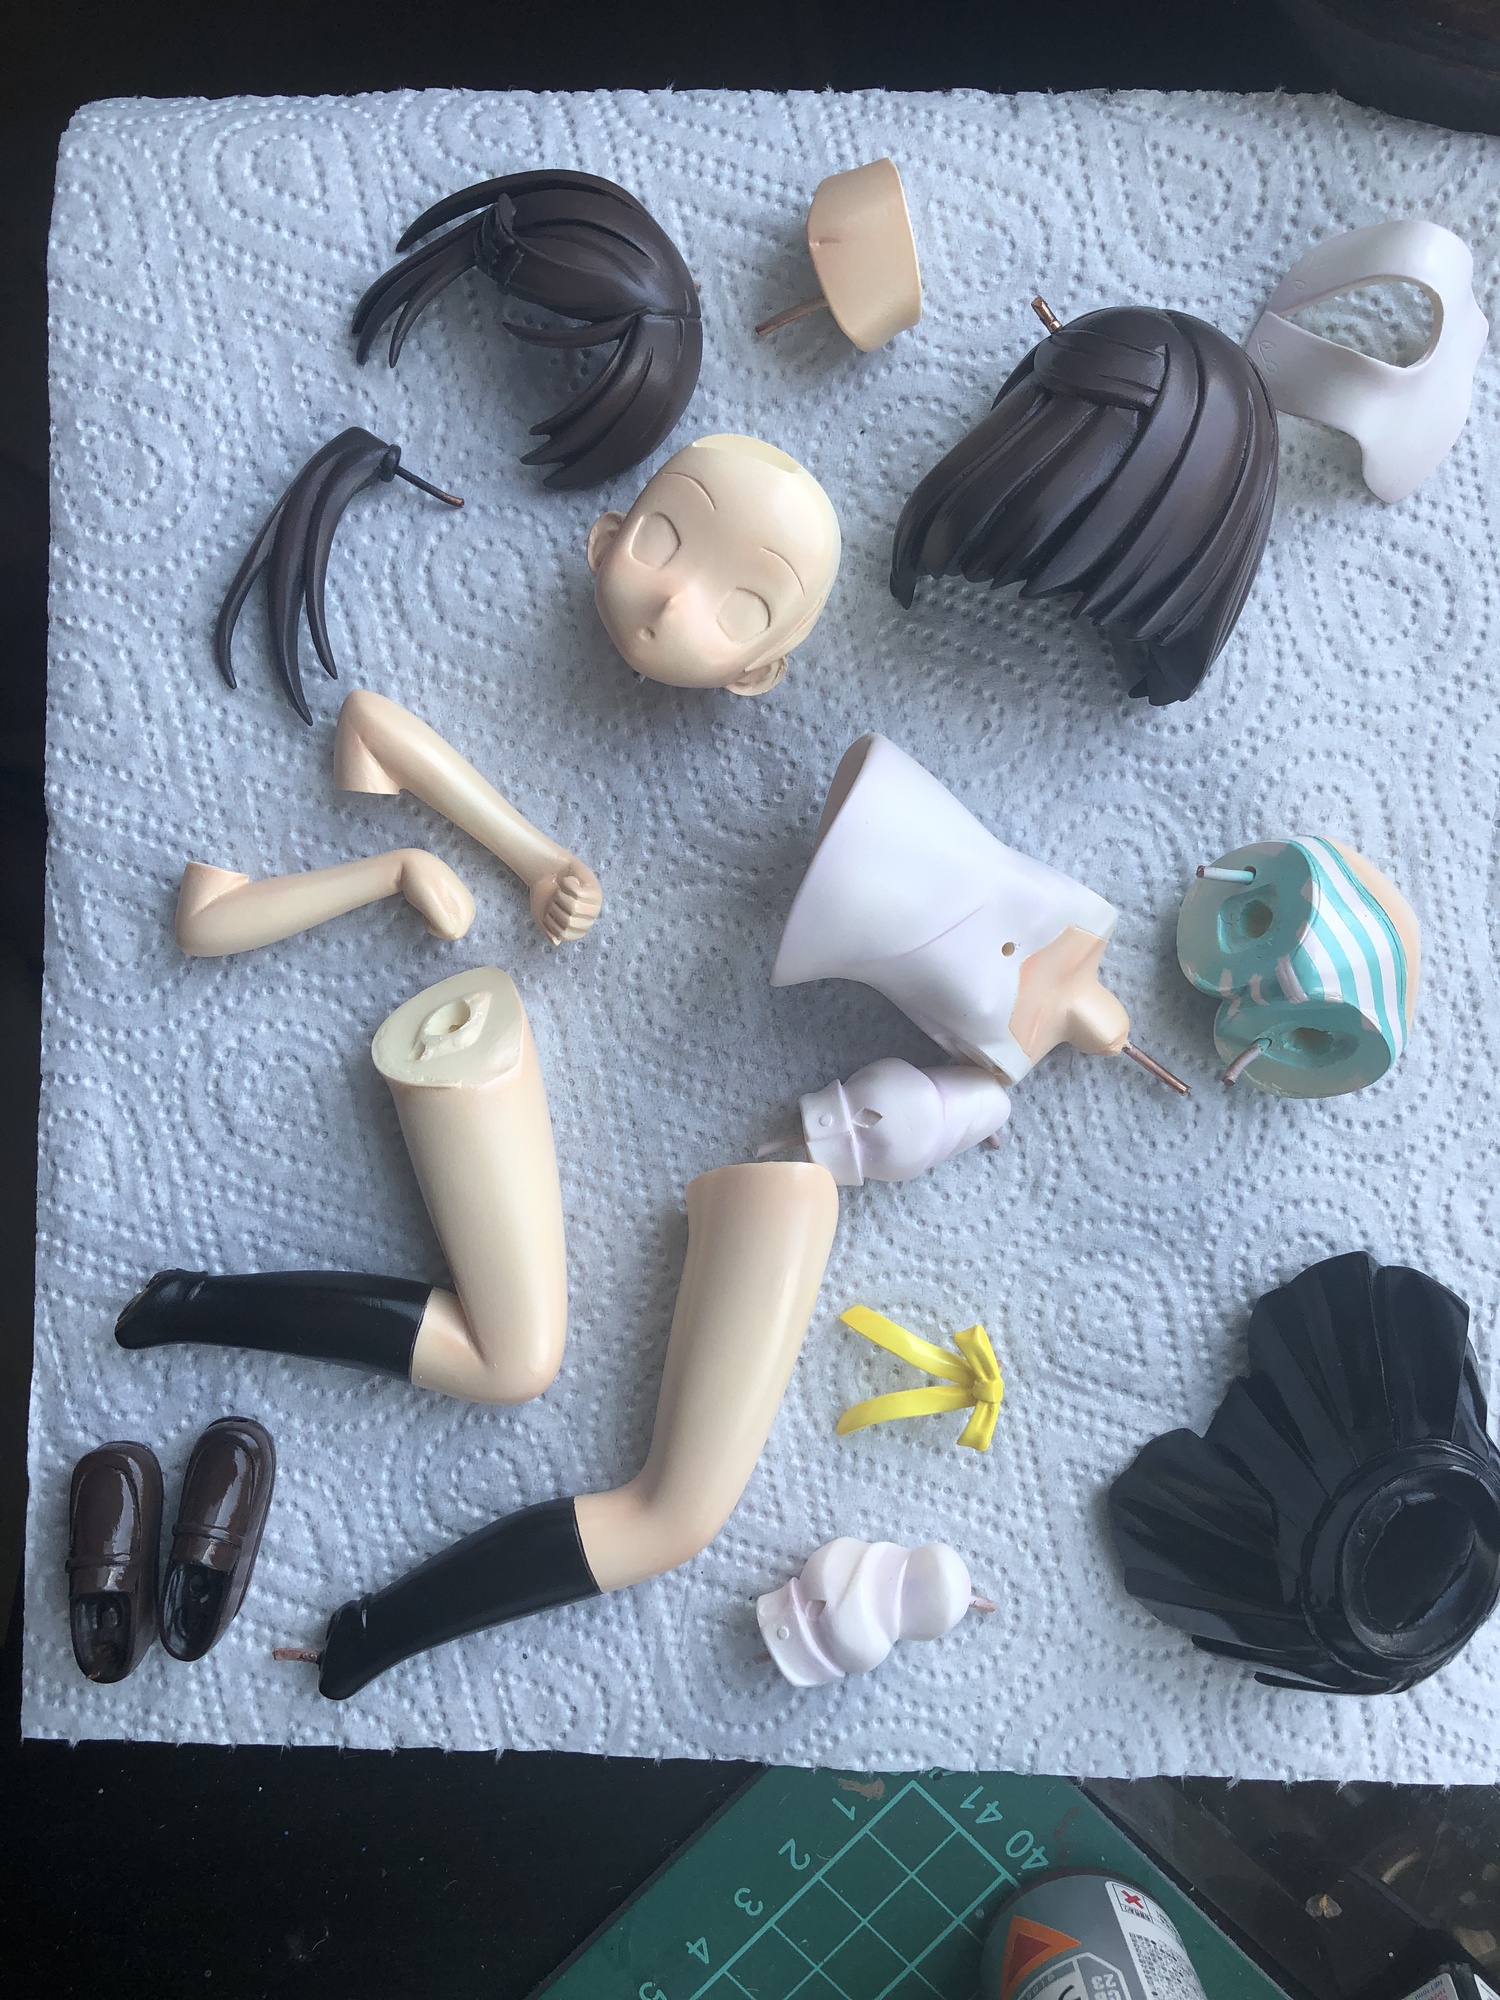
After finishing a kit for the E2046 contest, I really wanted to do something quick. A vacation was also looming on the horizon, outlining a kind of notional deadline. I started this kit on July 8 and finished it on August 3, which is incredibly fast, considering that I’m constantly traveling and rarely at home. Altogether, I probably spent two or three hours on it per day for about seven days ![How to Turn a Pile of Trash into a Real Heroine—or Even Two! [GK] - inline emoticon 26](/api/media/file/starsy-519089-025-emoticon.gif) This was the very first original kit I ever bought, from Mandarake a couple of years ago. At the time it seemed simple and ideal, as well as fairly large—1/6 scale. Well, there really were no problems with the parts fitting together, but the sheer number of seams left me discouraged, and the kit was abandoned to a long wait. At some point I took it to the dacha, and whenever I visited I’d sand it a little without any particular intention of actually working on it. Then, on July 8, I decided I needed something quick. And this kit caught my eye. Already sanded. The stars aligned.
This was the very first original kit I ever bought, from Mandarake a couple of years ago. At the time it seemed simple and ideal, as well as fairly large—1/6 scale. Well, there really were no problems with the parts fitting together, but the sheer number of seams left me discouraged, and the kit was abandoned to a long wait. At some point I took it to the dacha, and whenever I visited I’d sand it a little without any particular intention of actually working on it. Then, on July 8, I decided I needed something quick. And this kit caught my eye. Already sanded. The stars aligned.
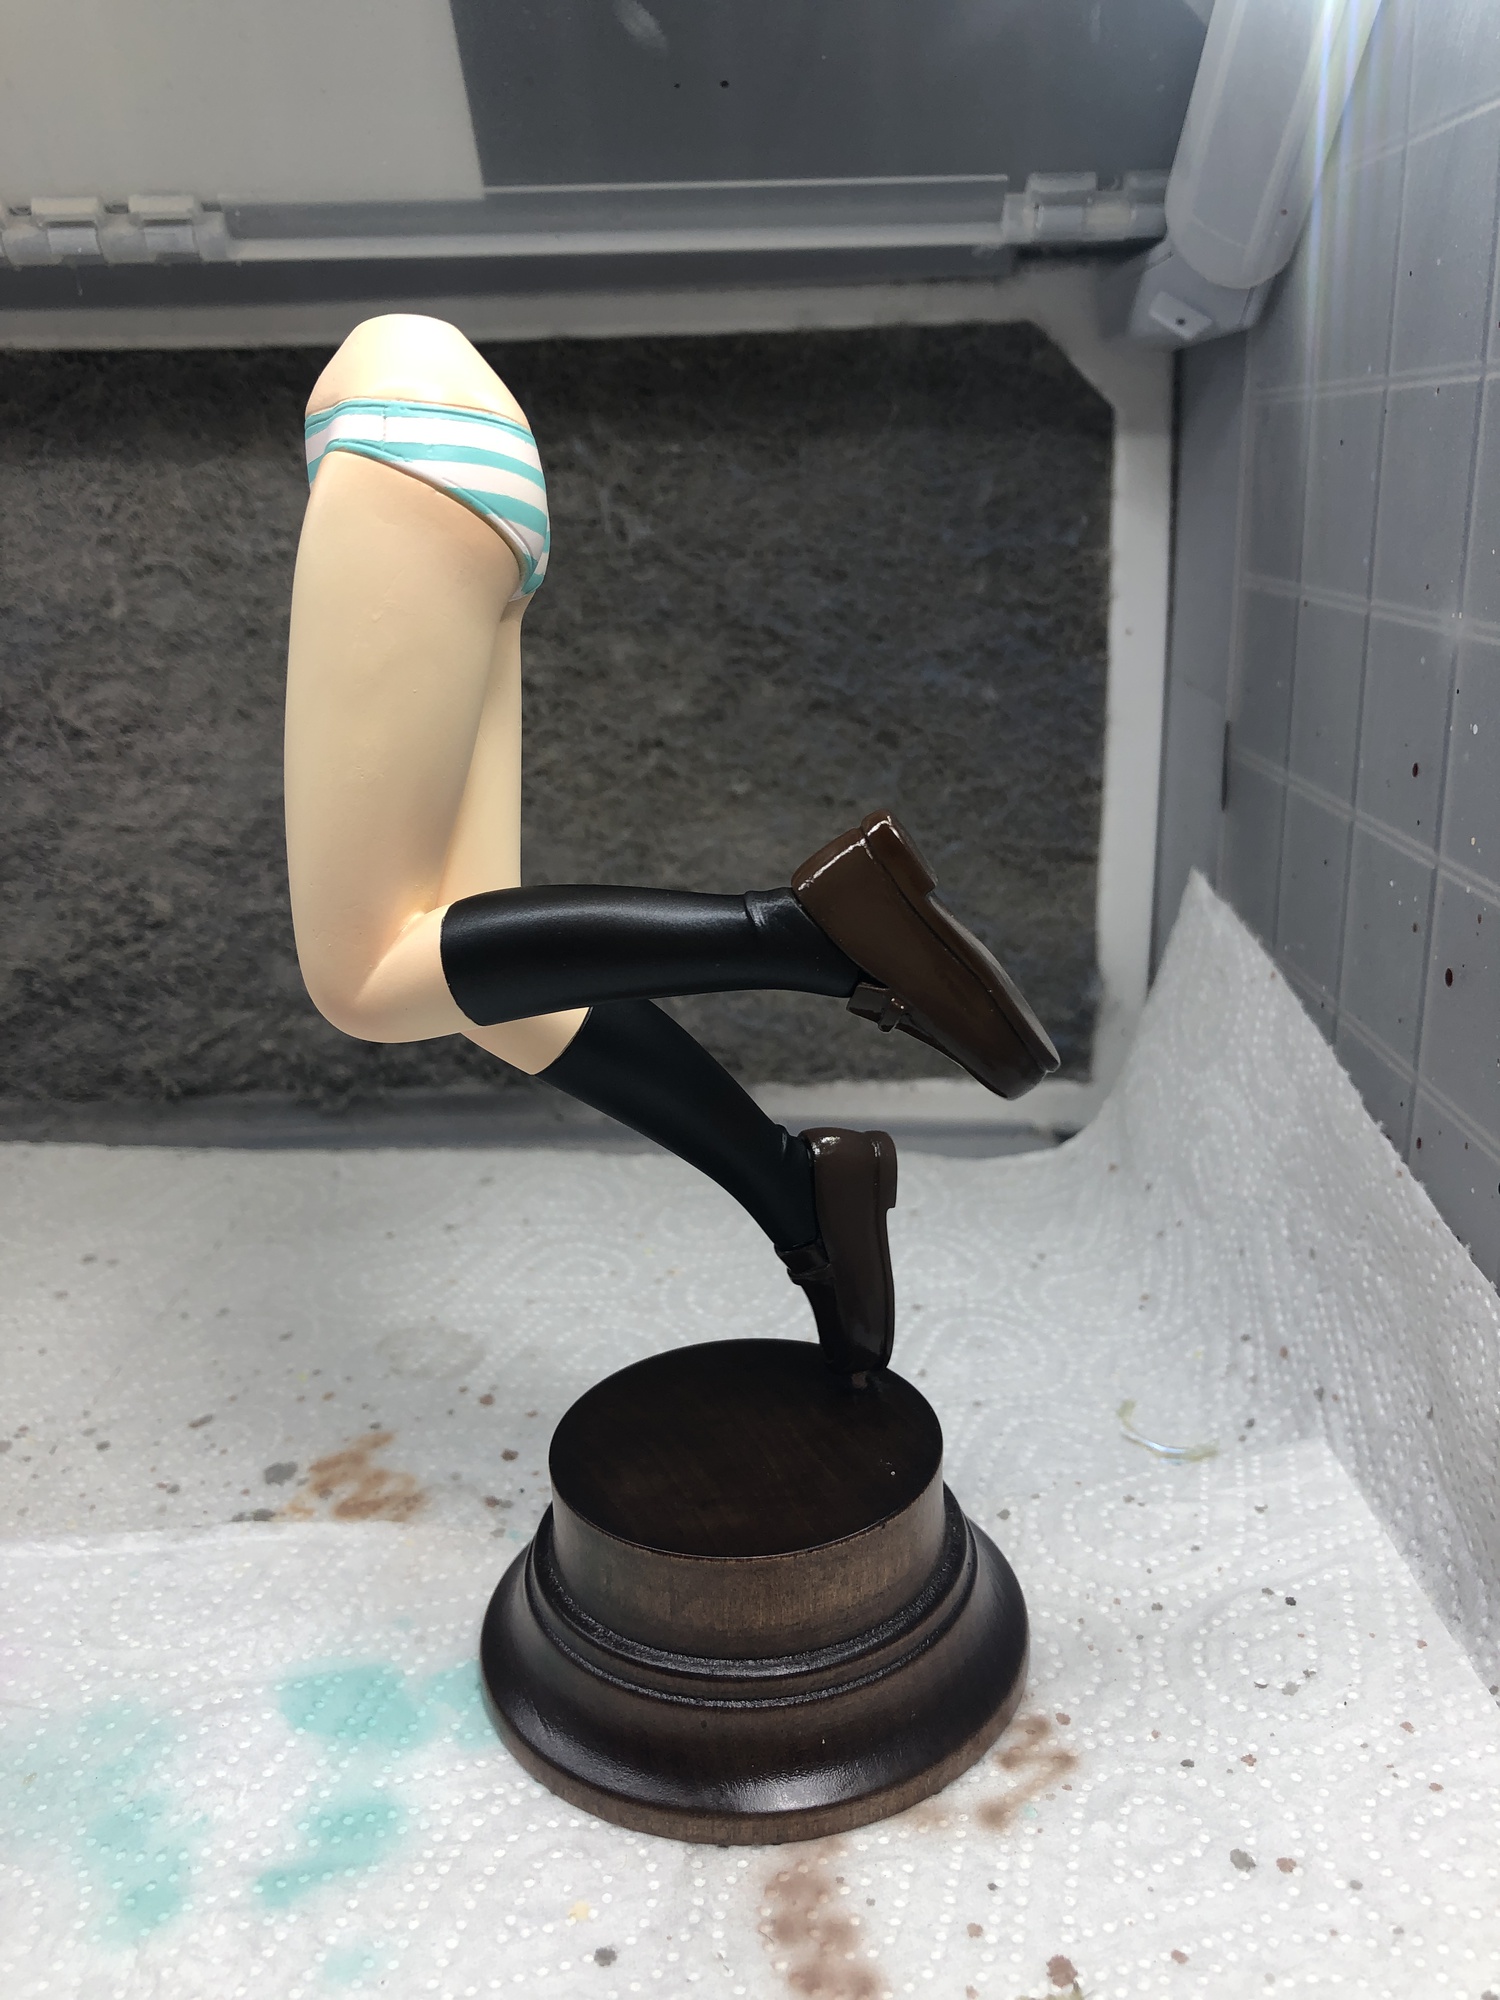
Everything was pinned in a single evening. On the original, the pin goes into the knee, which I didn’t care for, so I put the main supporting pin in the shoe whose toe touches the base. It stands beautifully; in the final version I added a little epoxy around the pin for peace of mind.
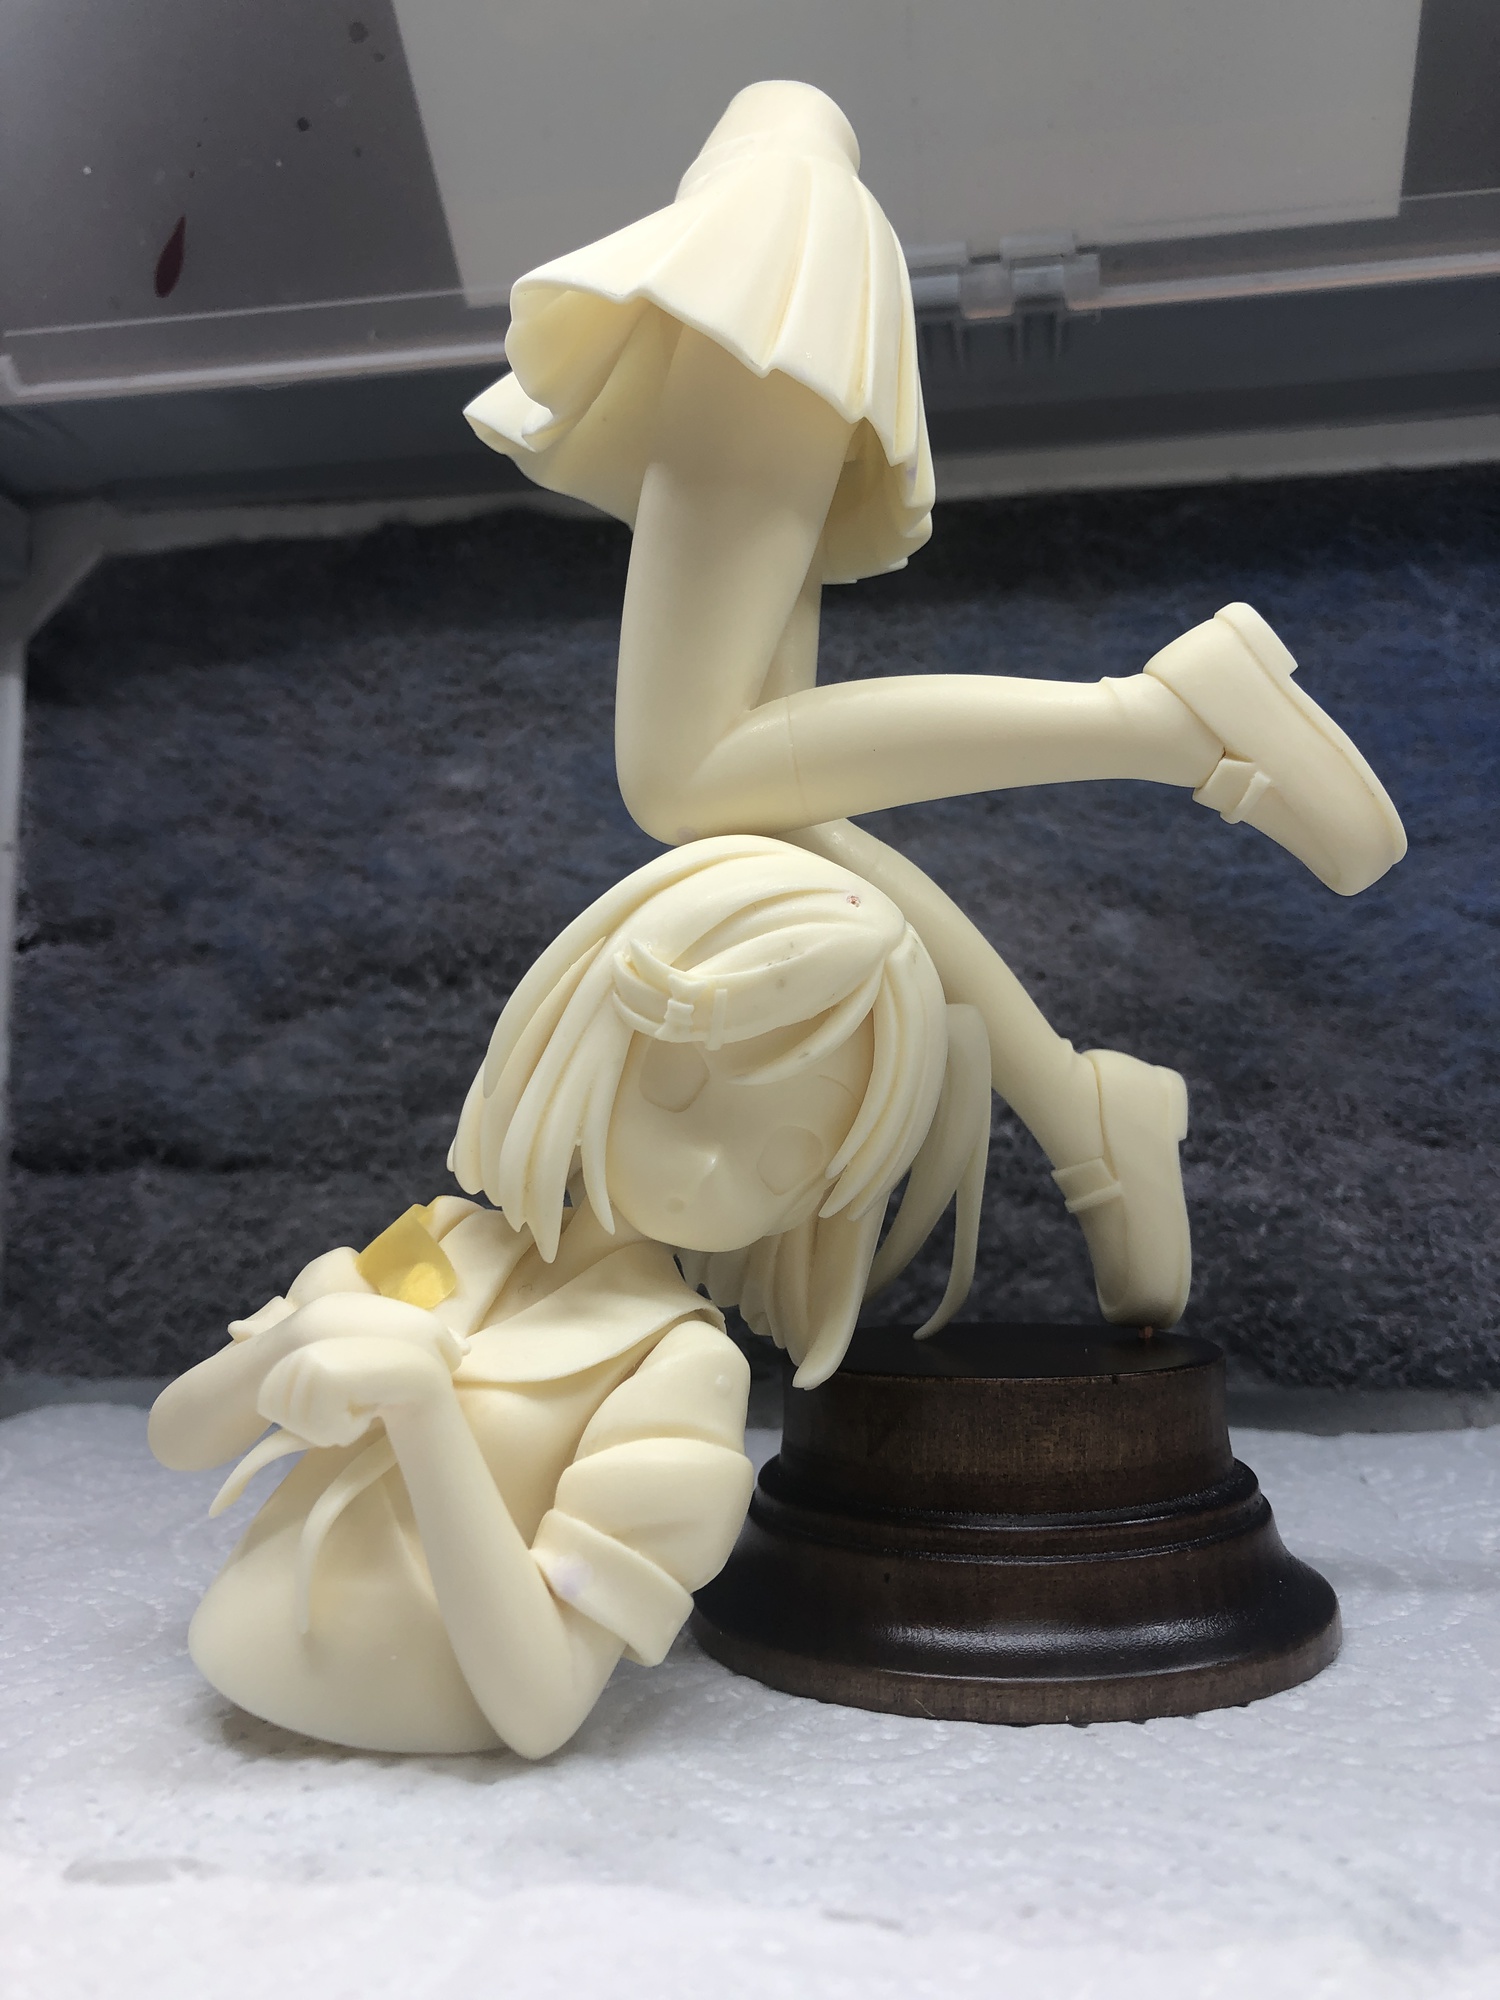
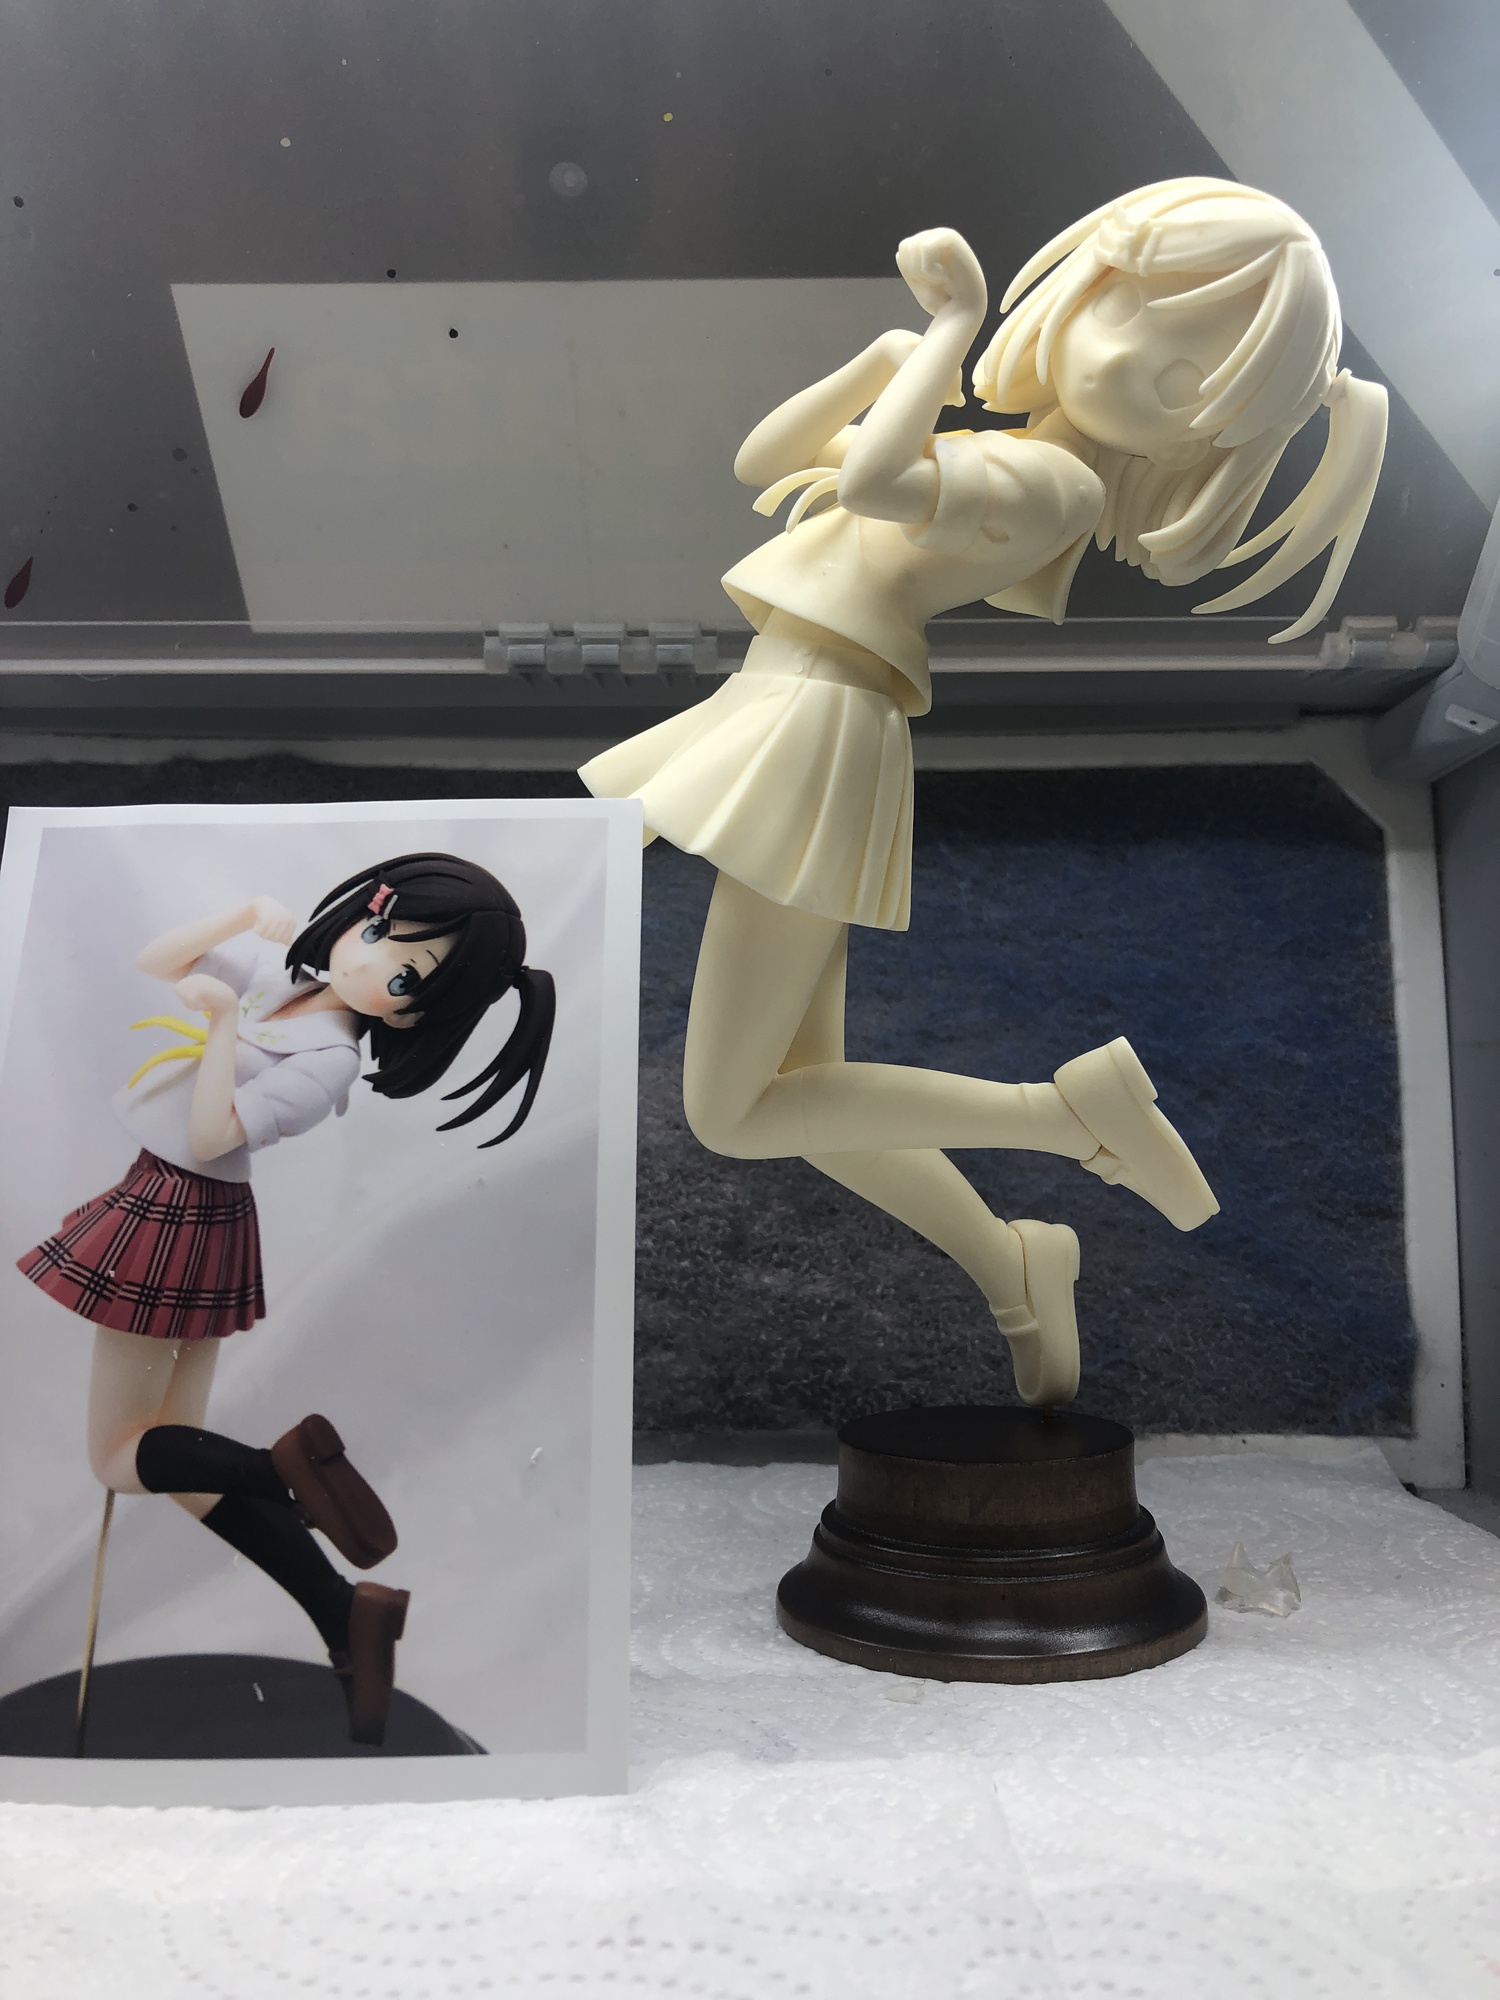
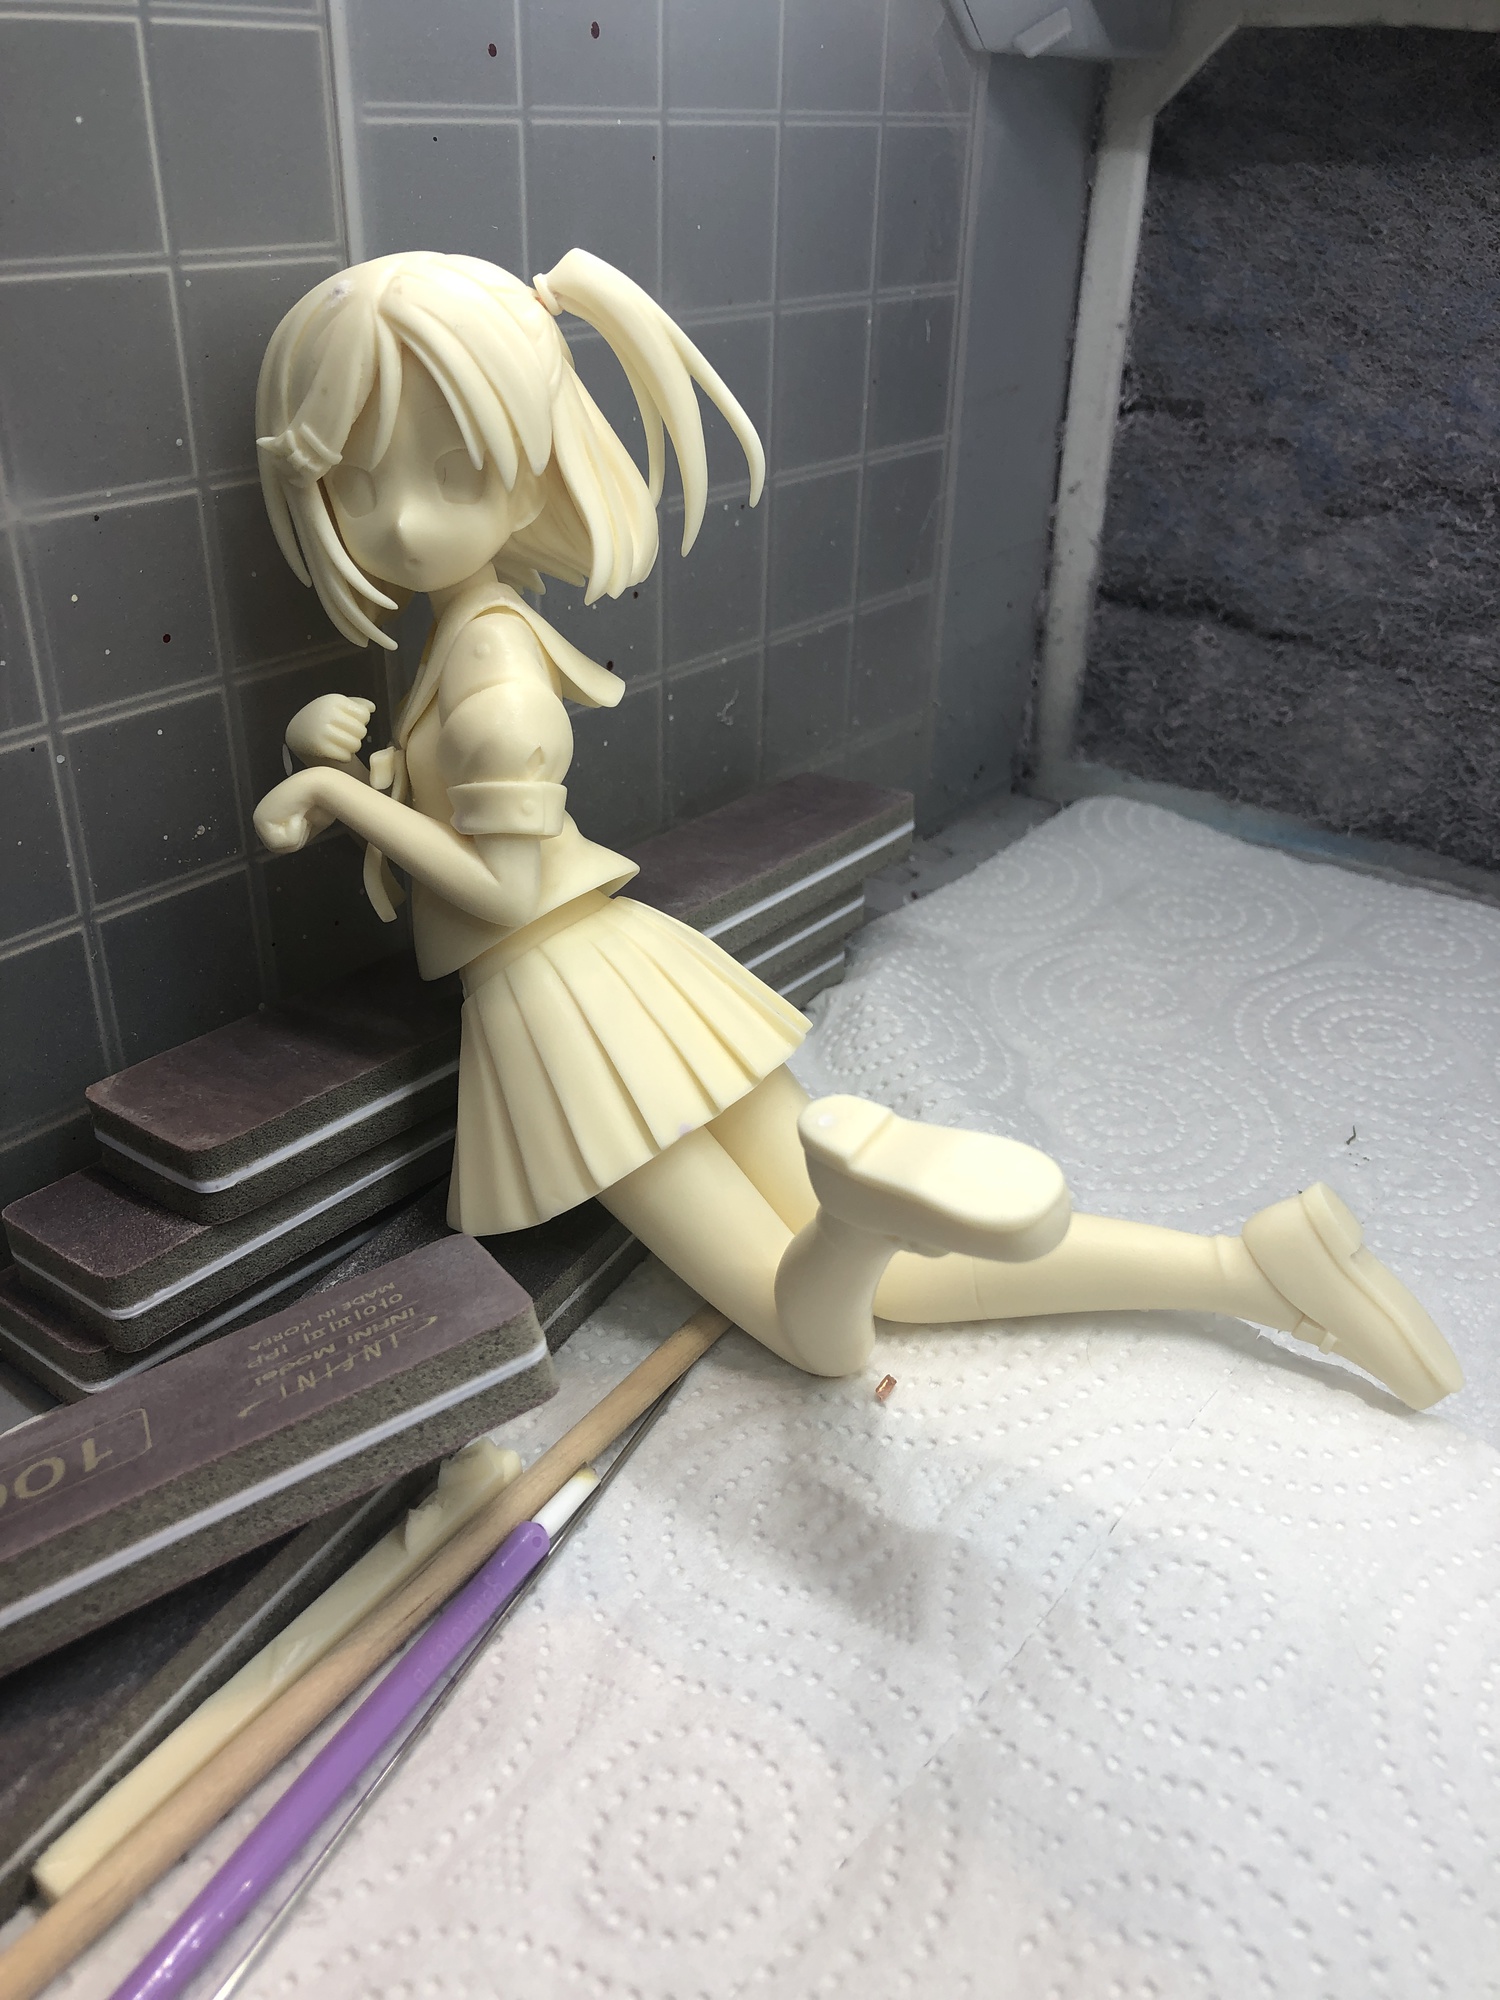
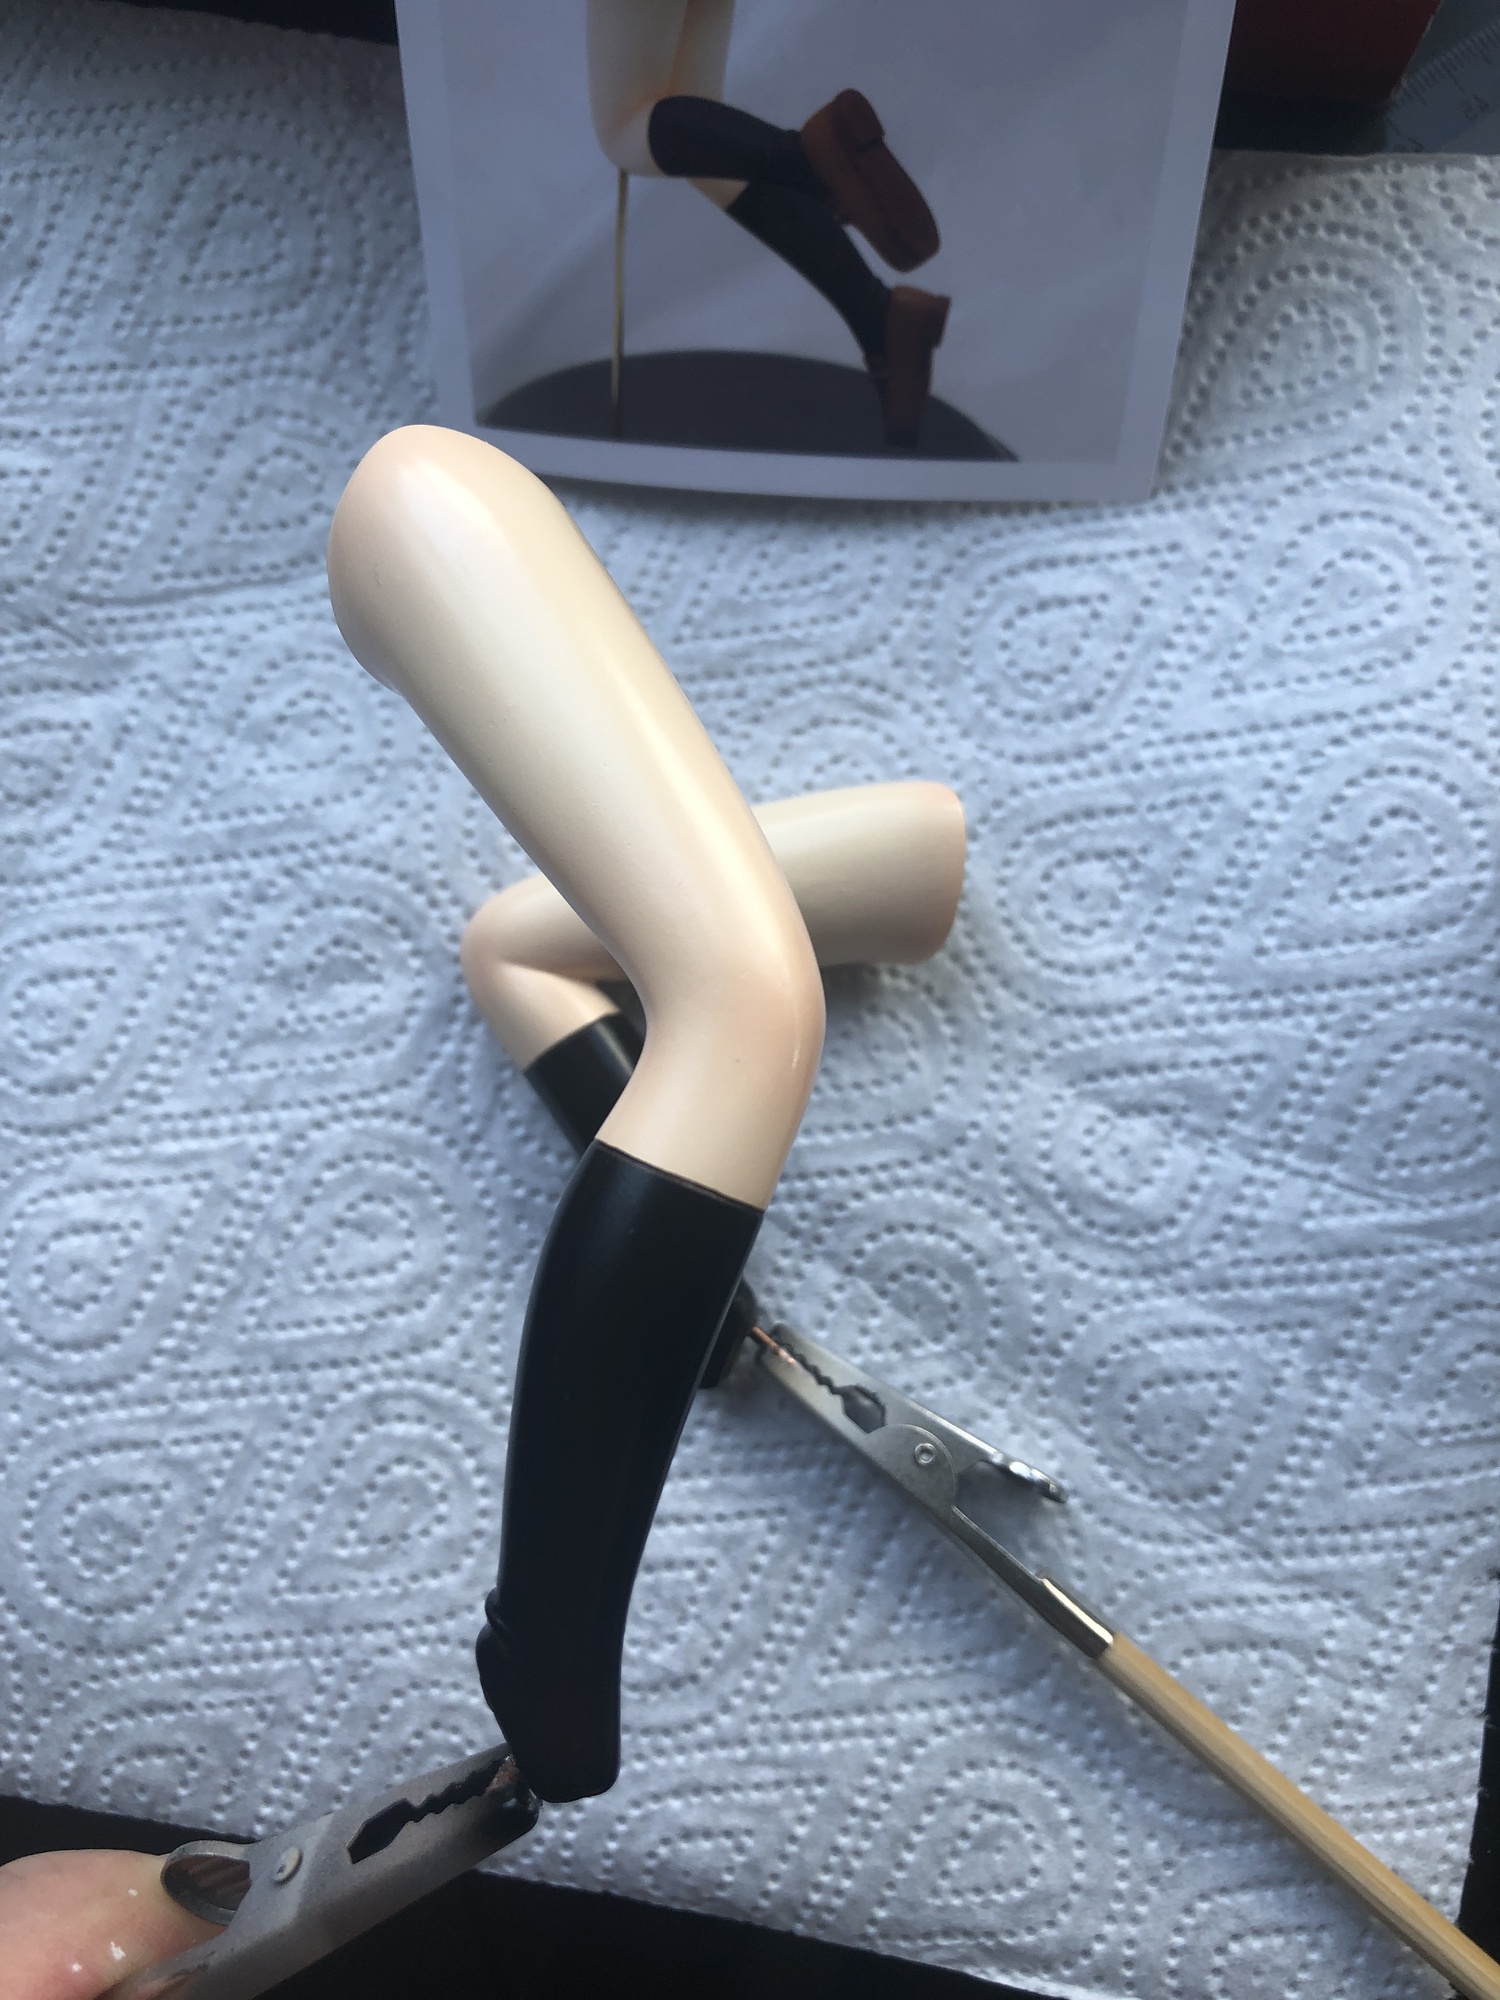
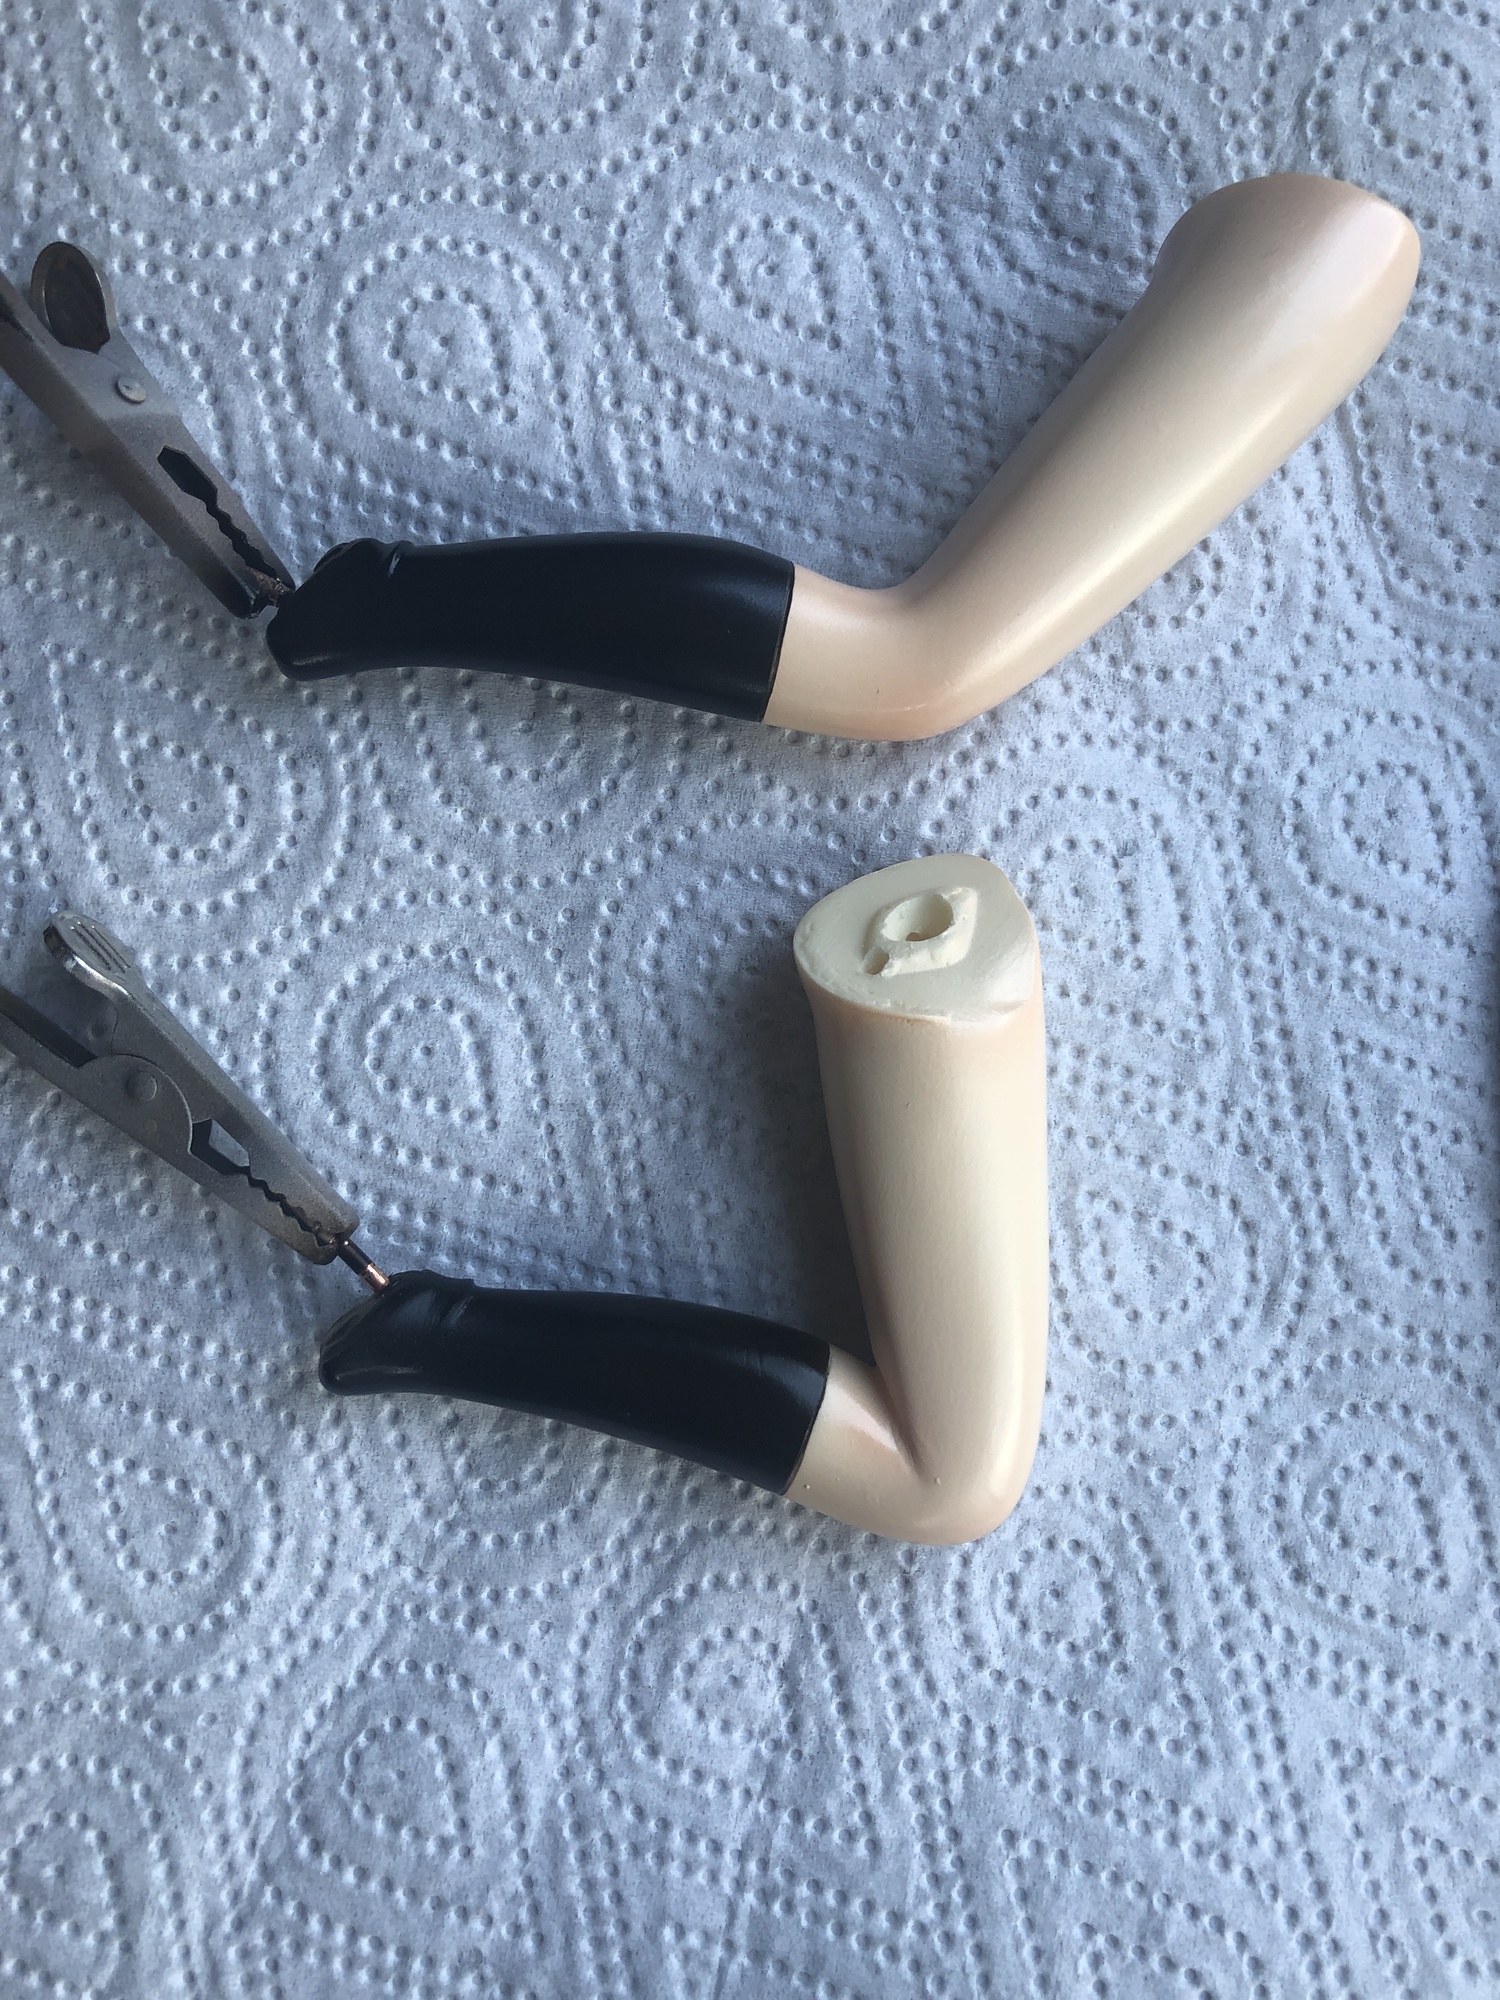
Next came Lascivus flesh tones, followed by a very thin layer of Mr. Crystal Color Moonstone Pearl for a highlight effect. I spotted the technique on the Twitter account of a Japanese painter whose gorgeous Love Live girls are equal parts delightful and demoralizing. The effect is easiest to see in person, but here’s a comparison photo of the leg with and without it.
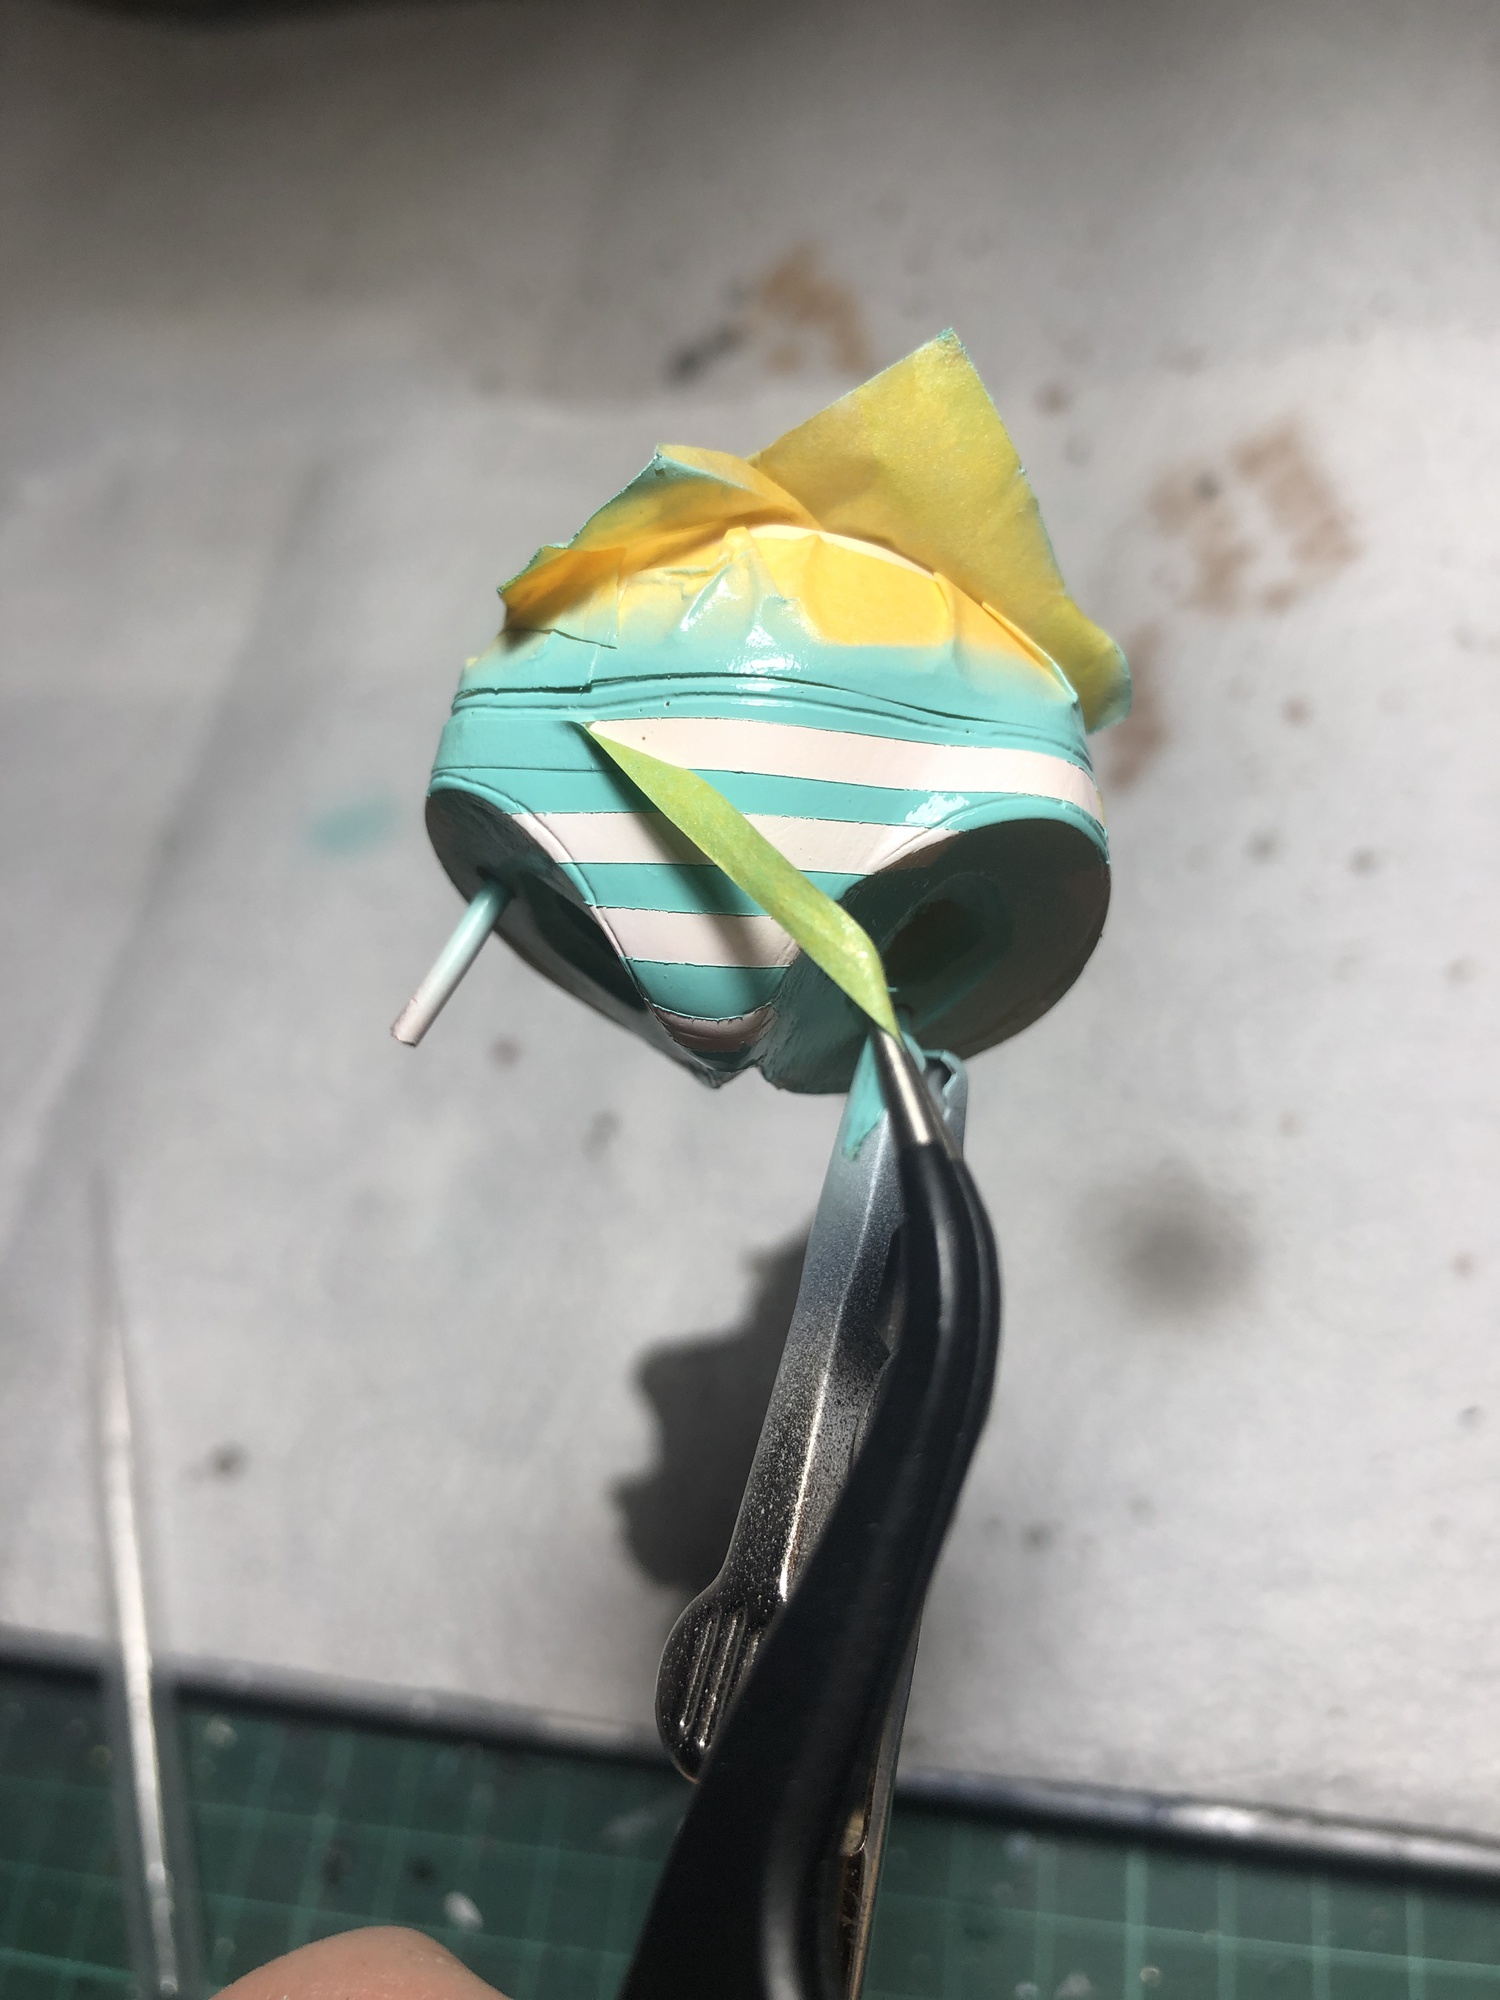
Striped panties, a classic 
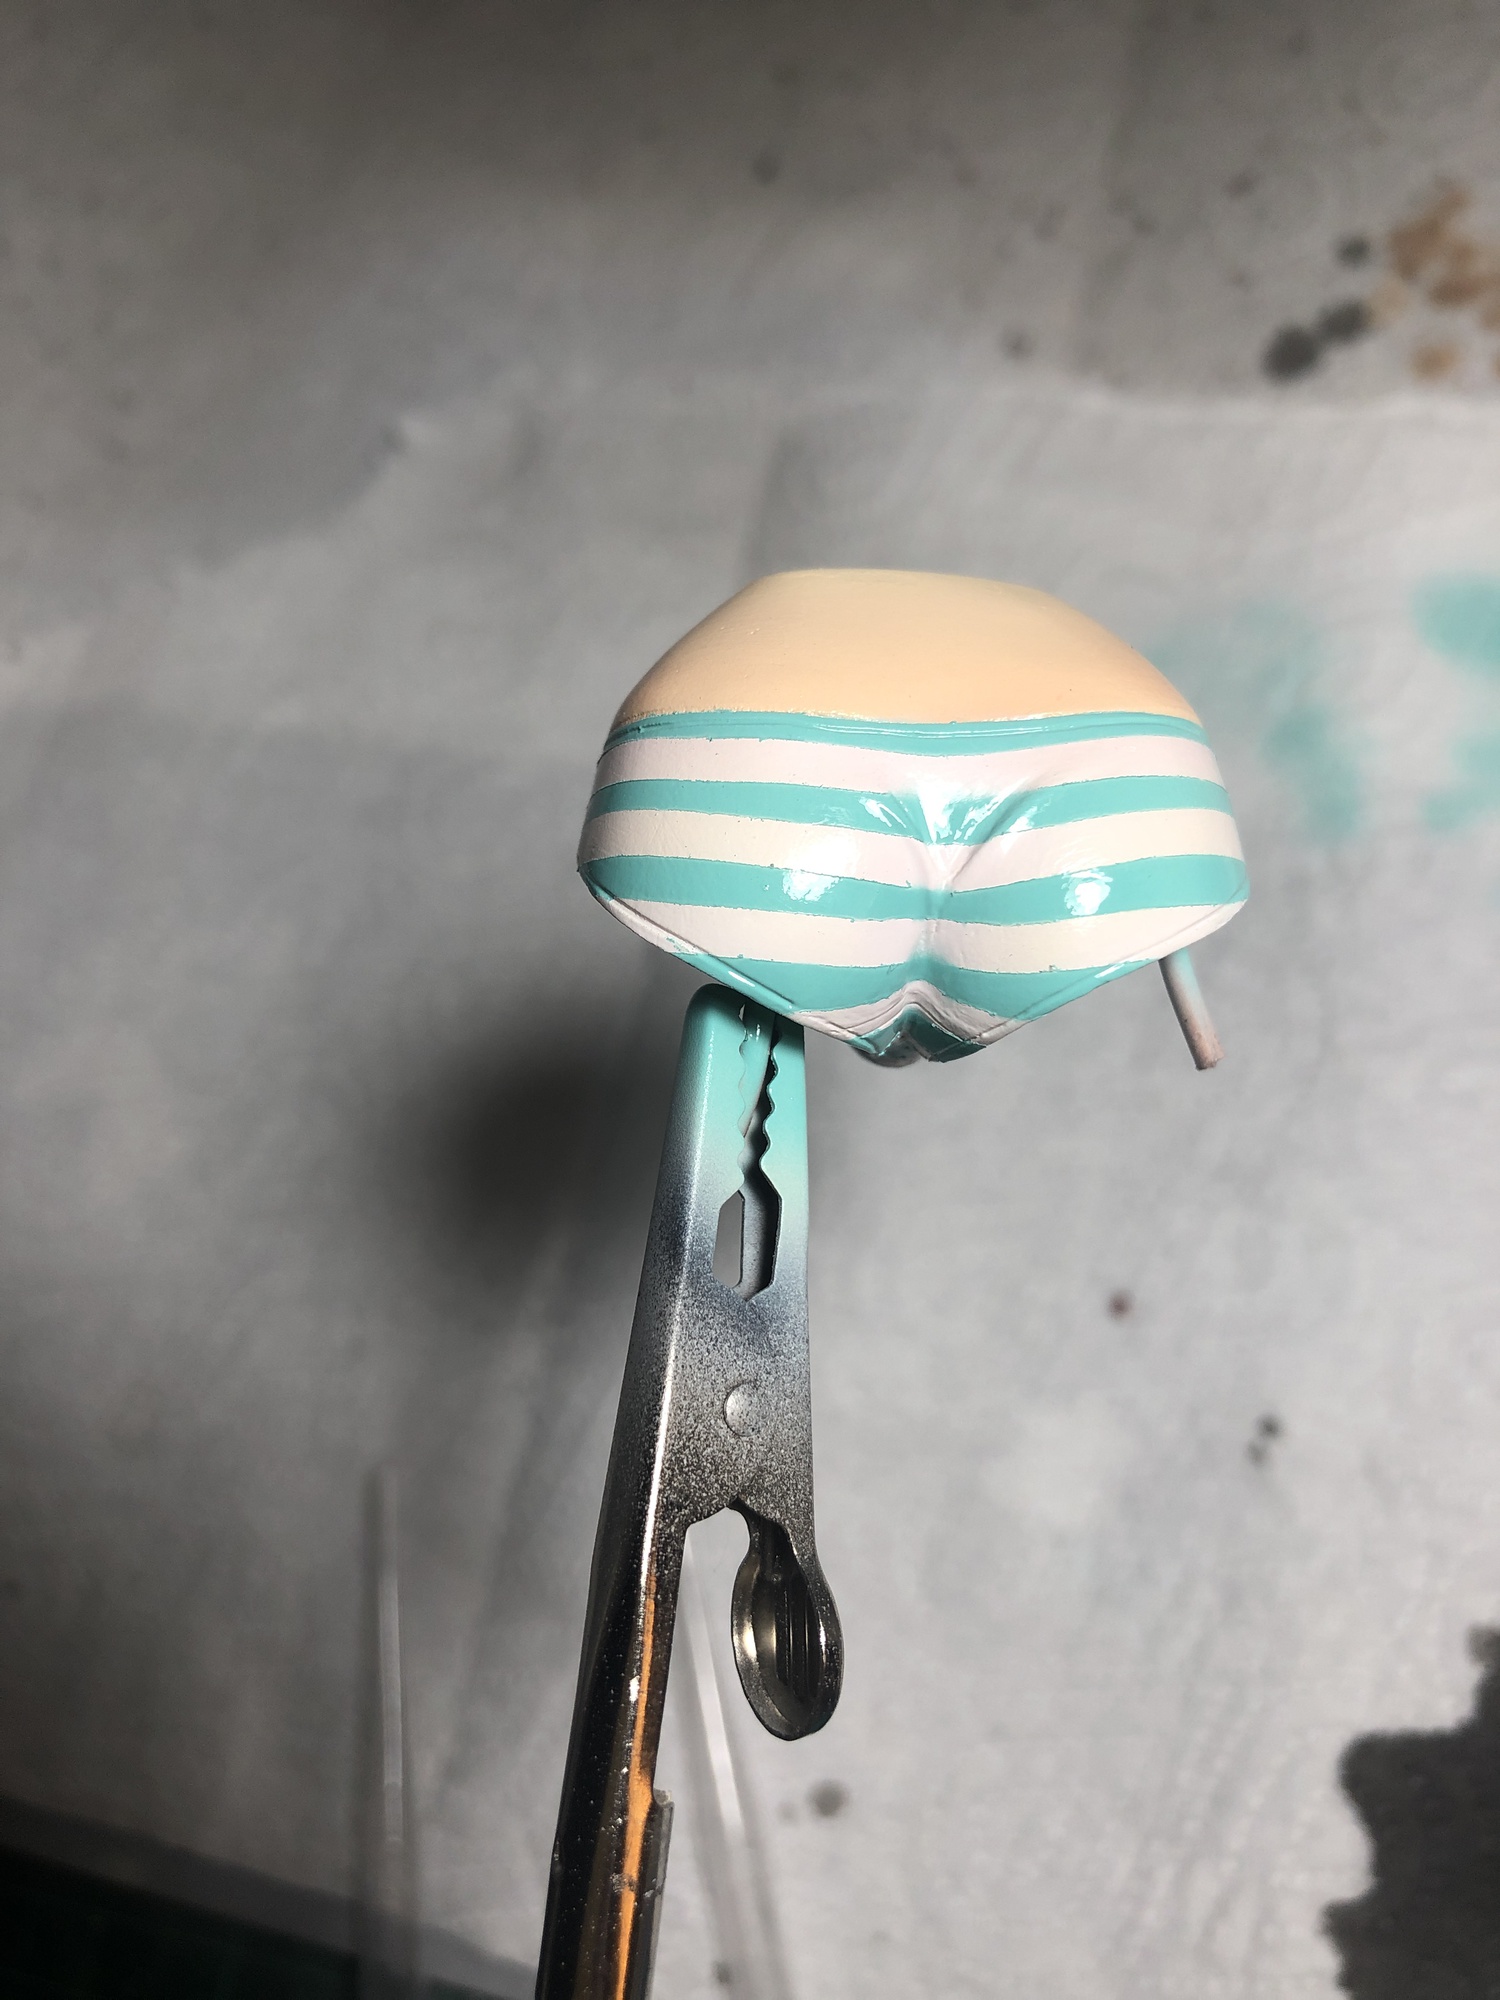
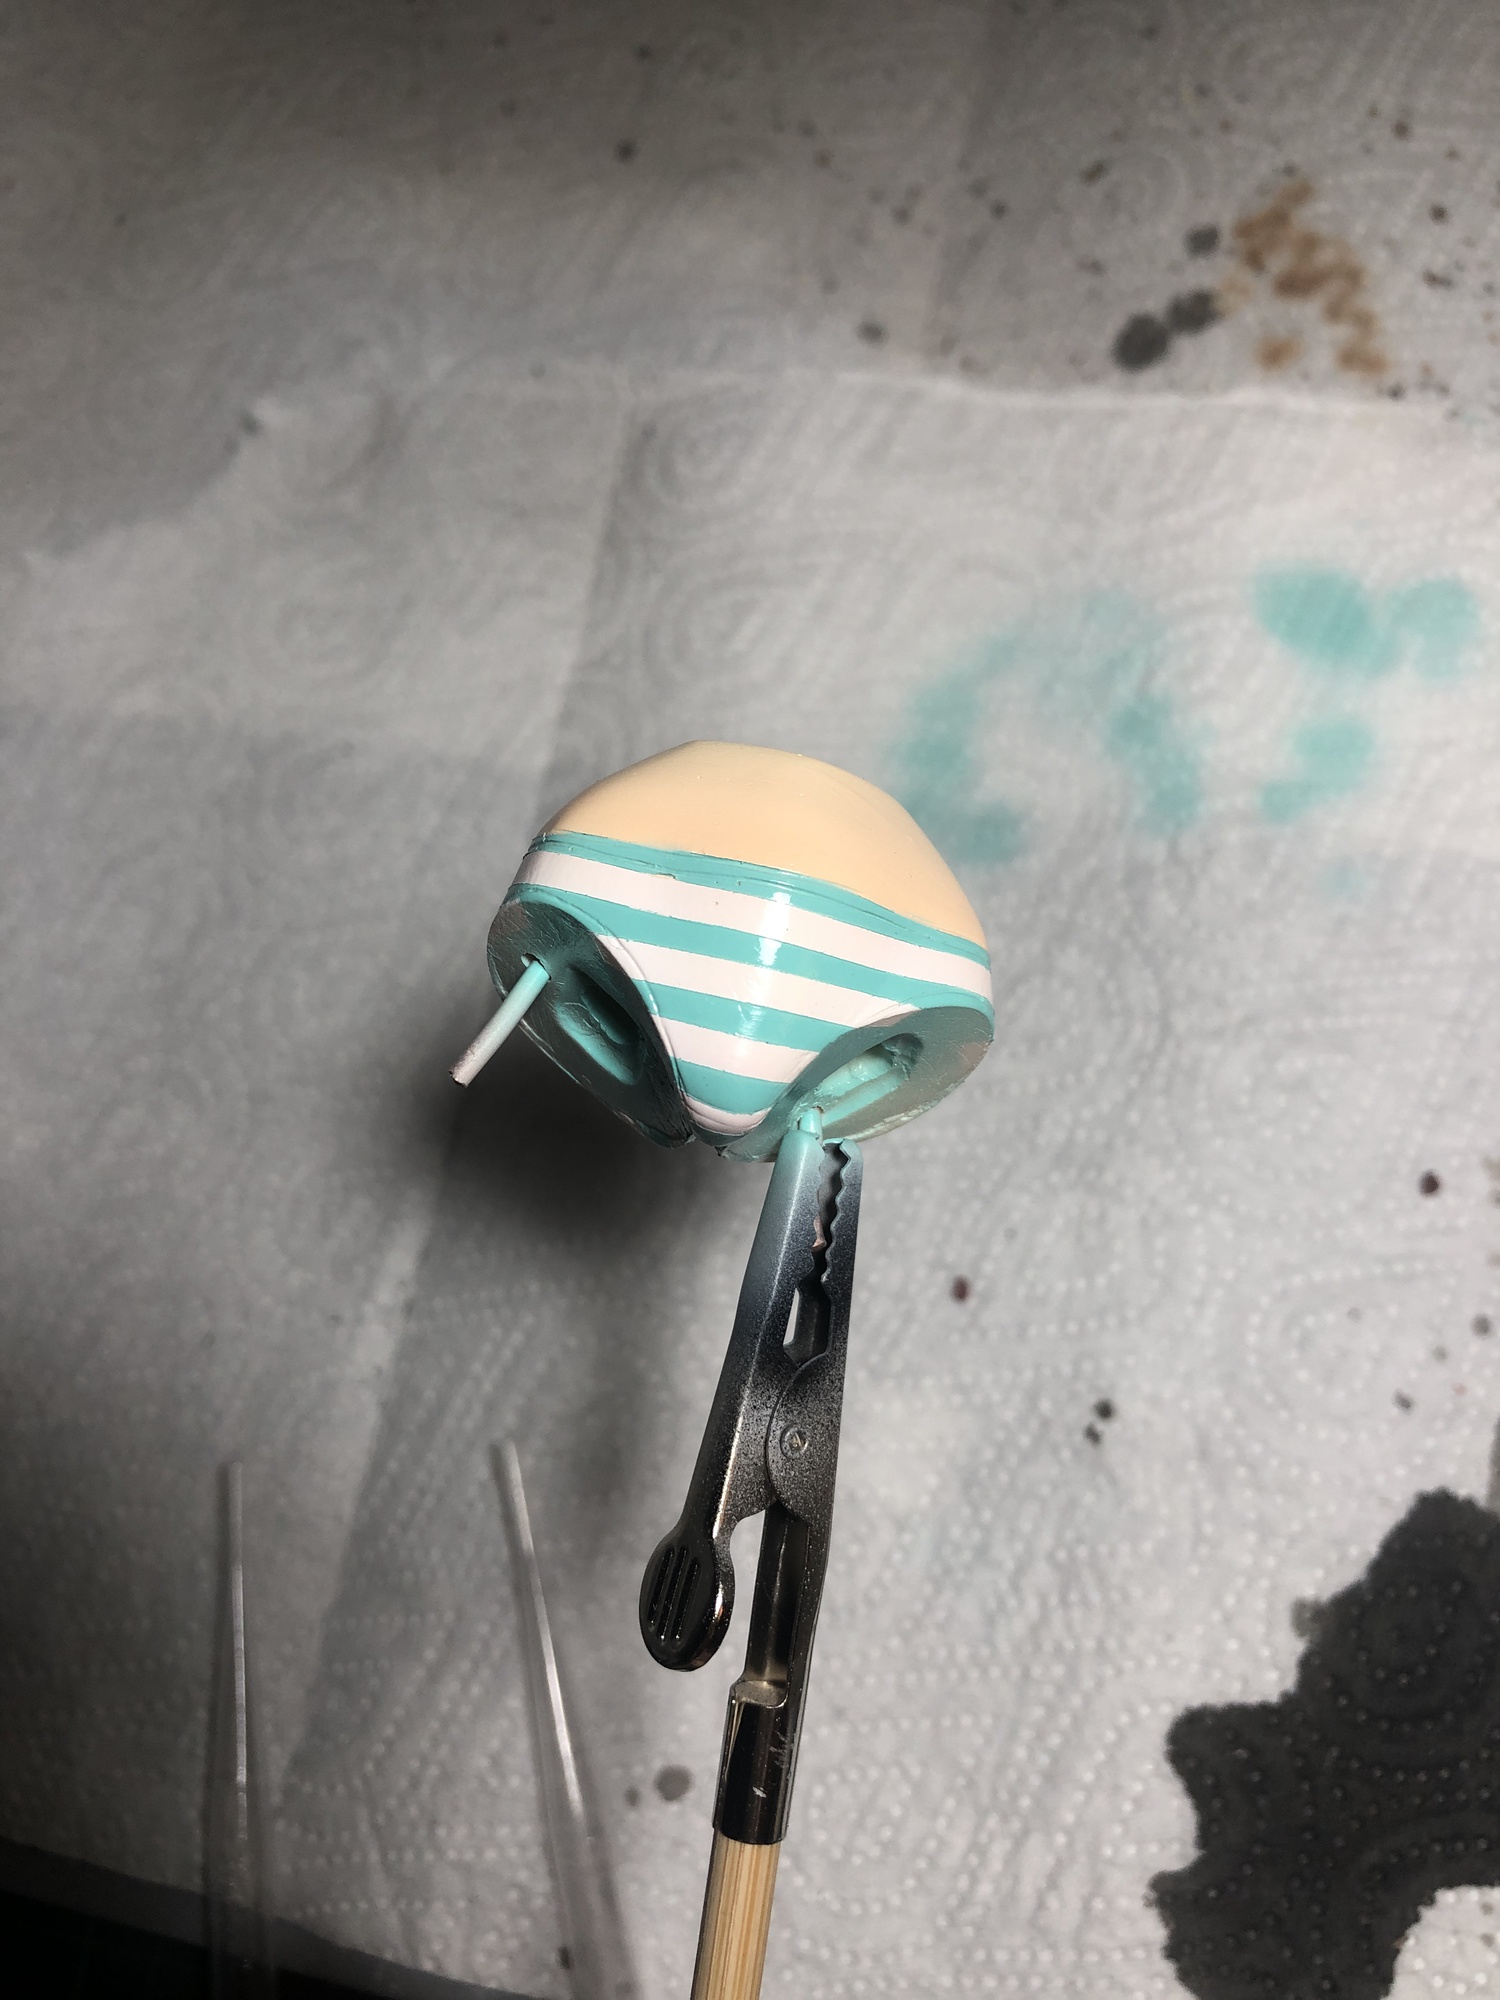
And straight onto the base she goes!
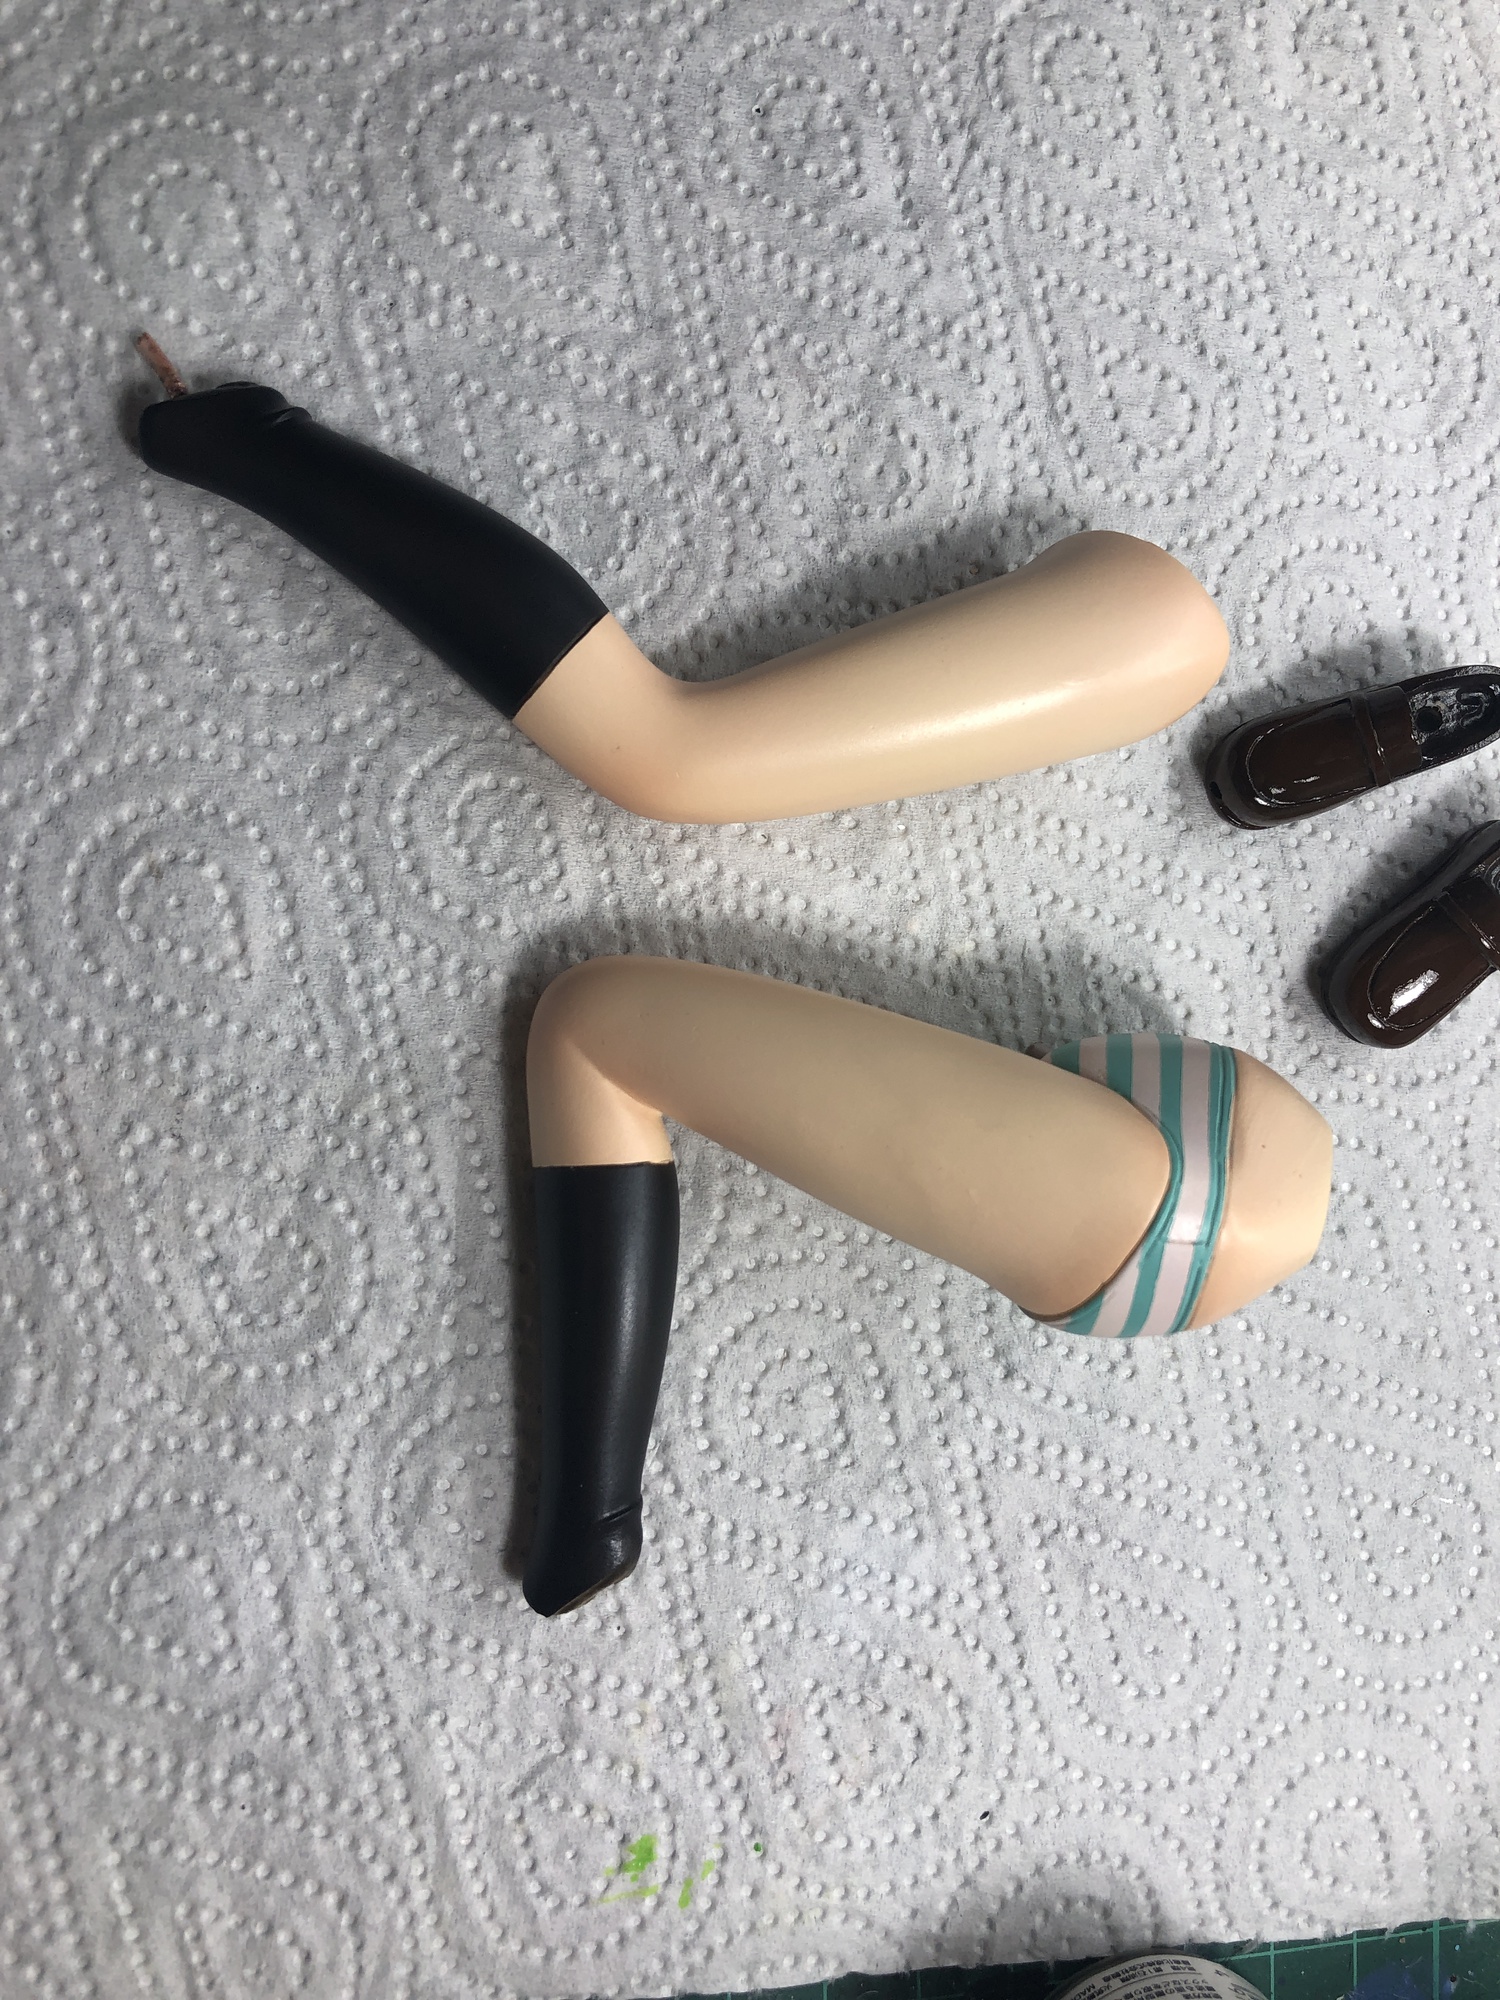
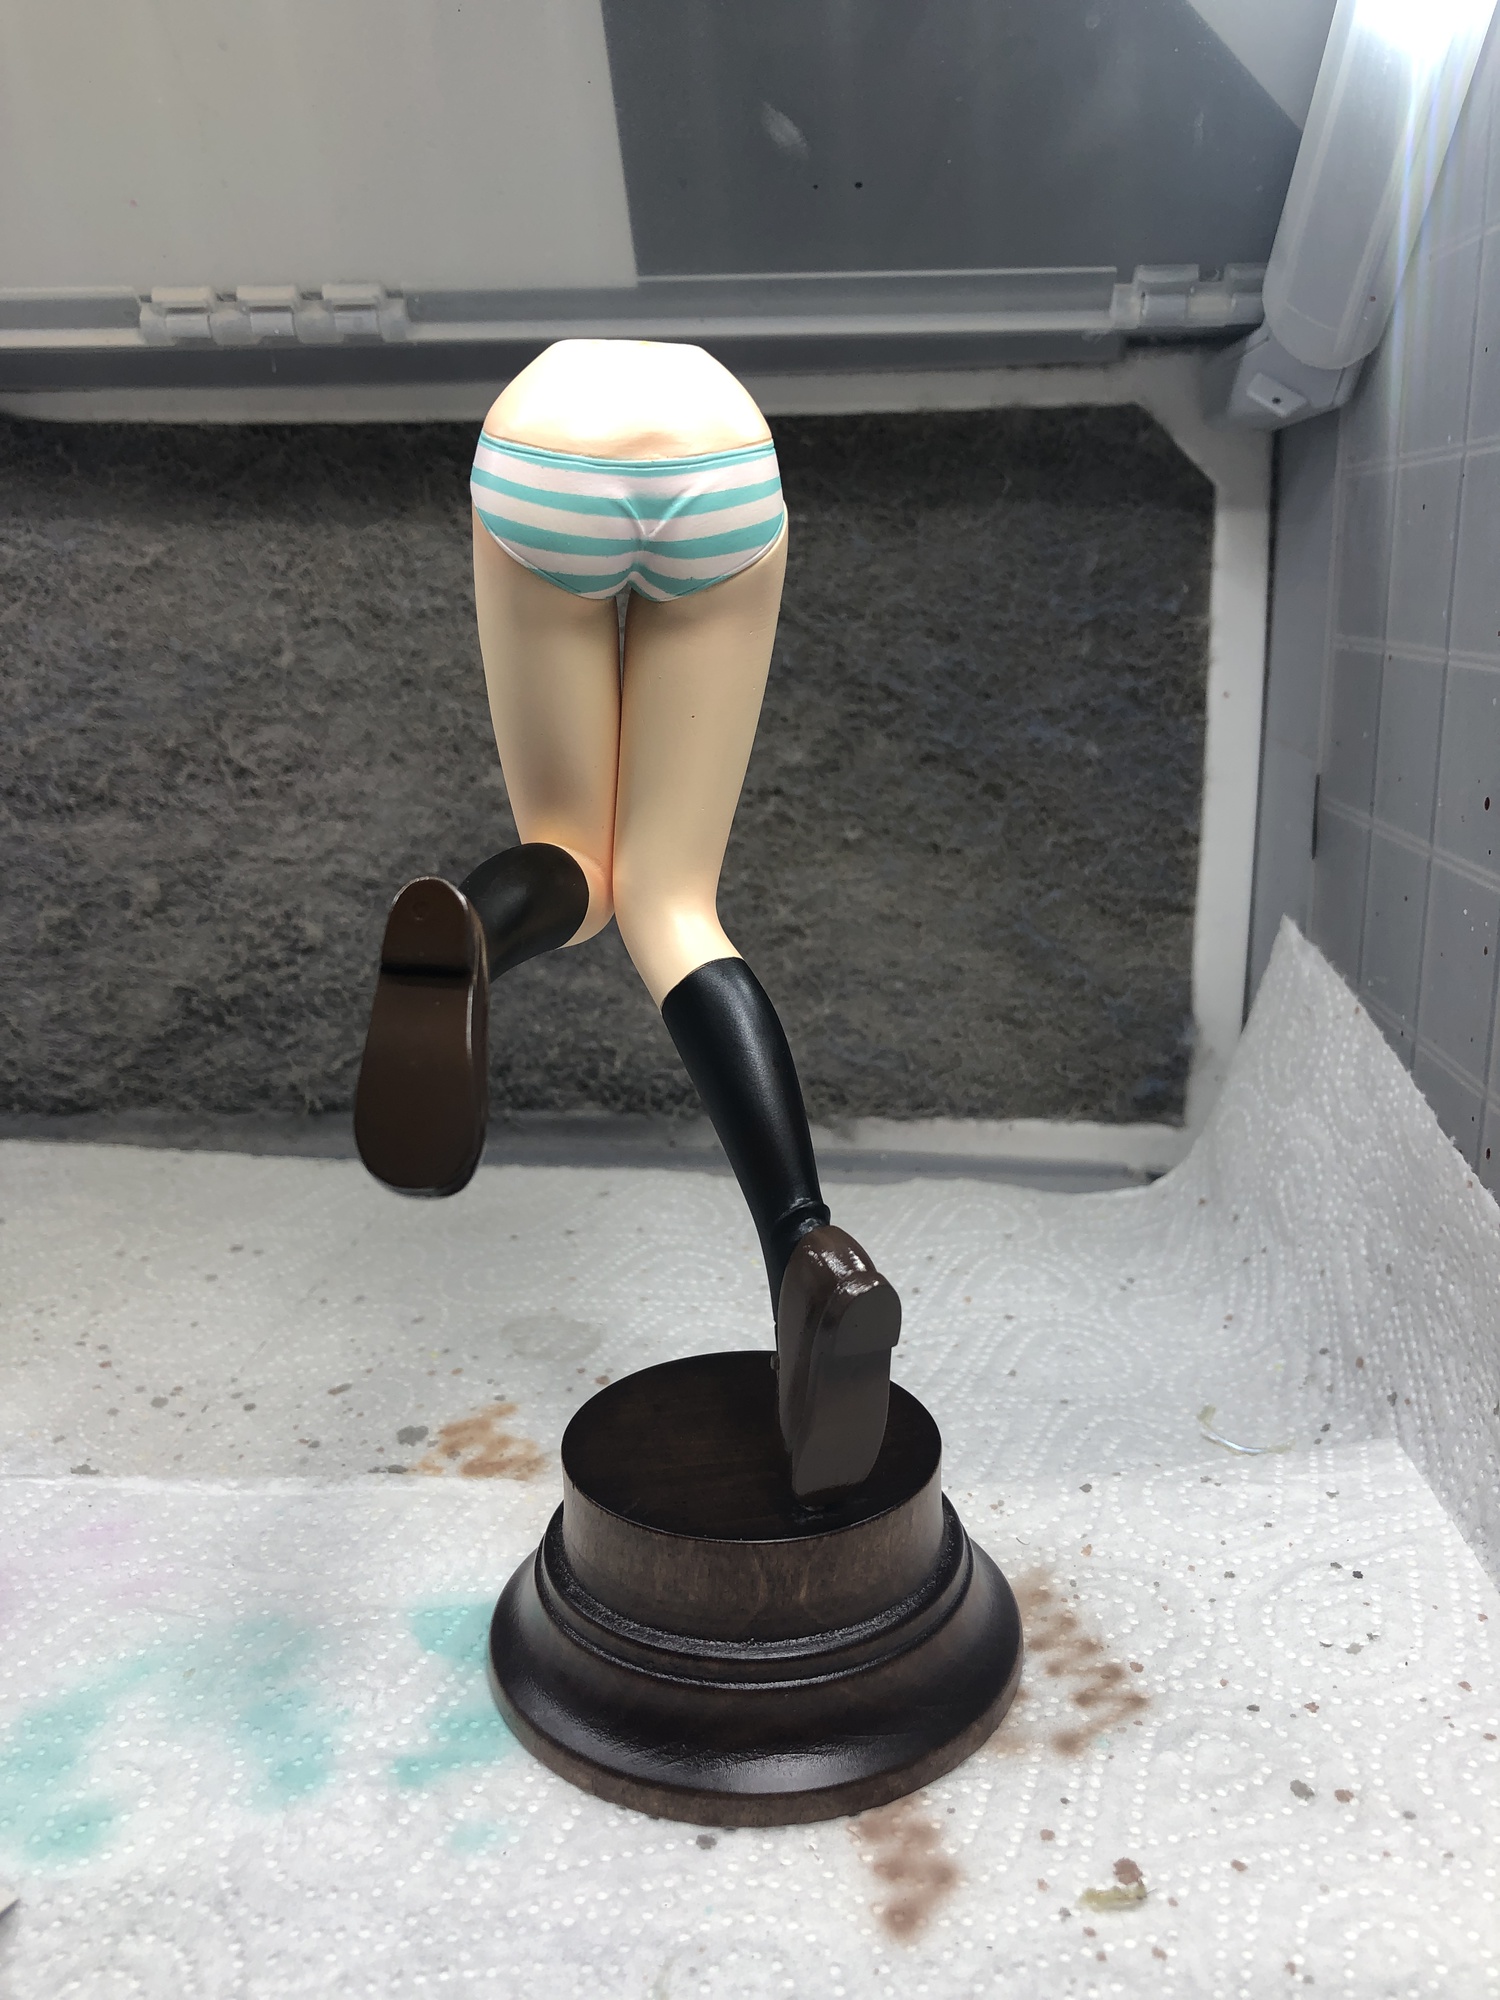
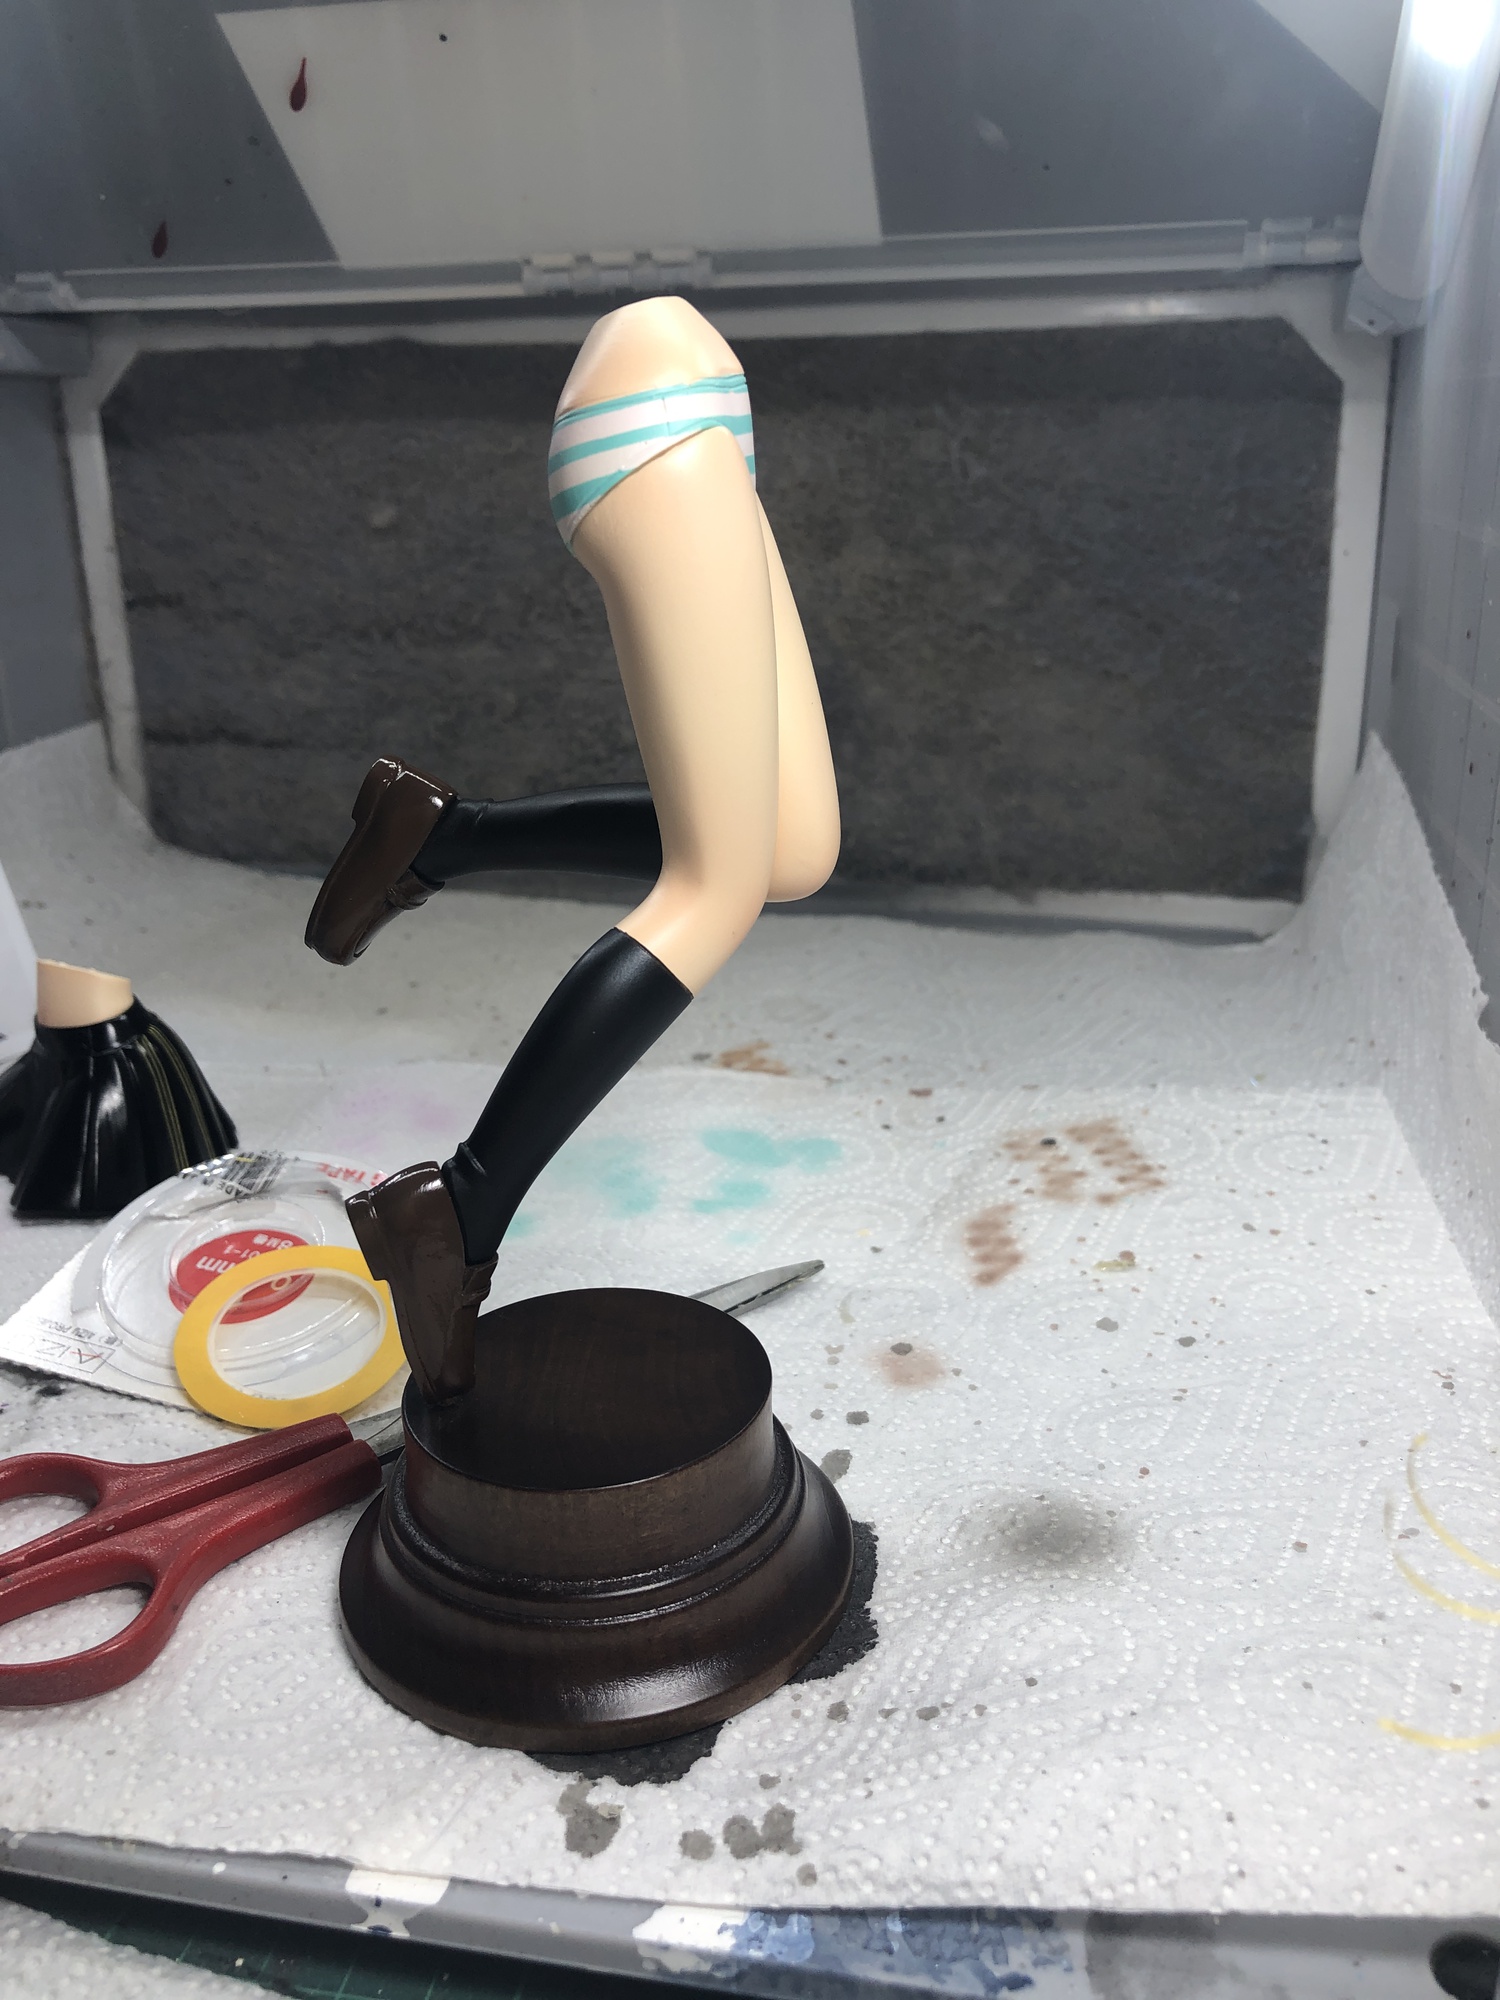
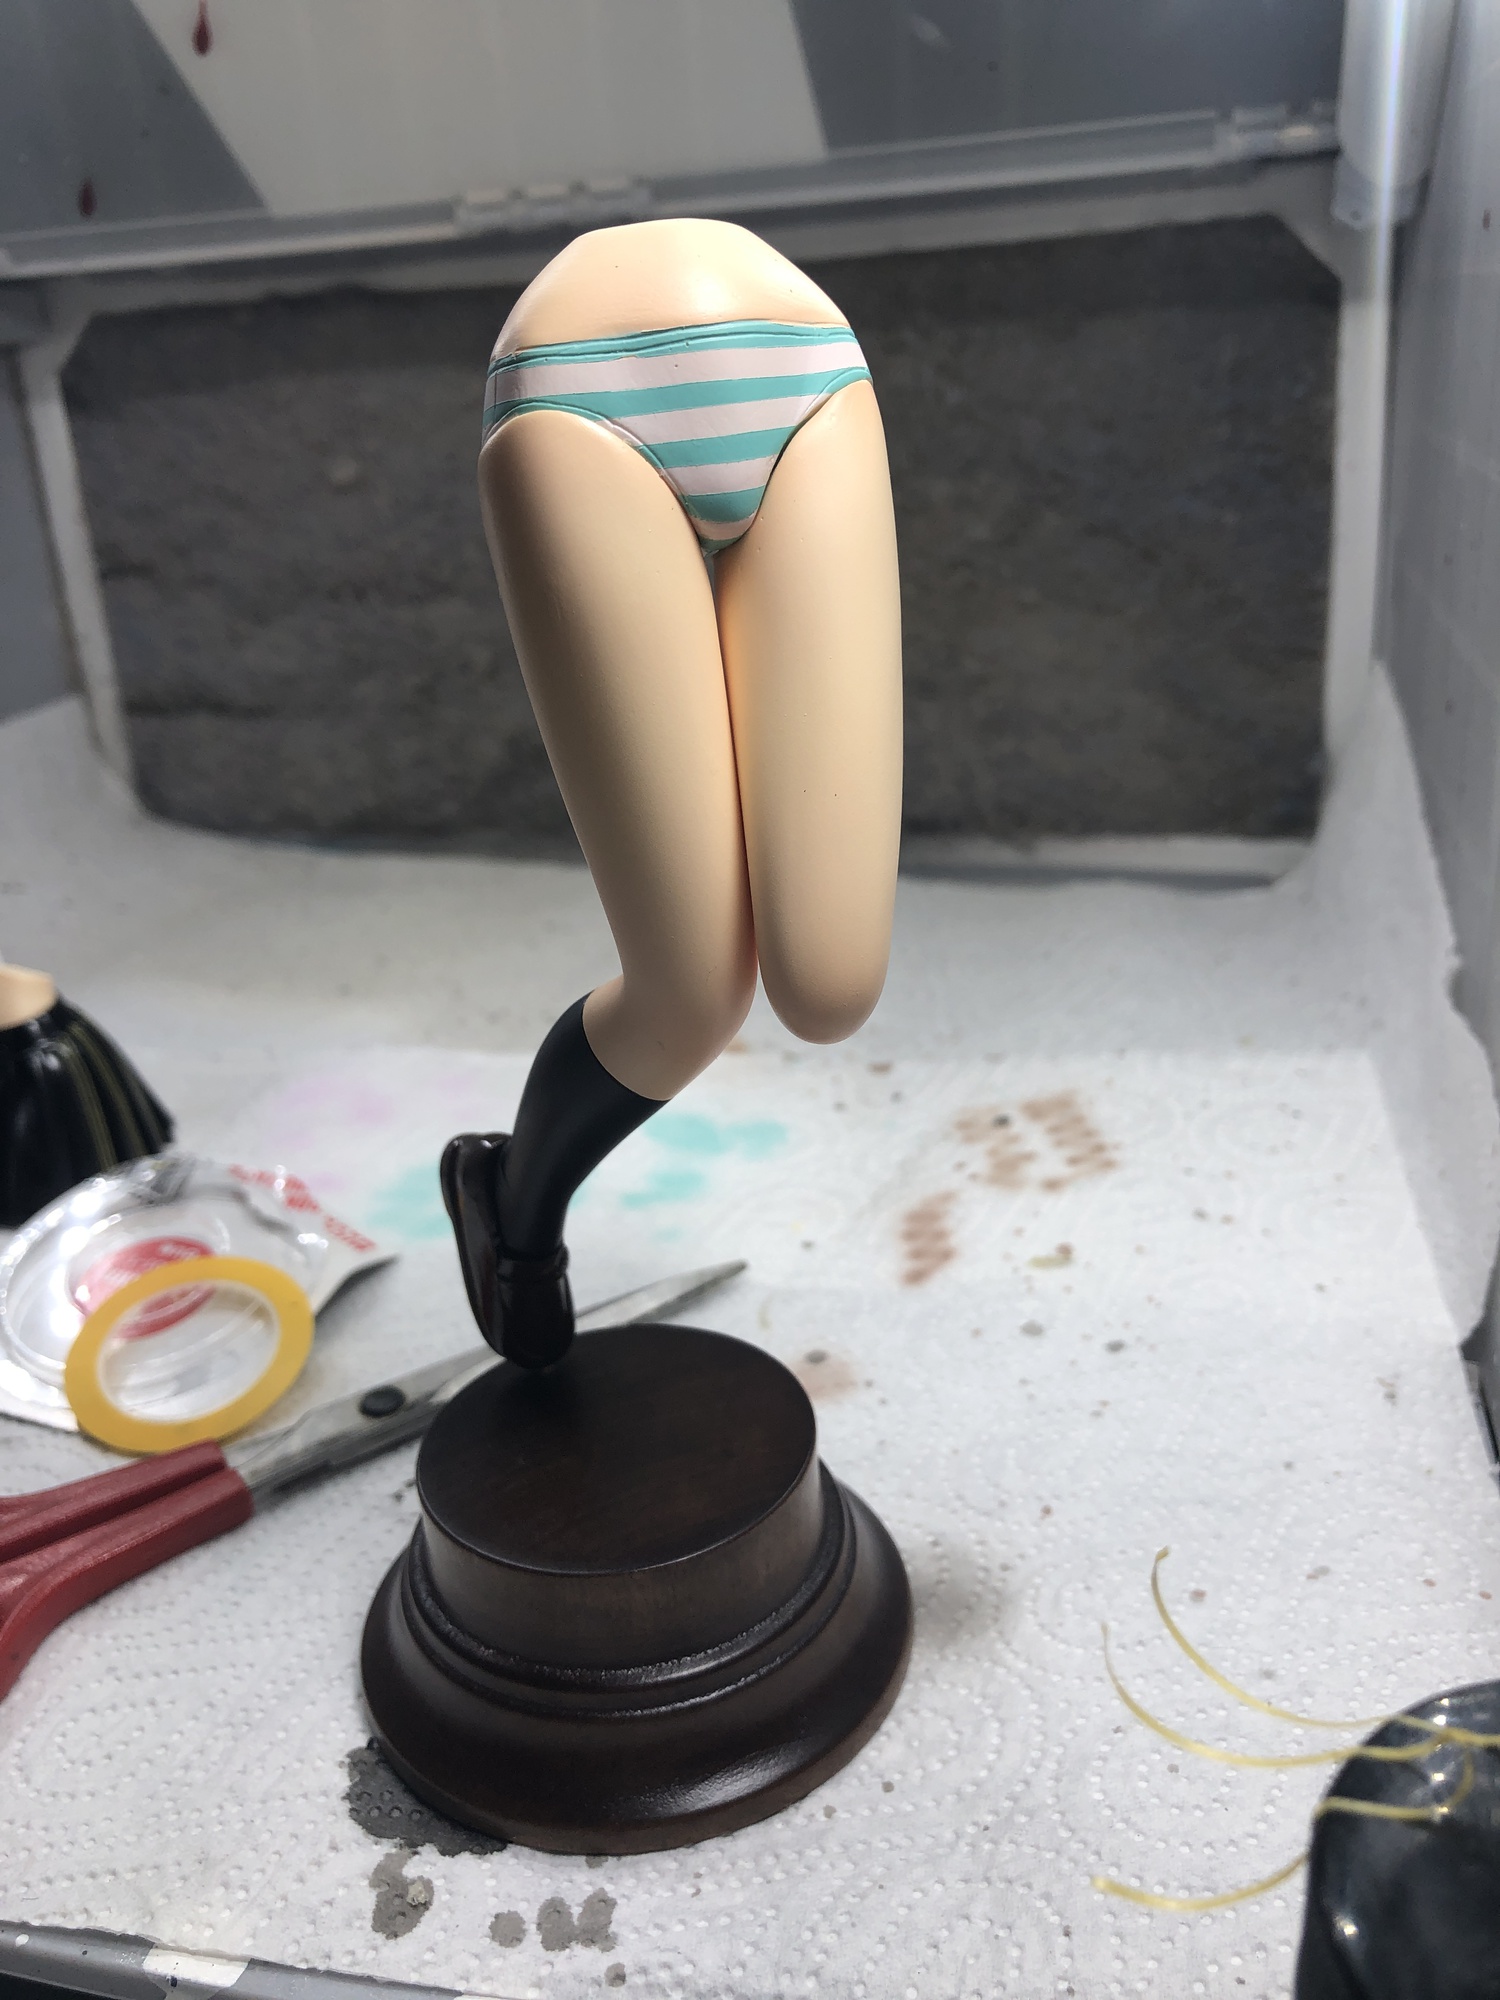
And this sad little problem is why the kitty has no cast-off 
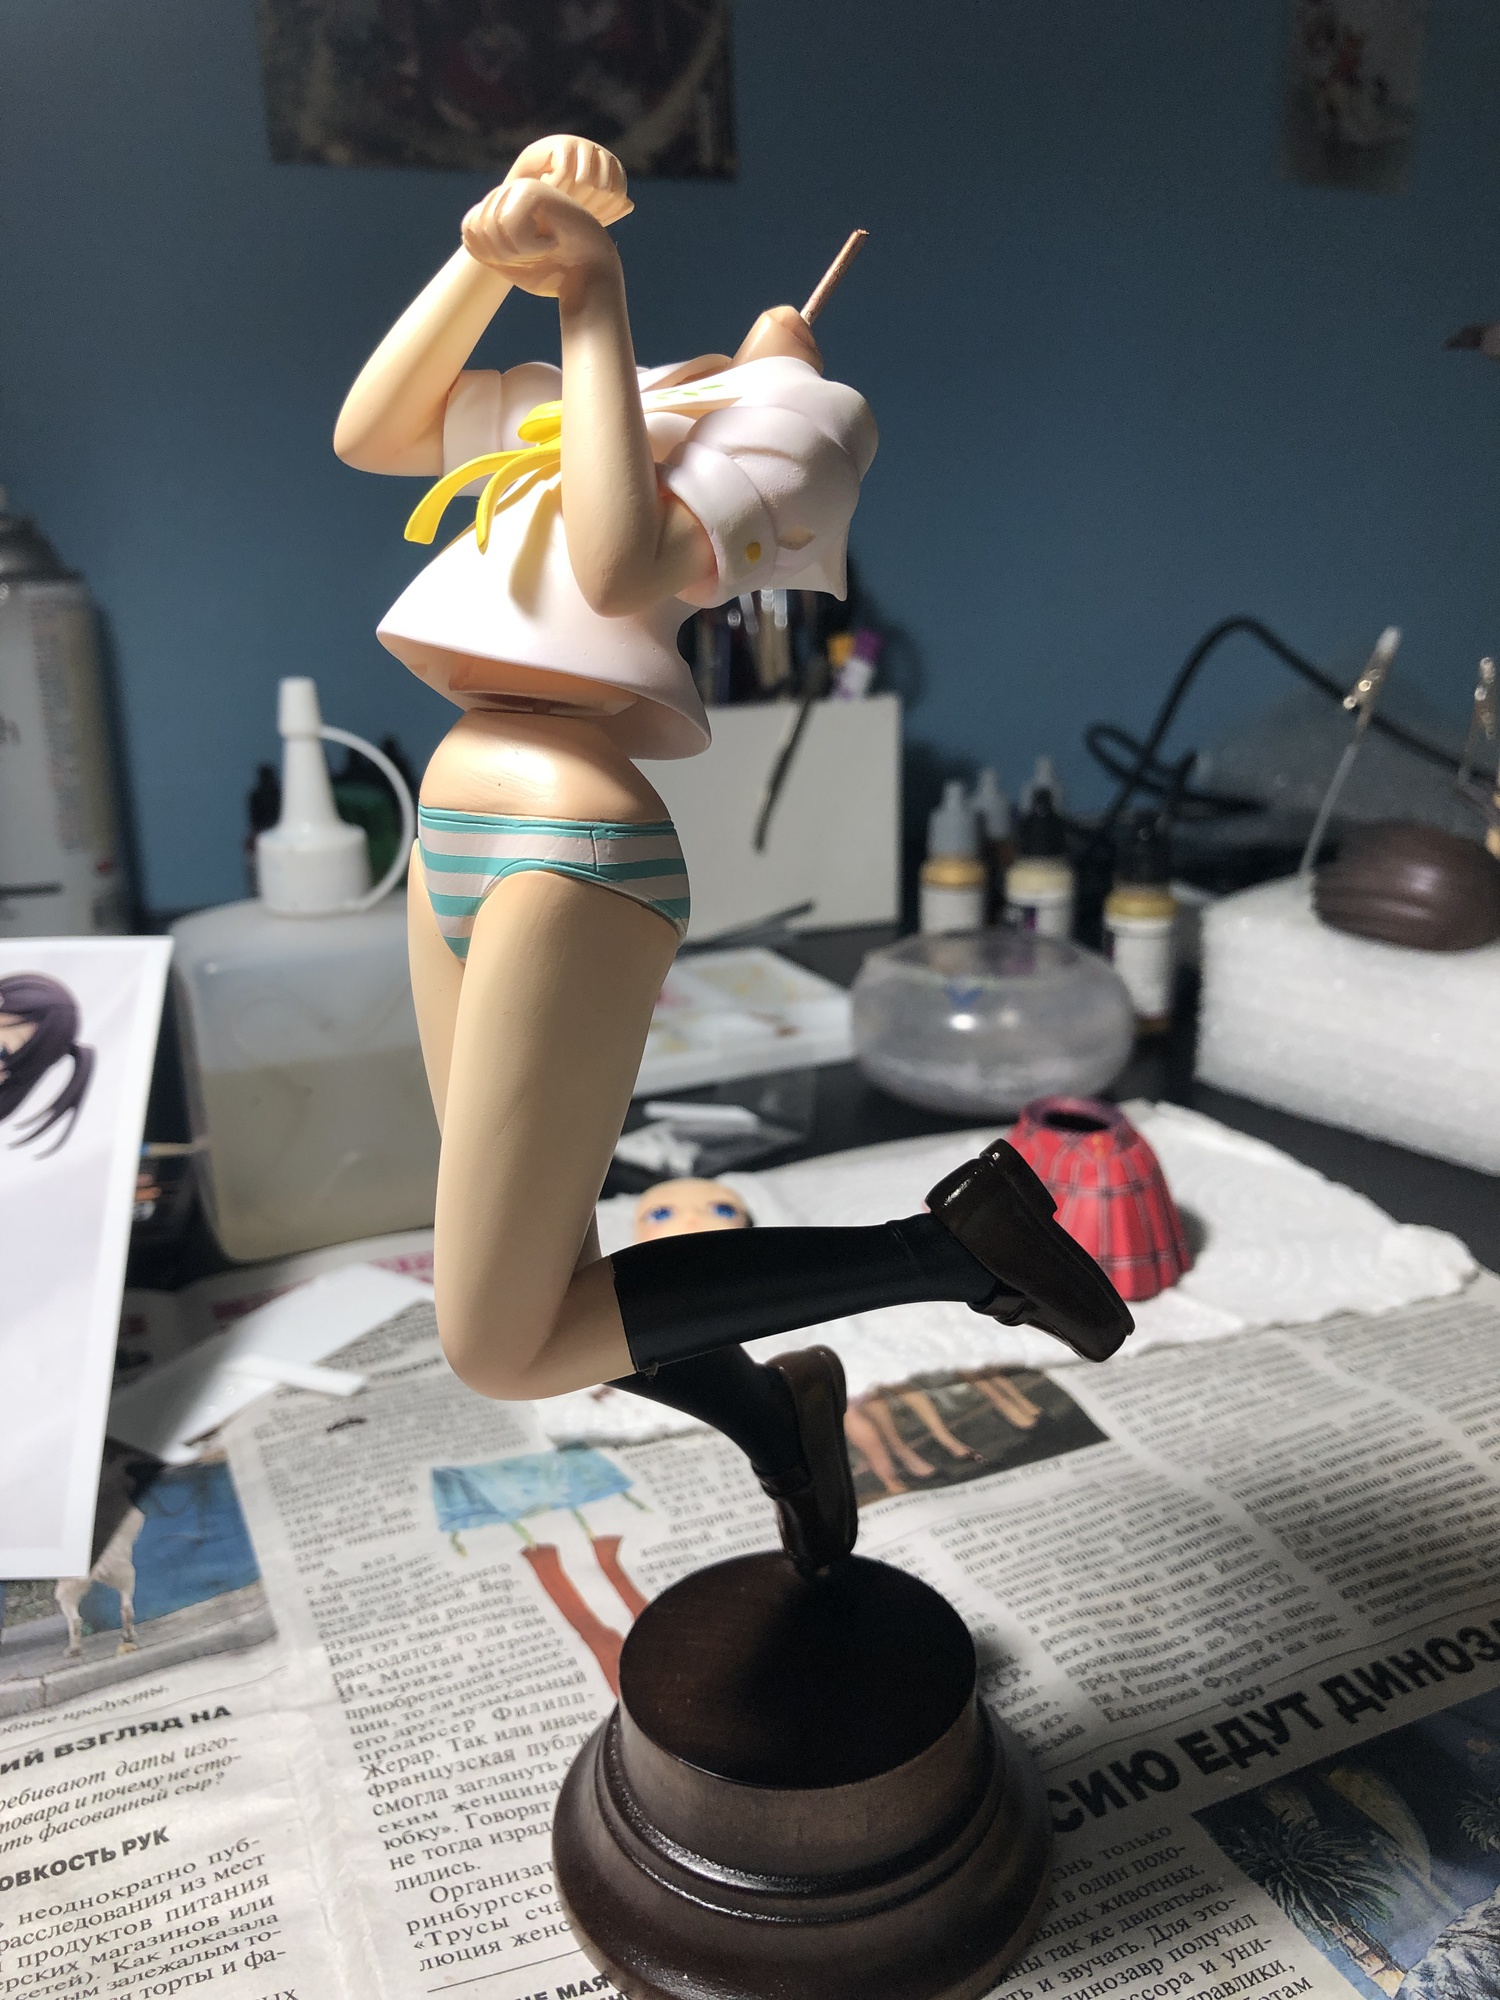
I added a thin layer of chameleon paint over the hair to give it a more interesting shade.
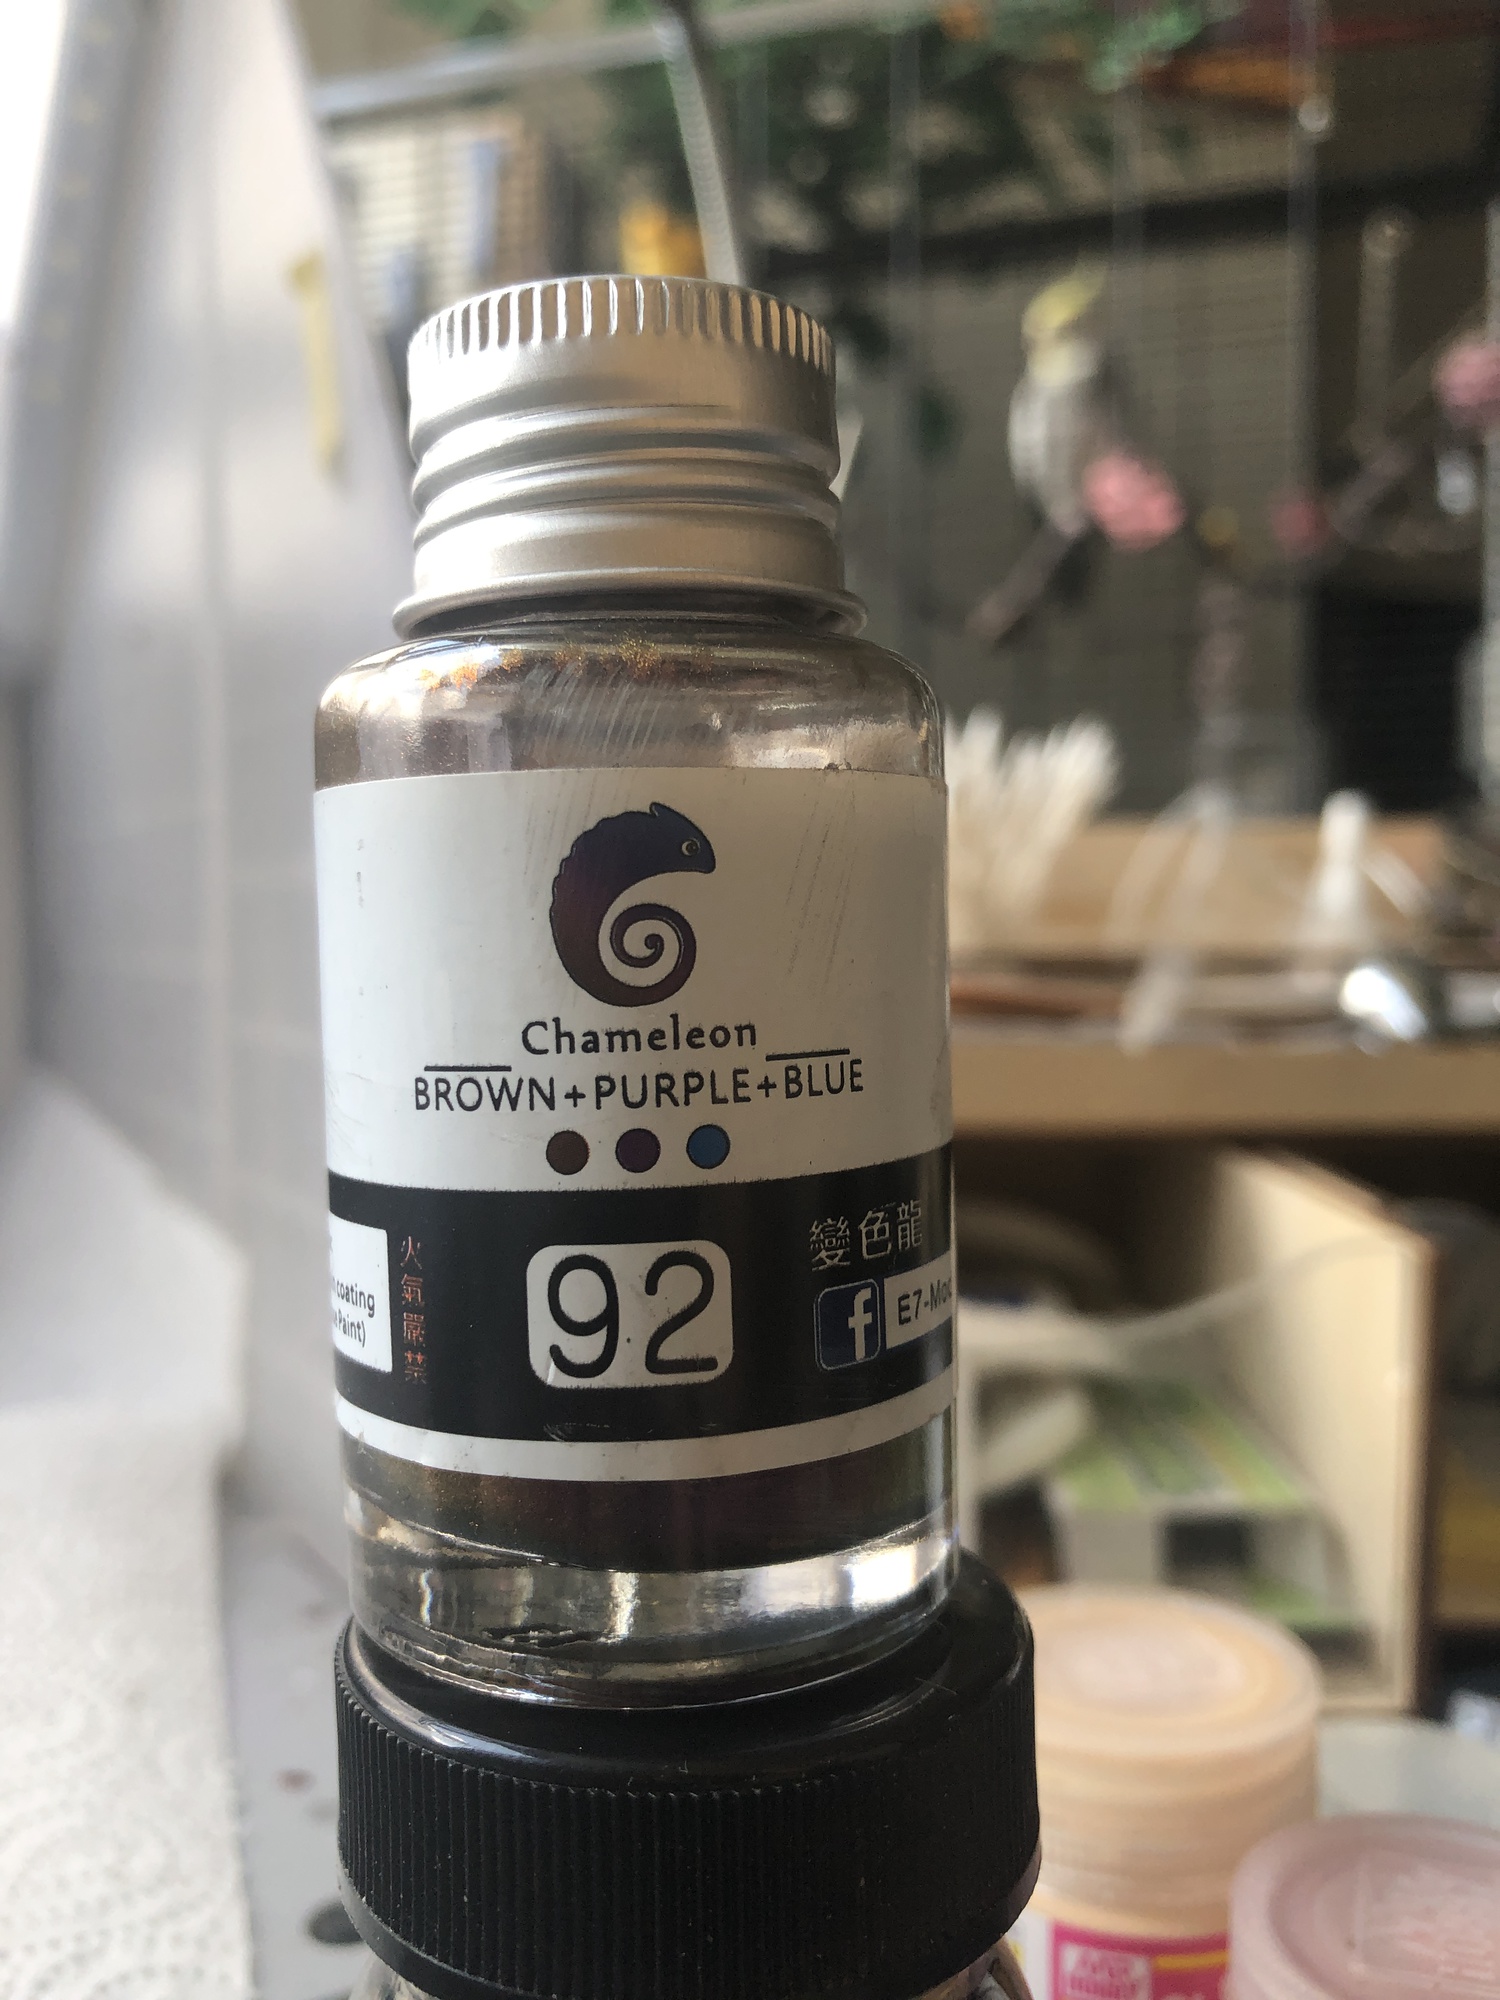
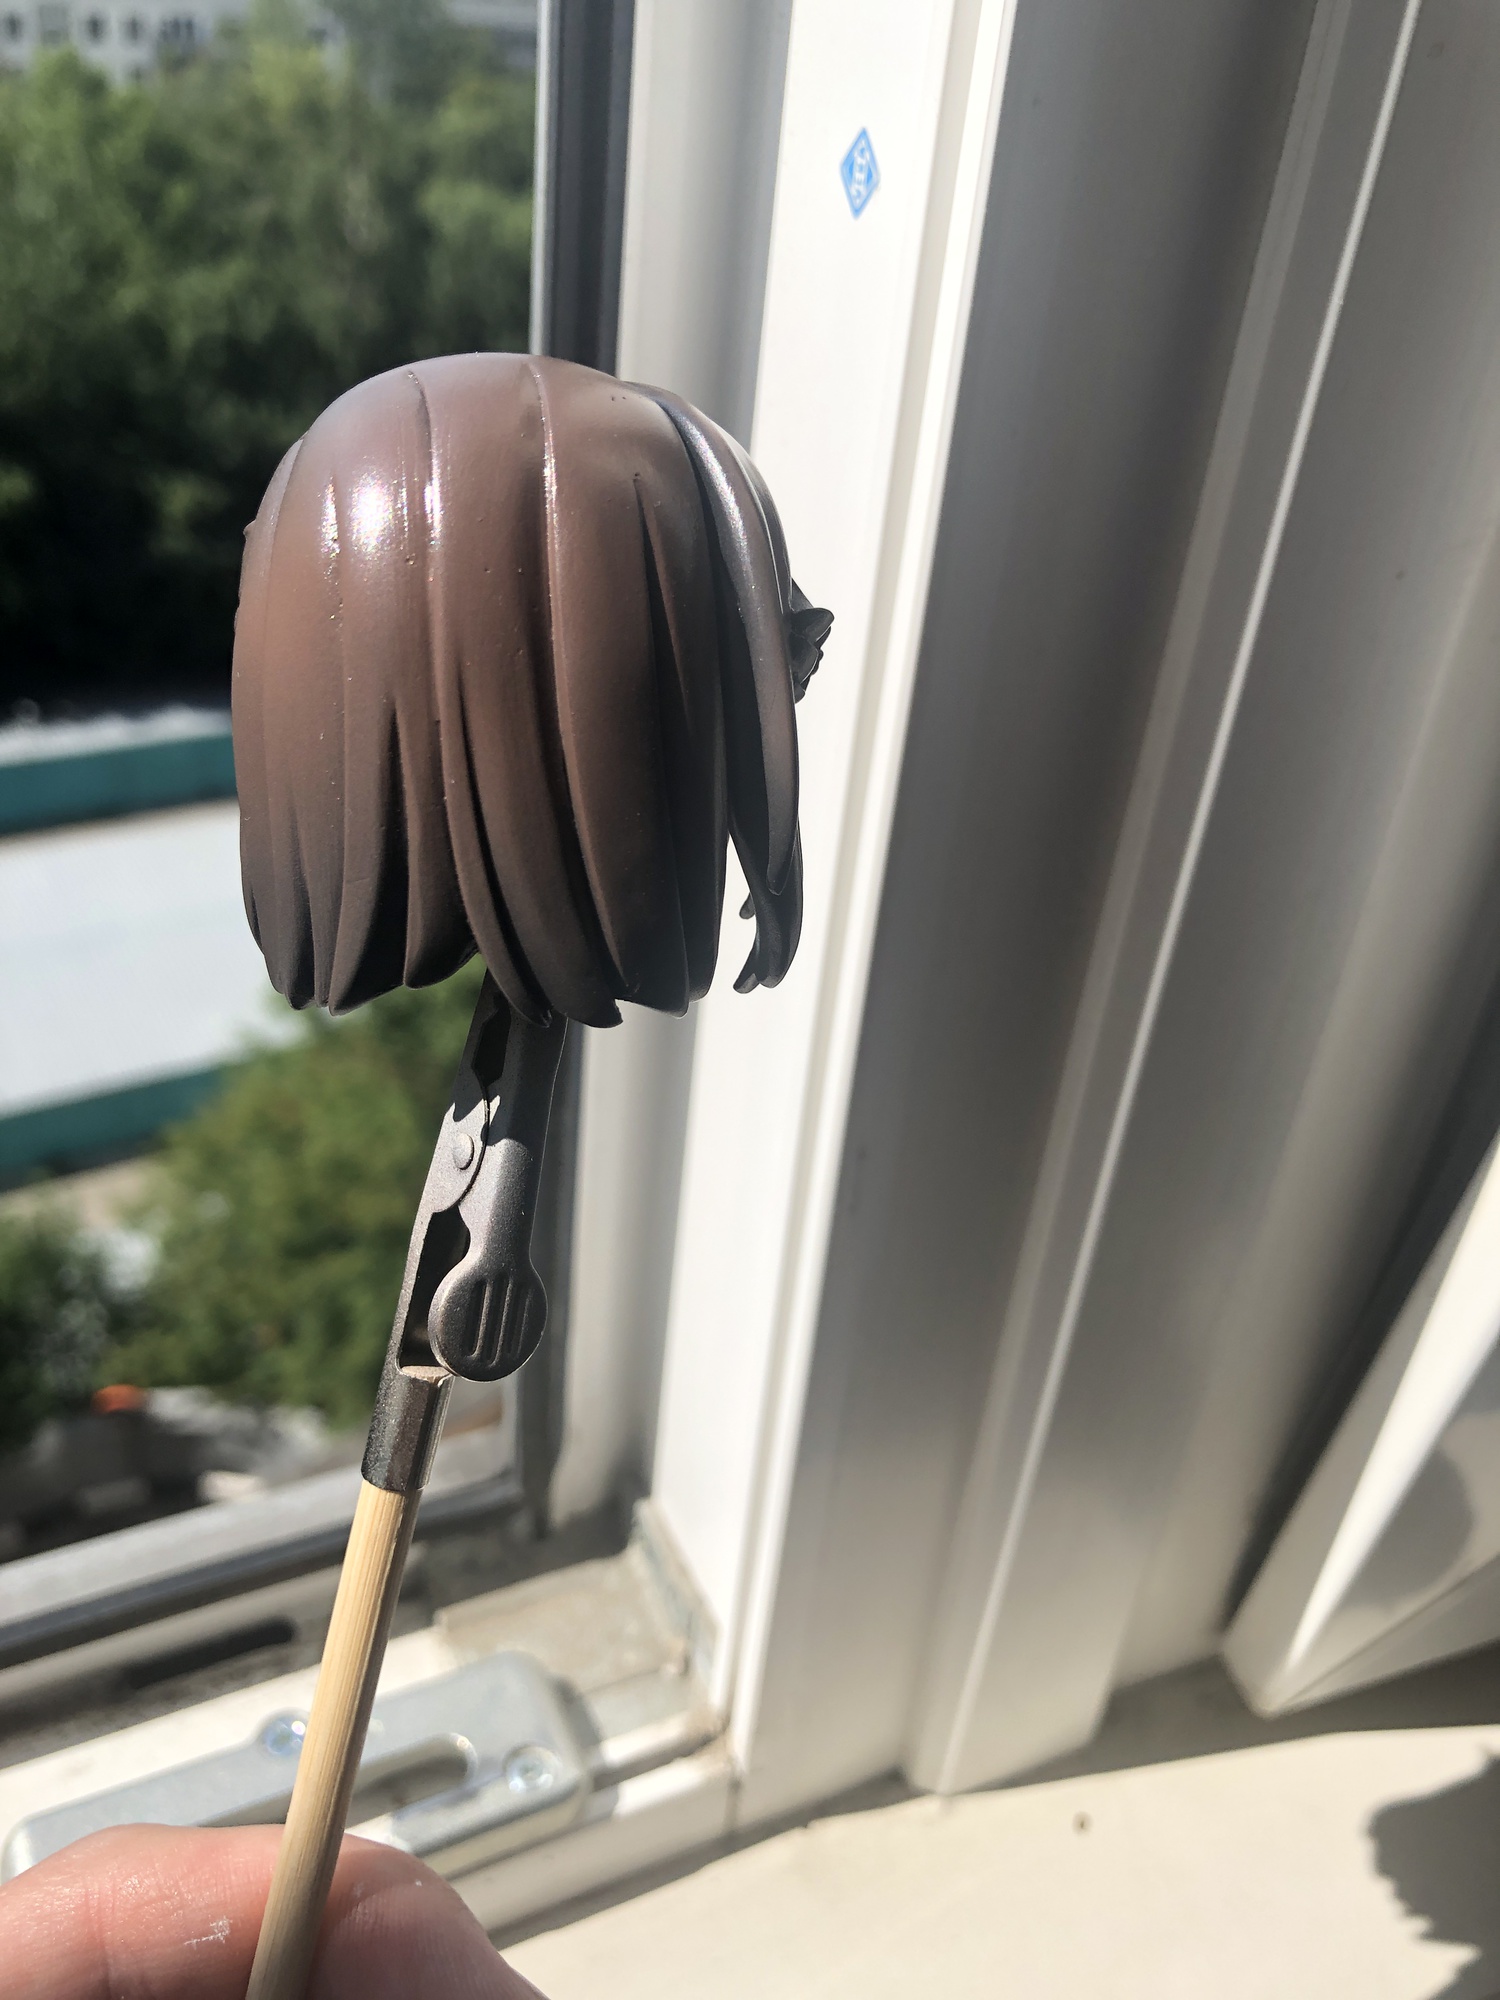
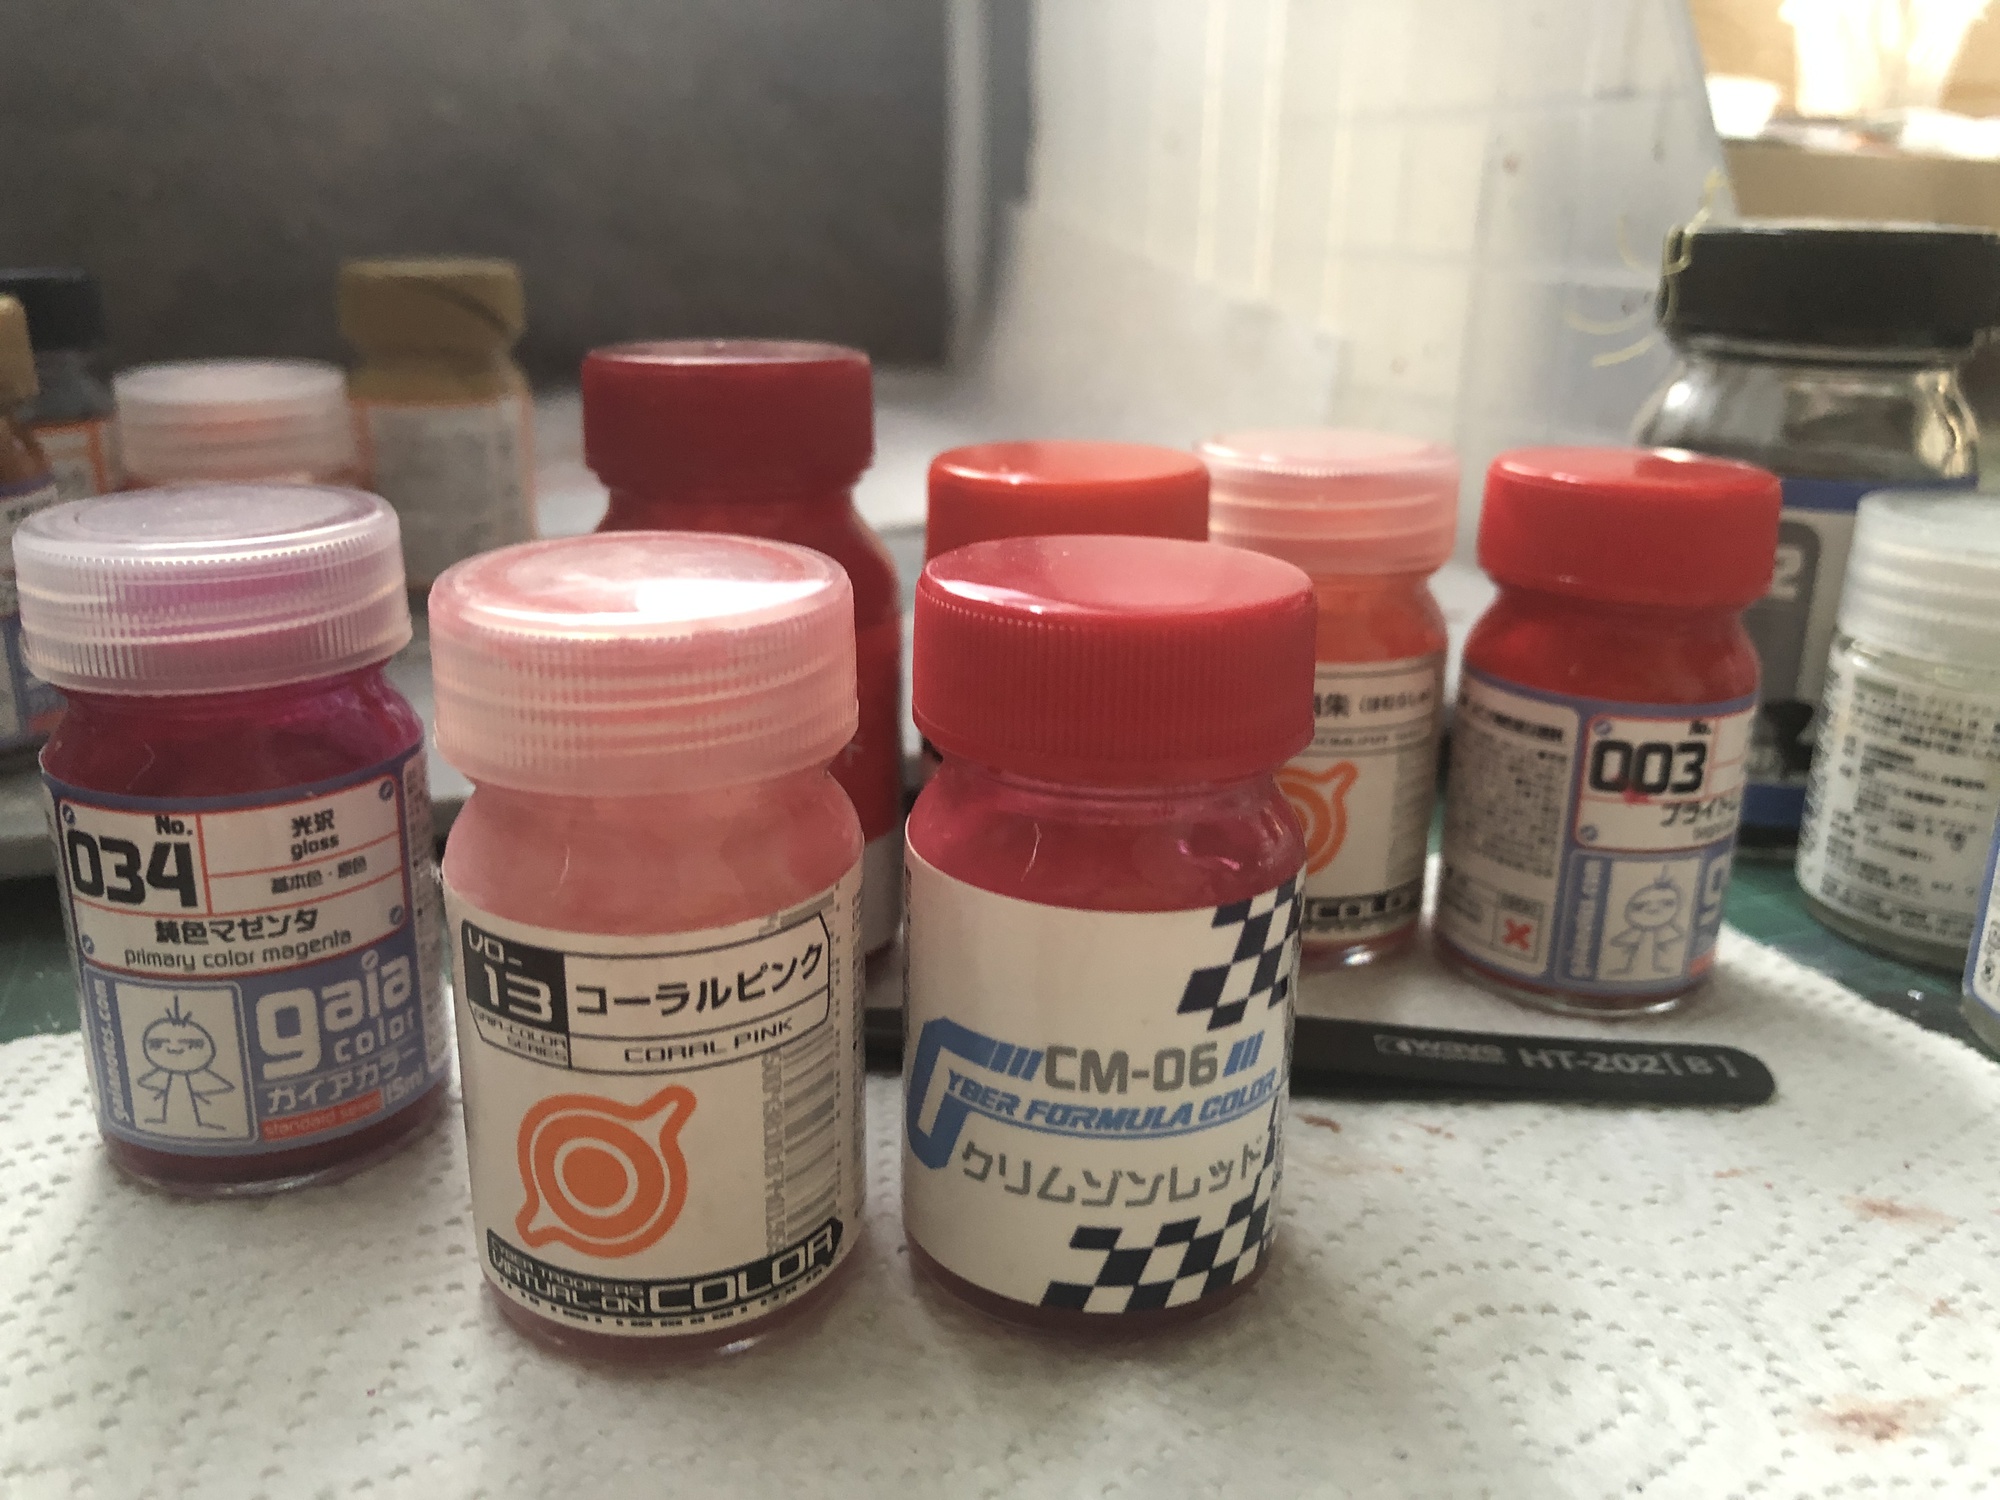
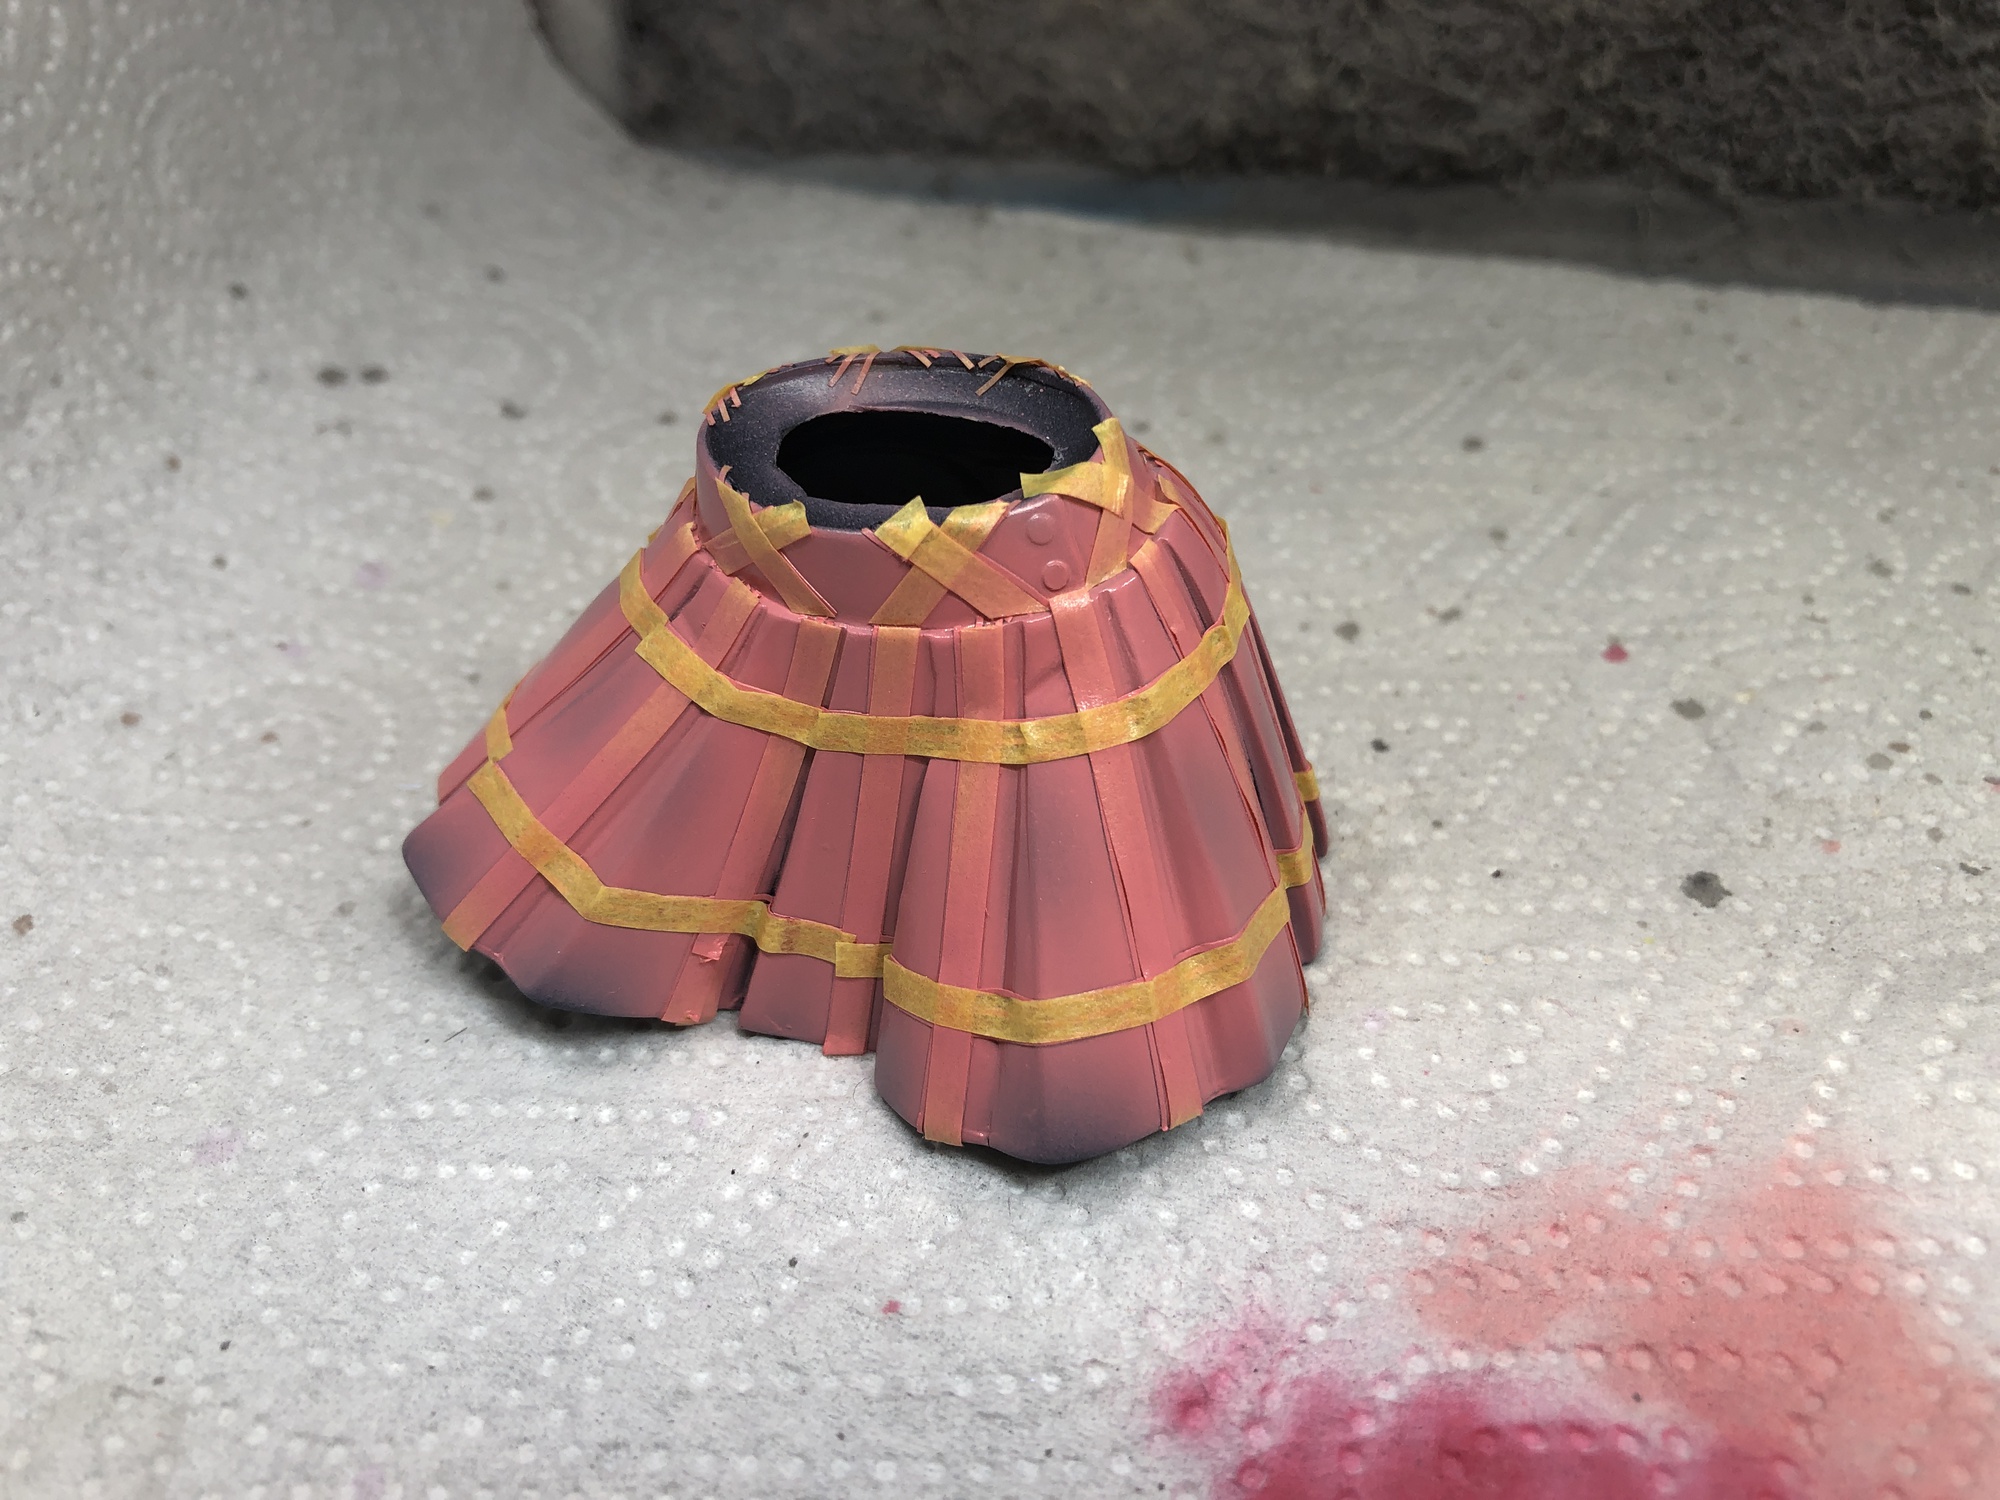
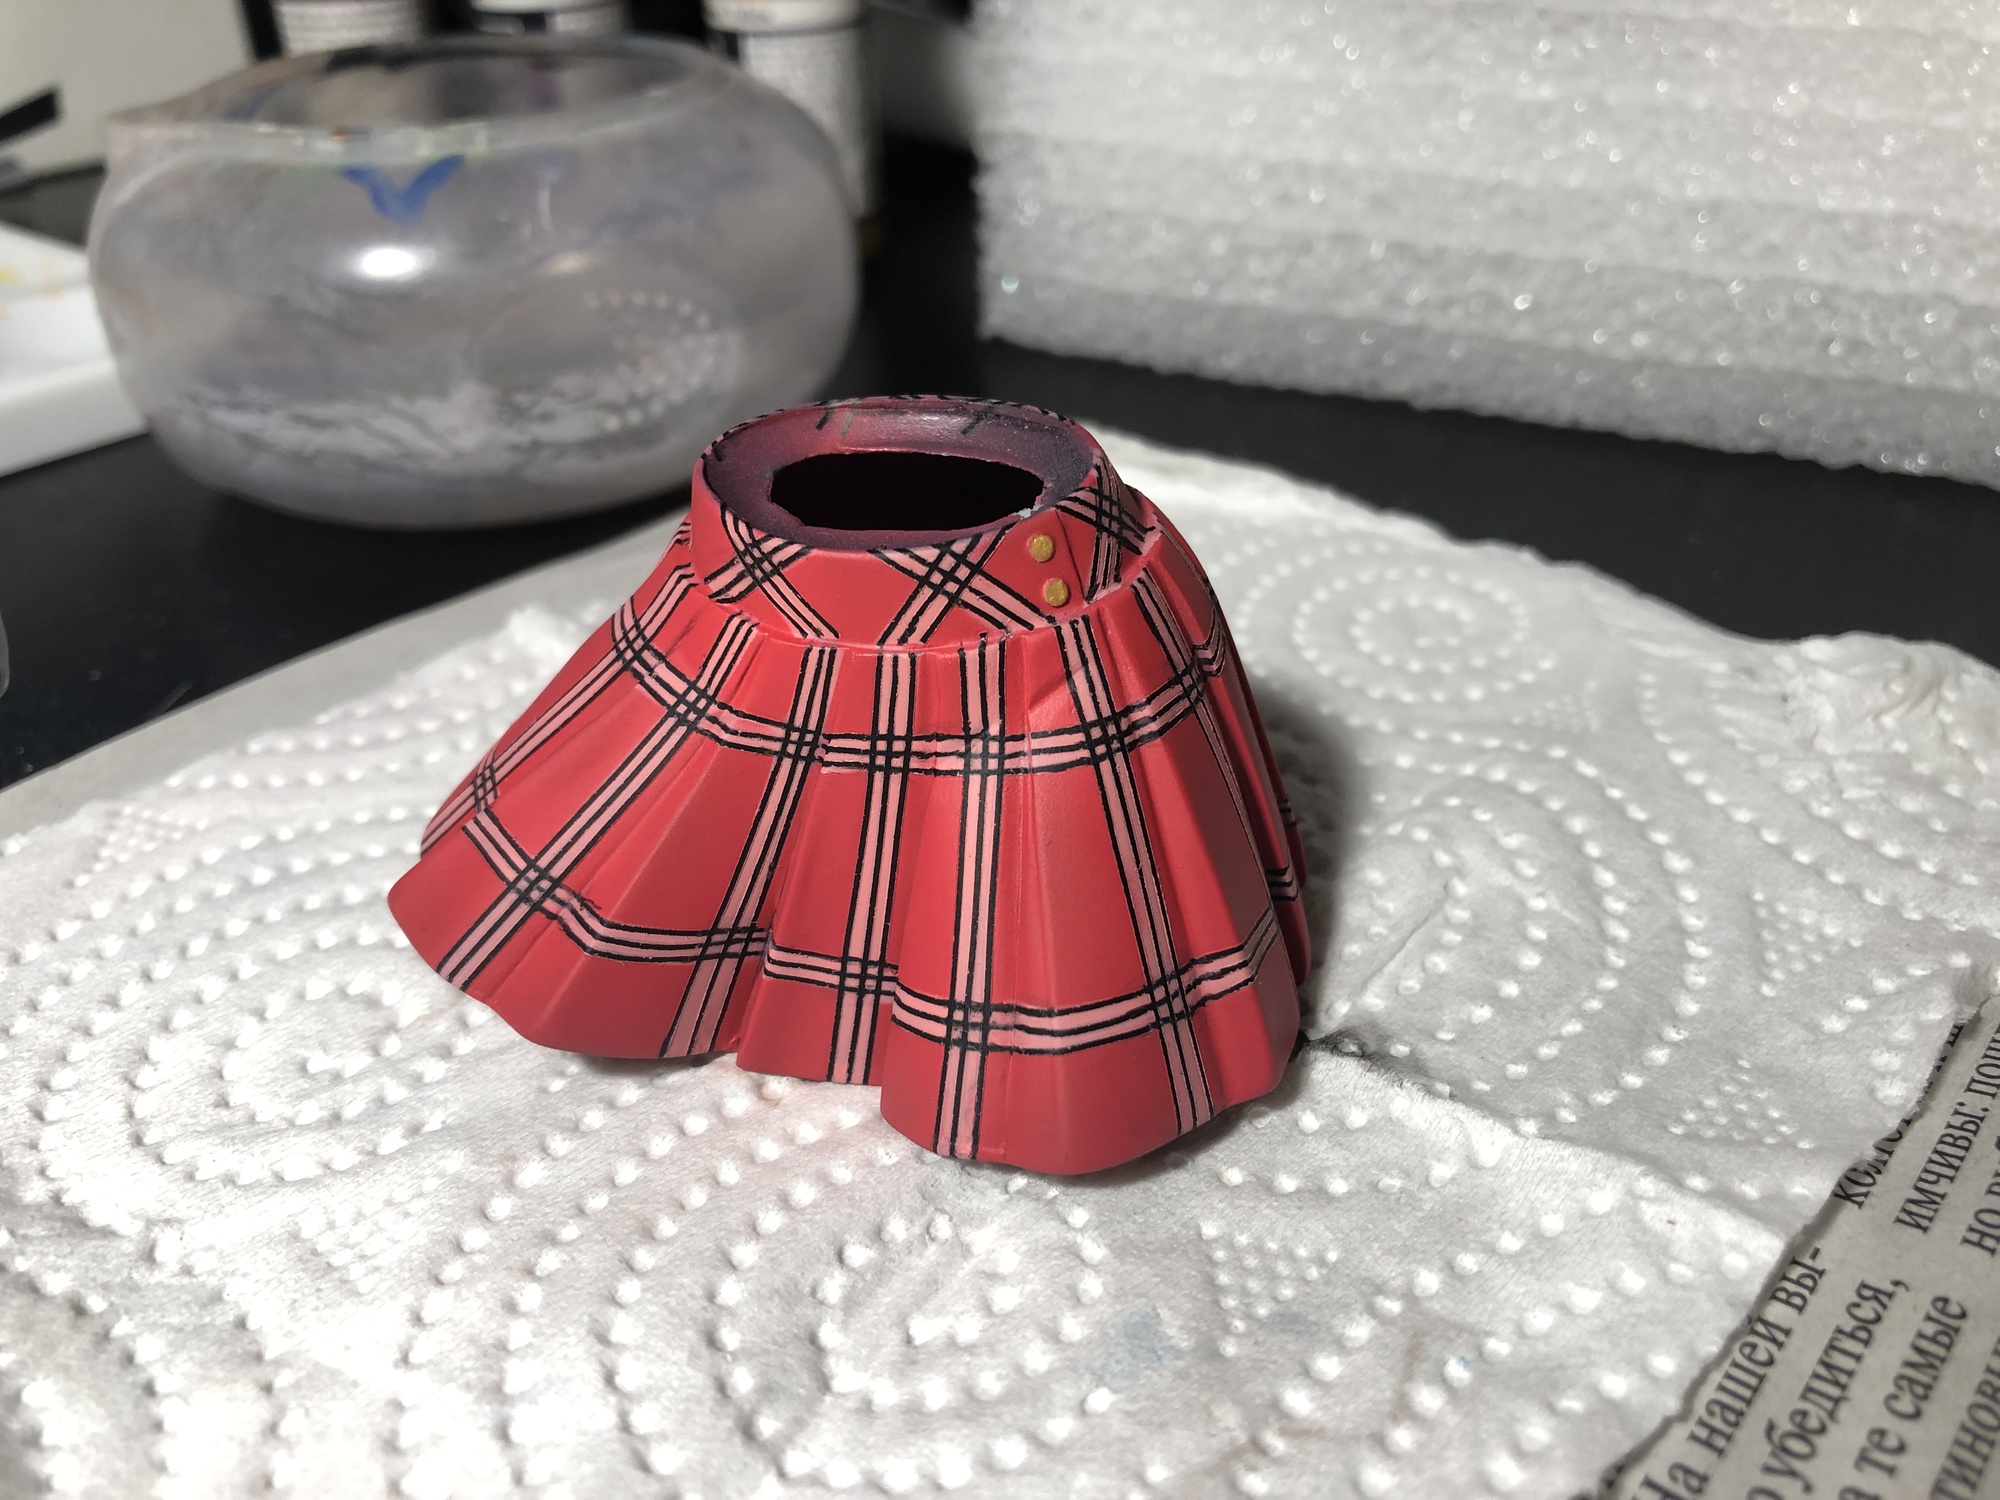
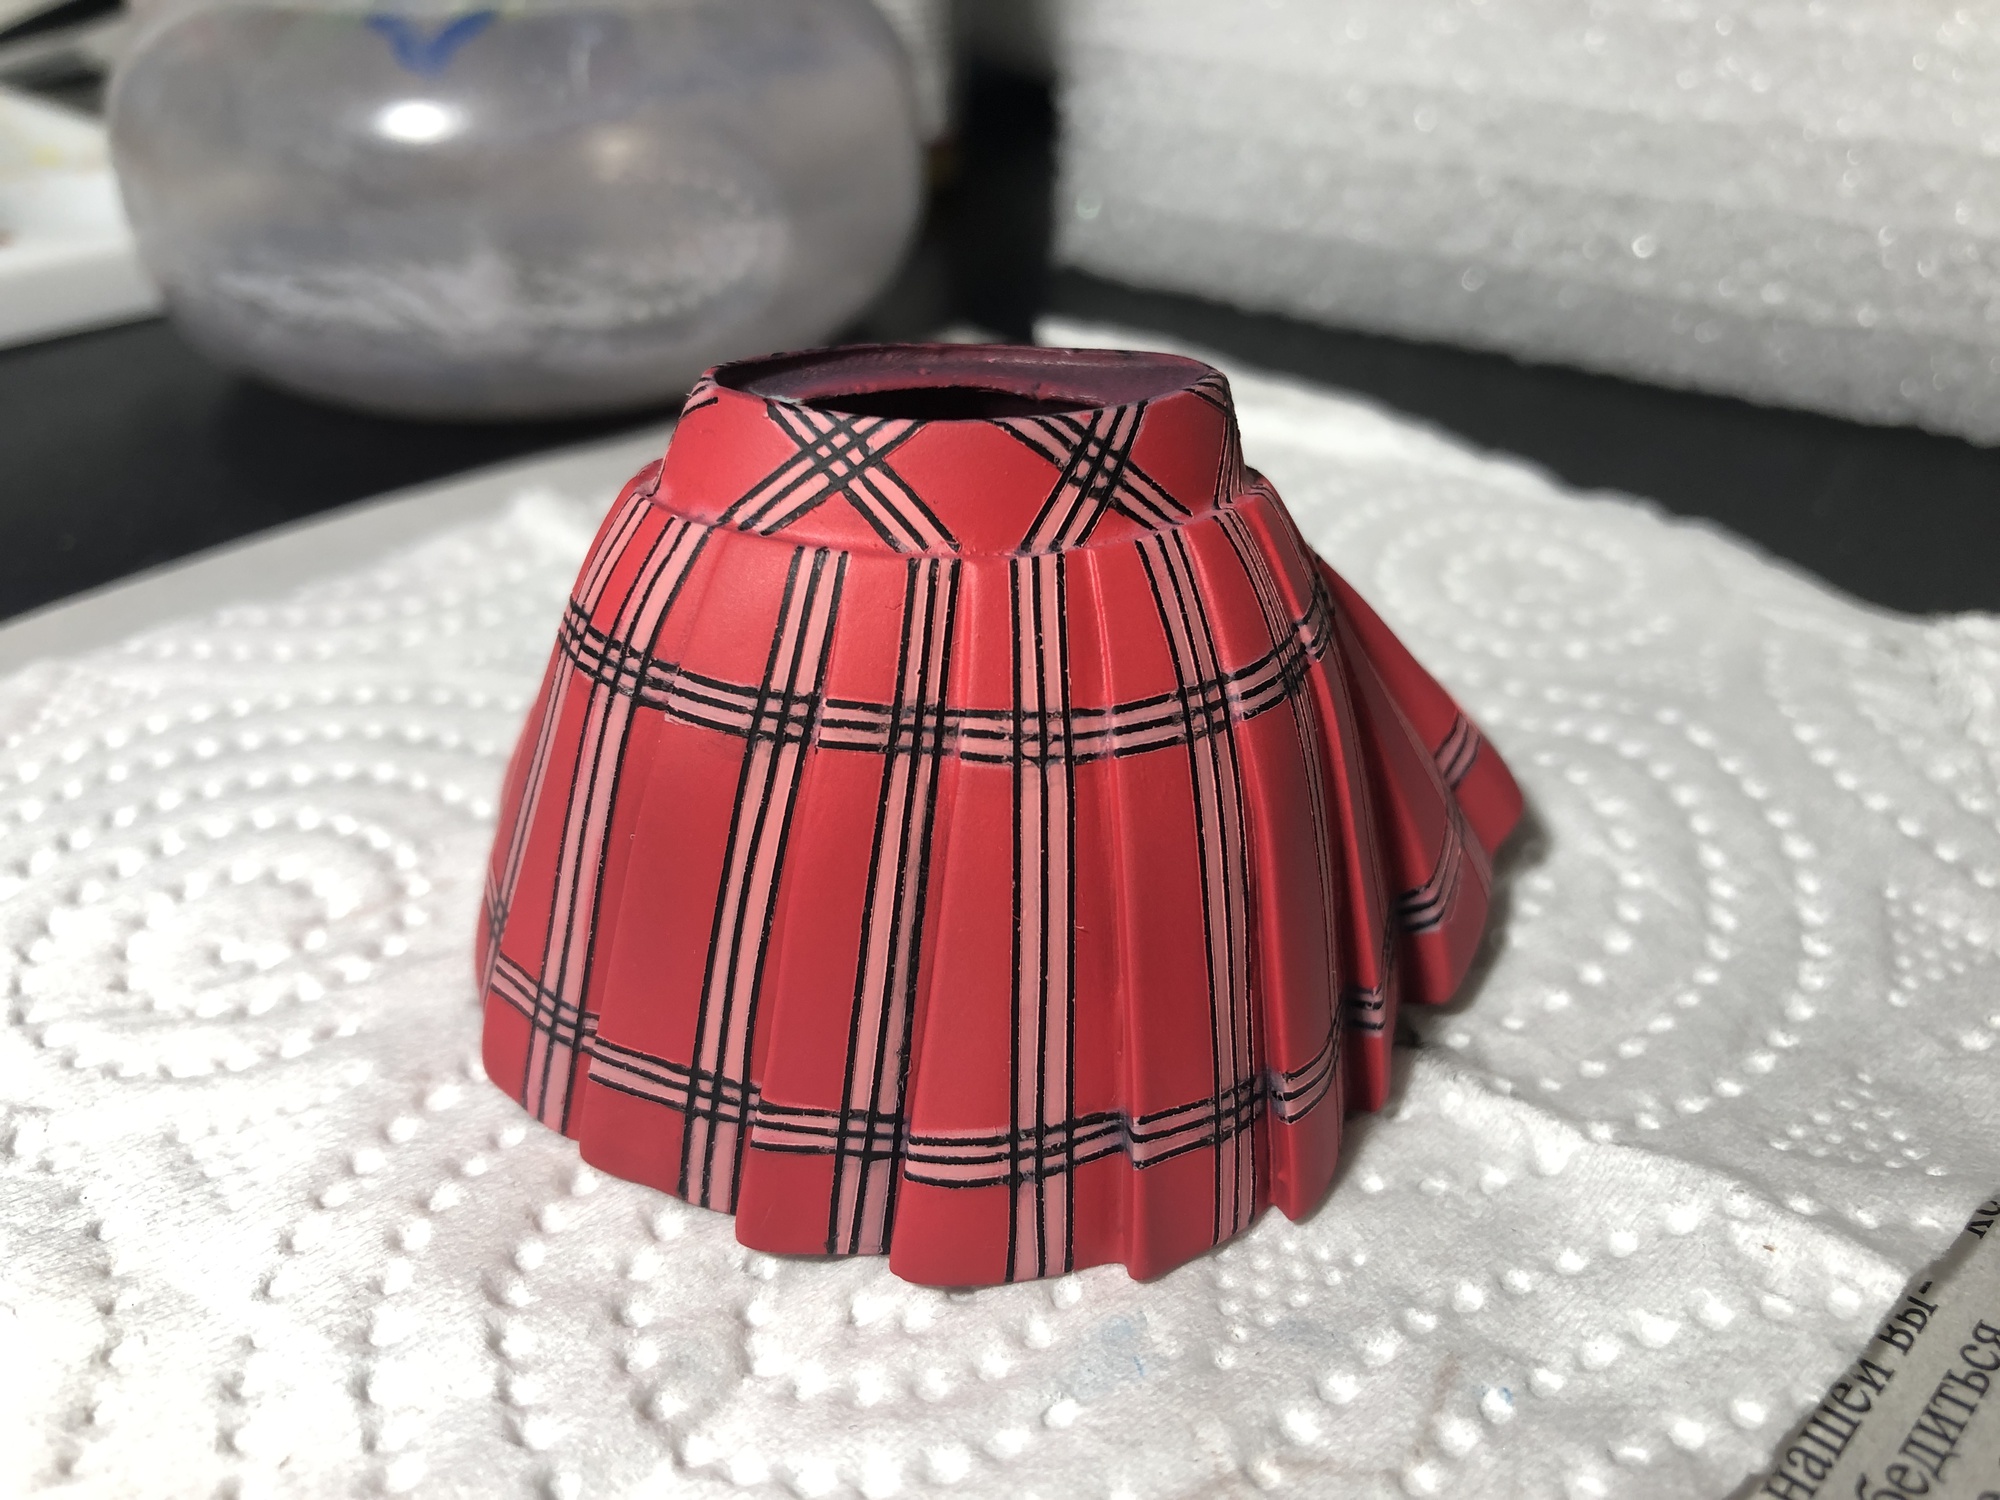
Time for some exquisite stripe-related perversity on the skirt, using the narrowest masking tape I own. I got through it in two sessions because it was terribly tedious. But among my many shades of red, I found exactly the one I needed! The photo shows the two colors used on the skirt, not counting black.
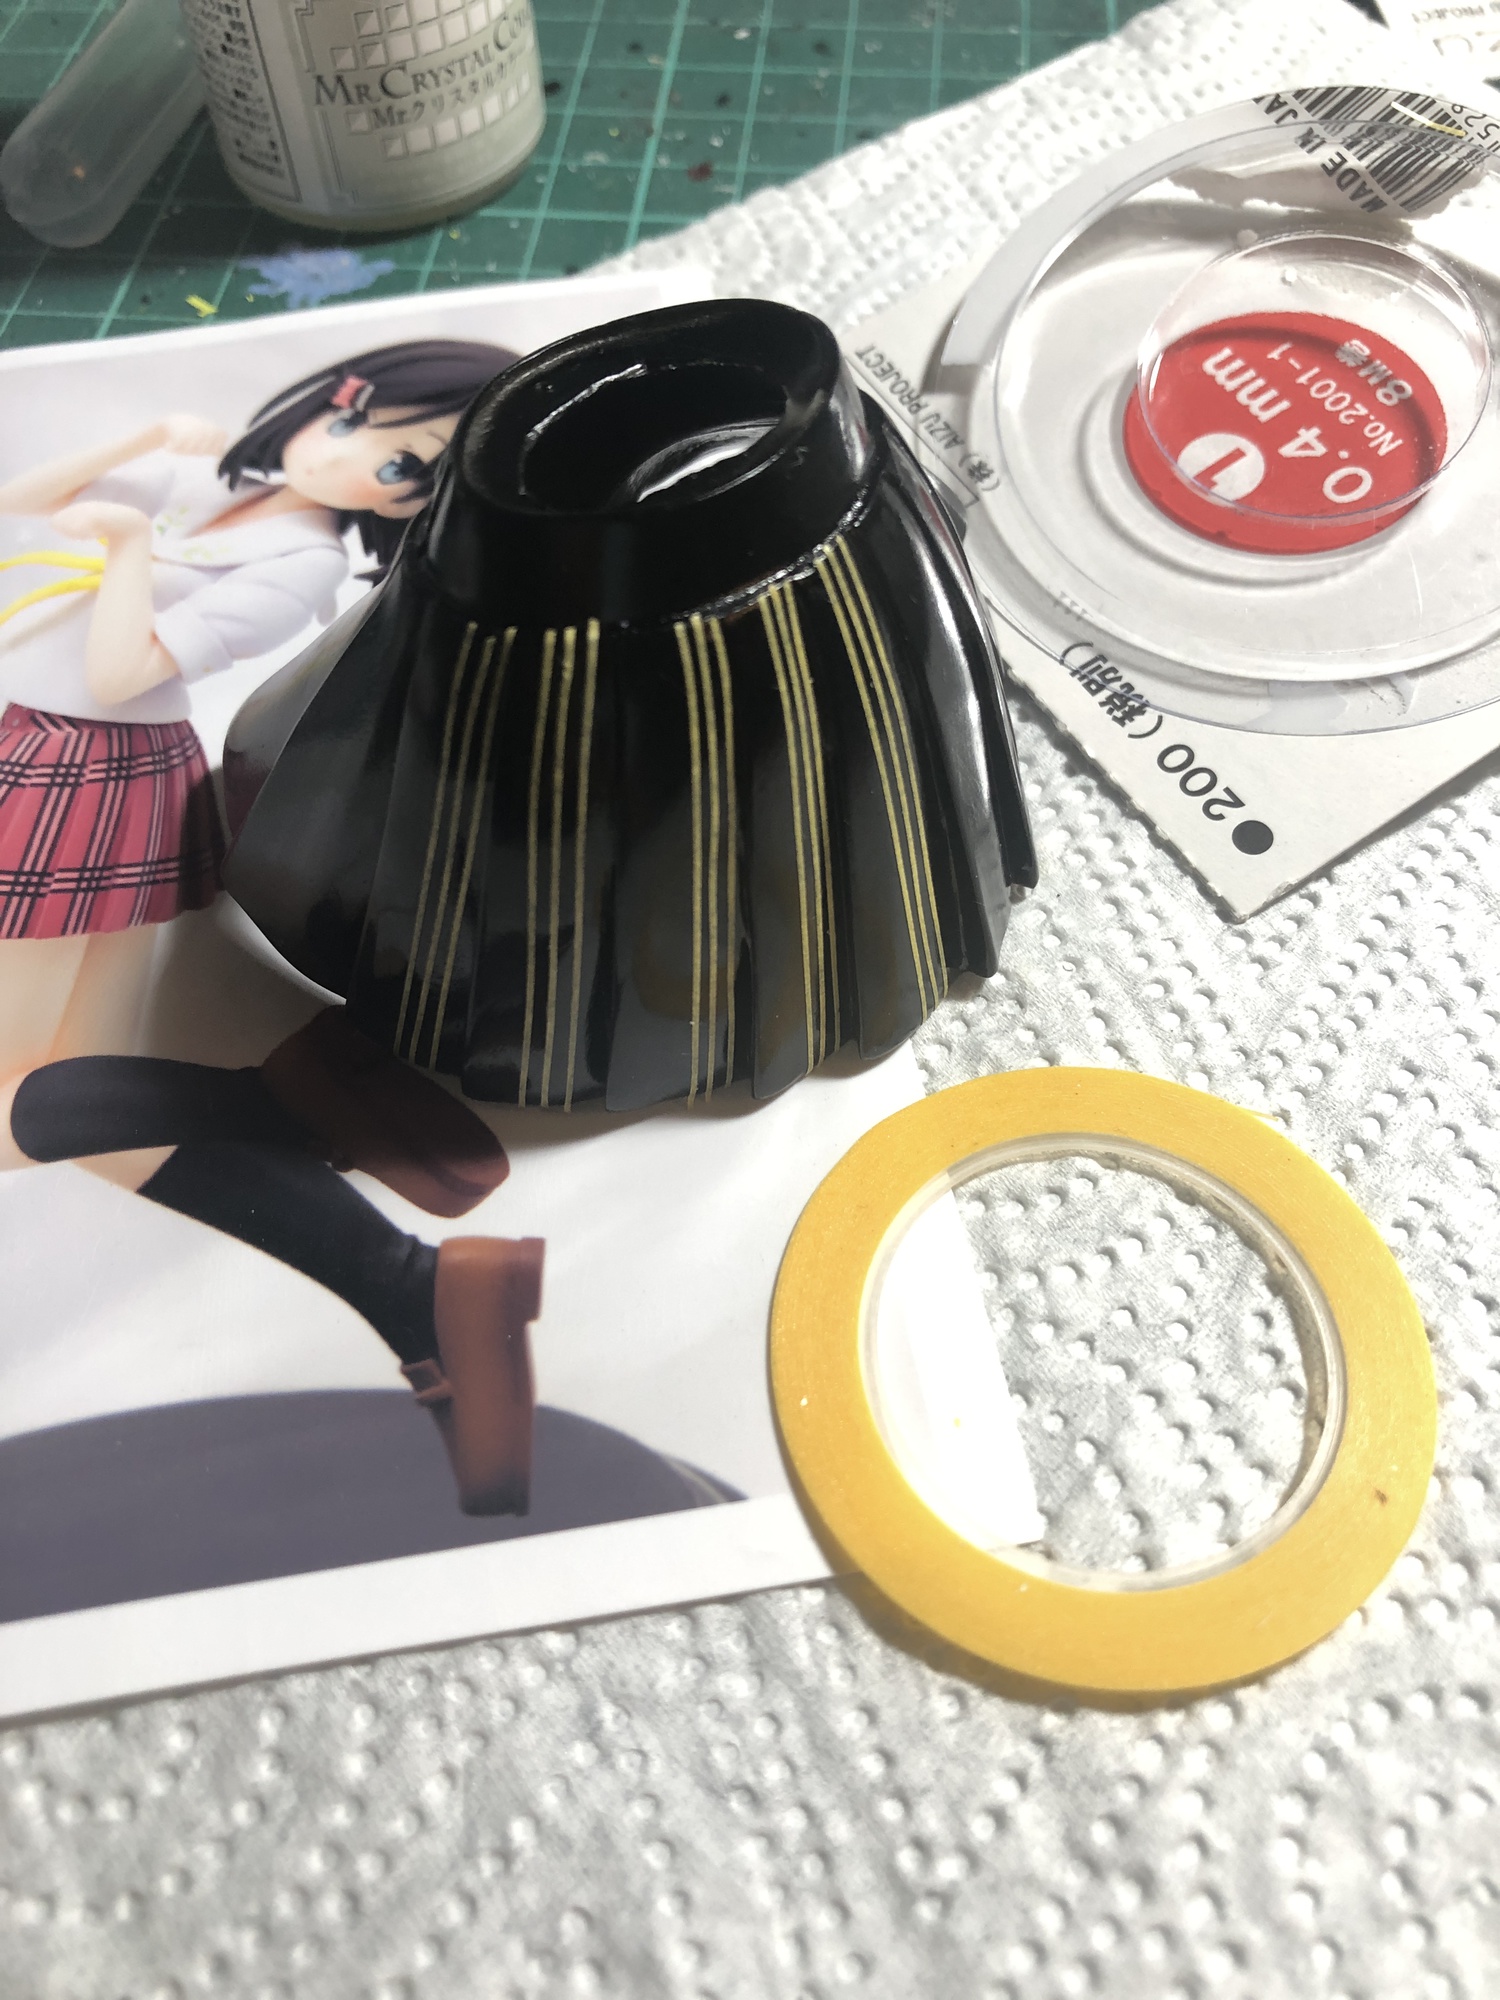
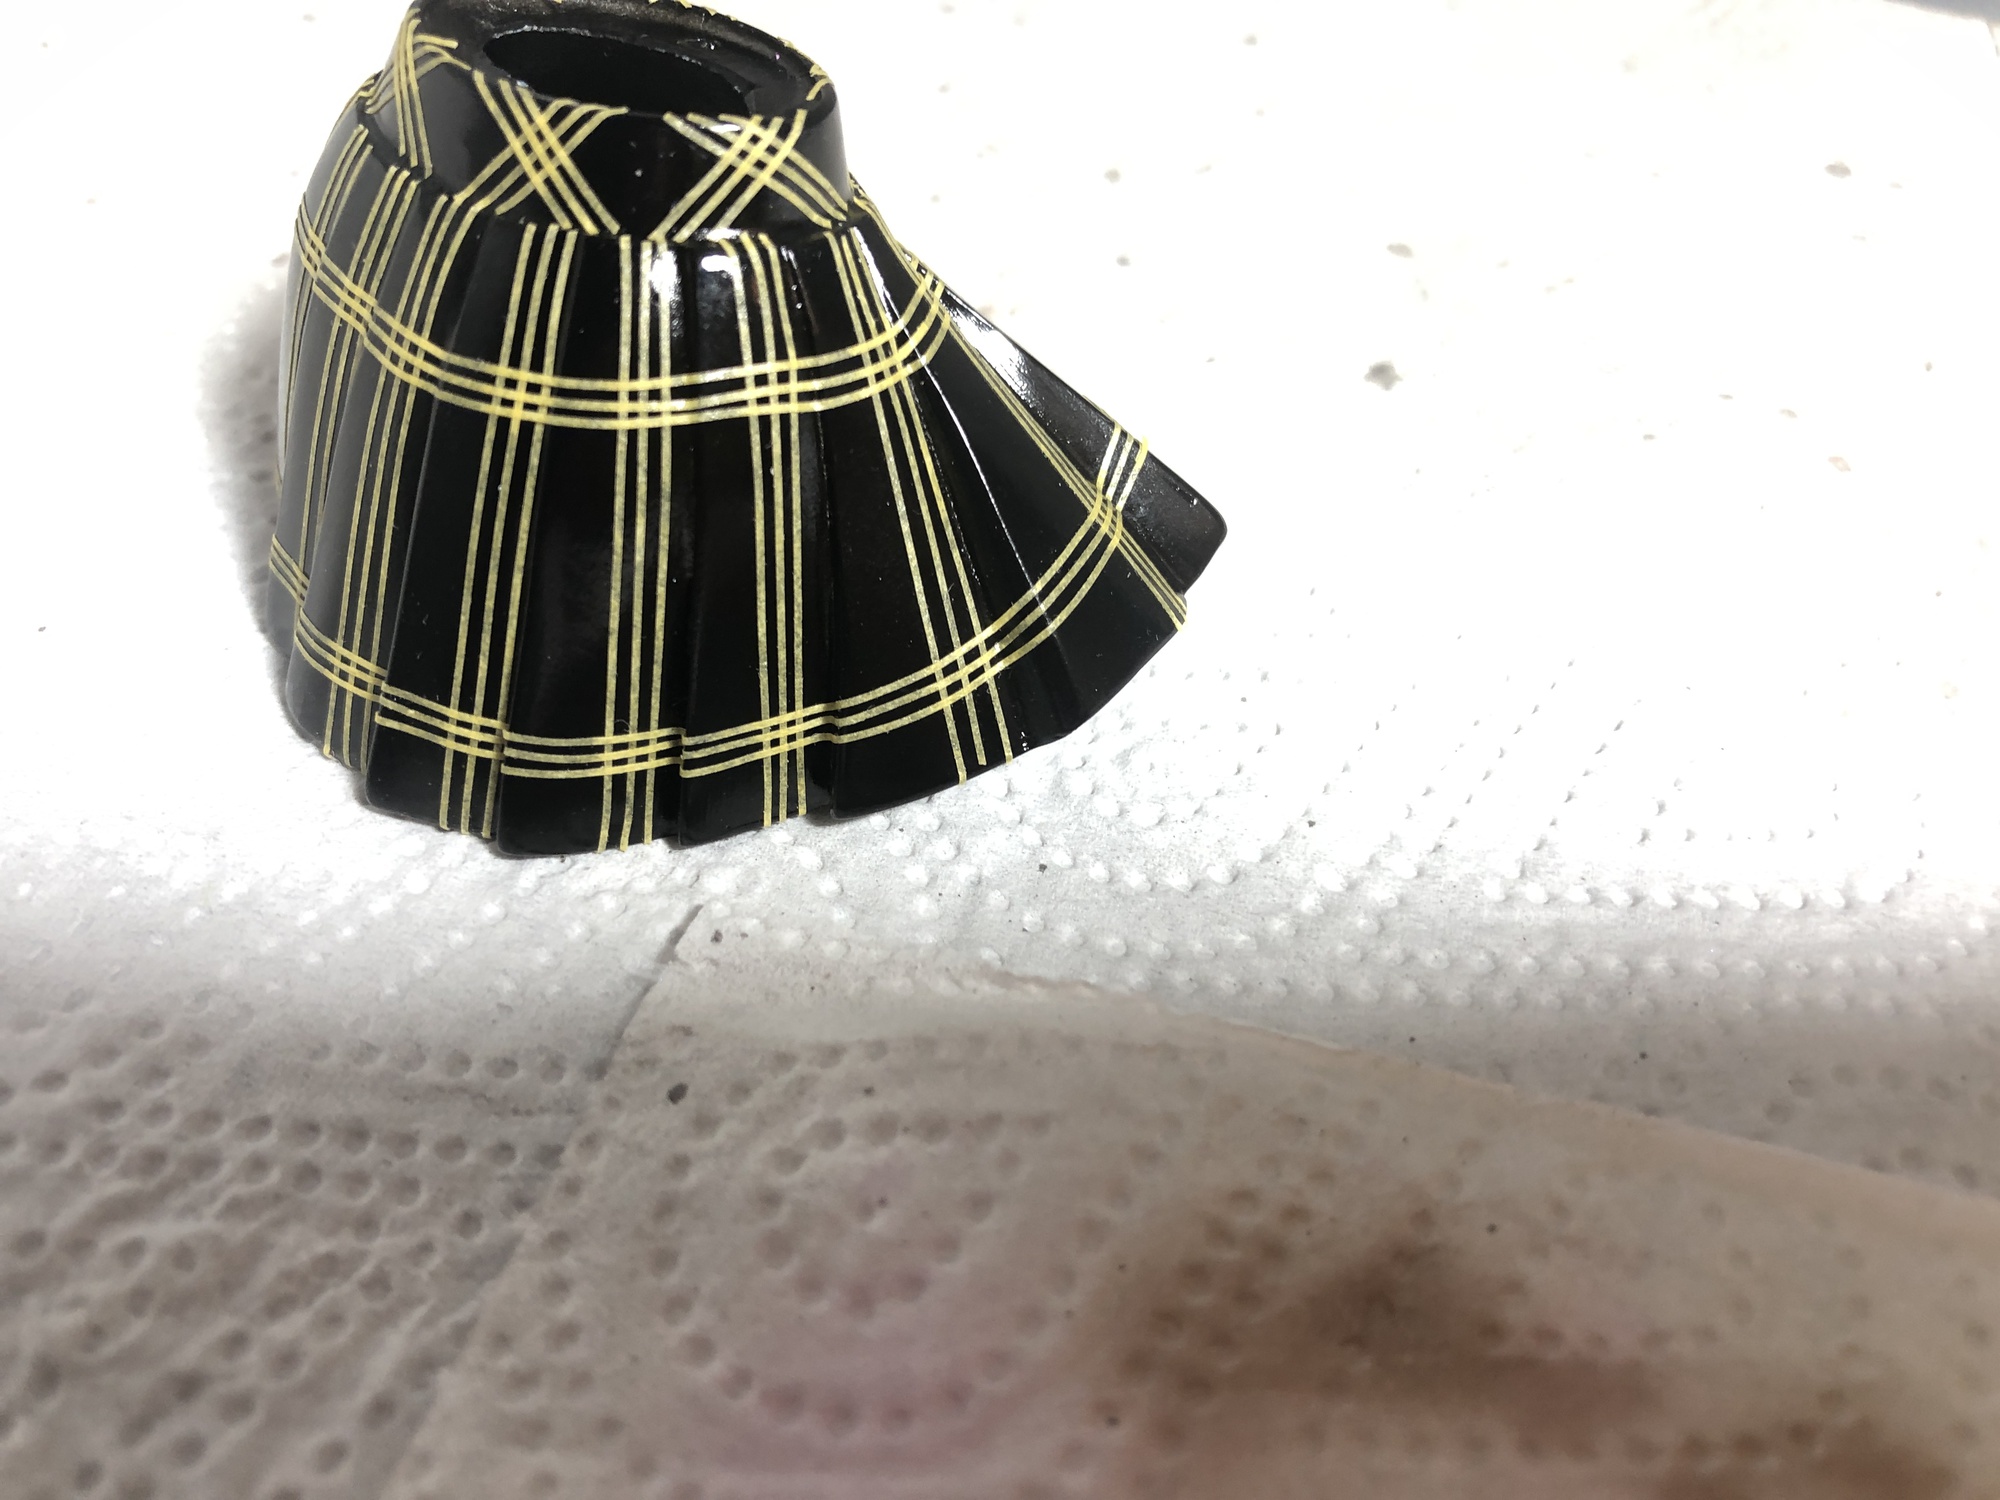
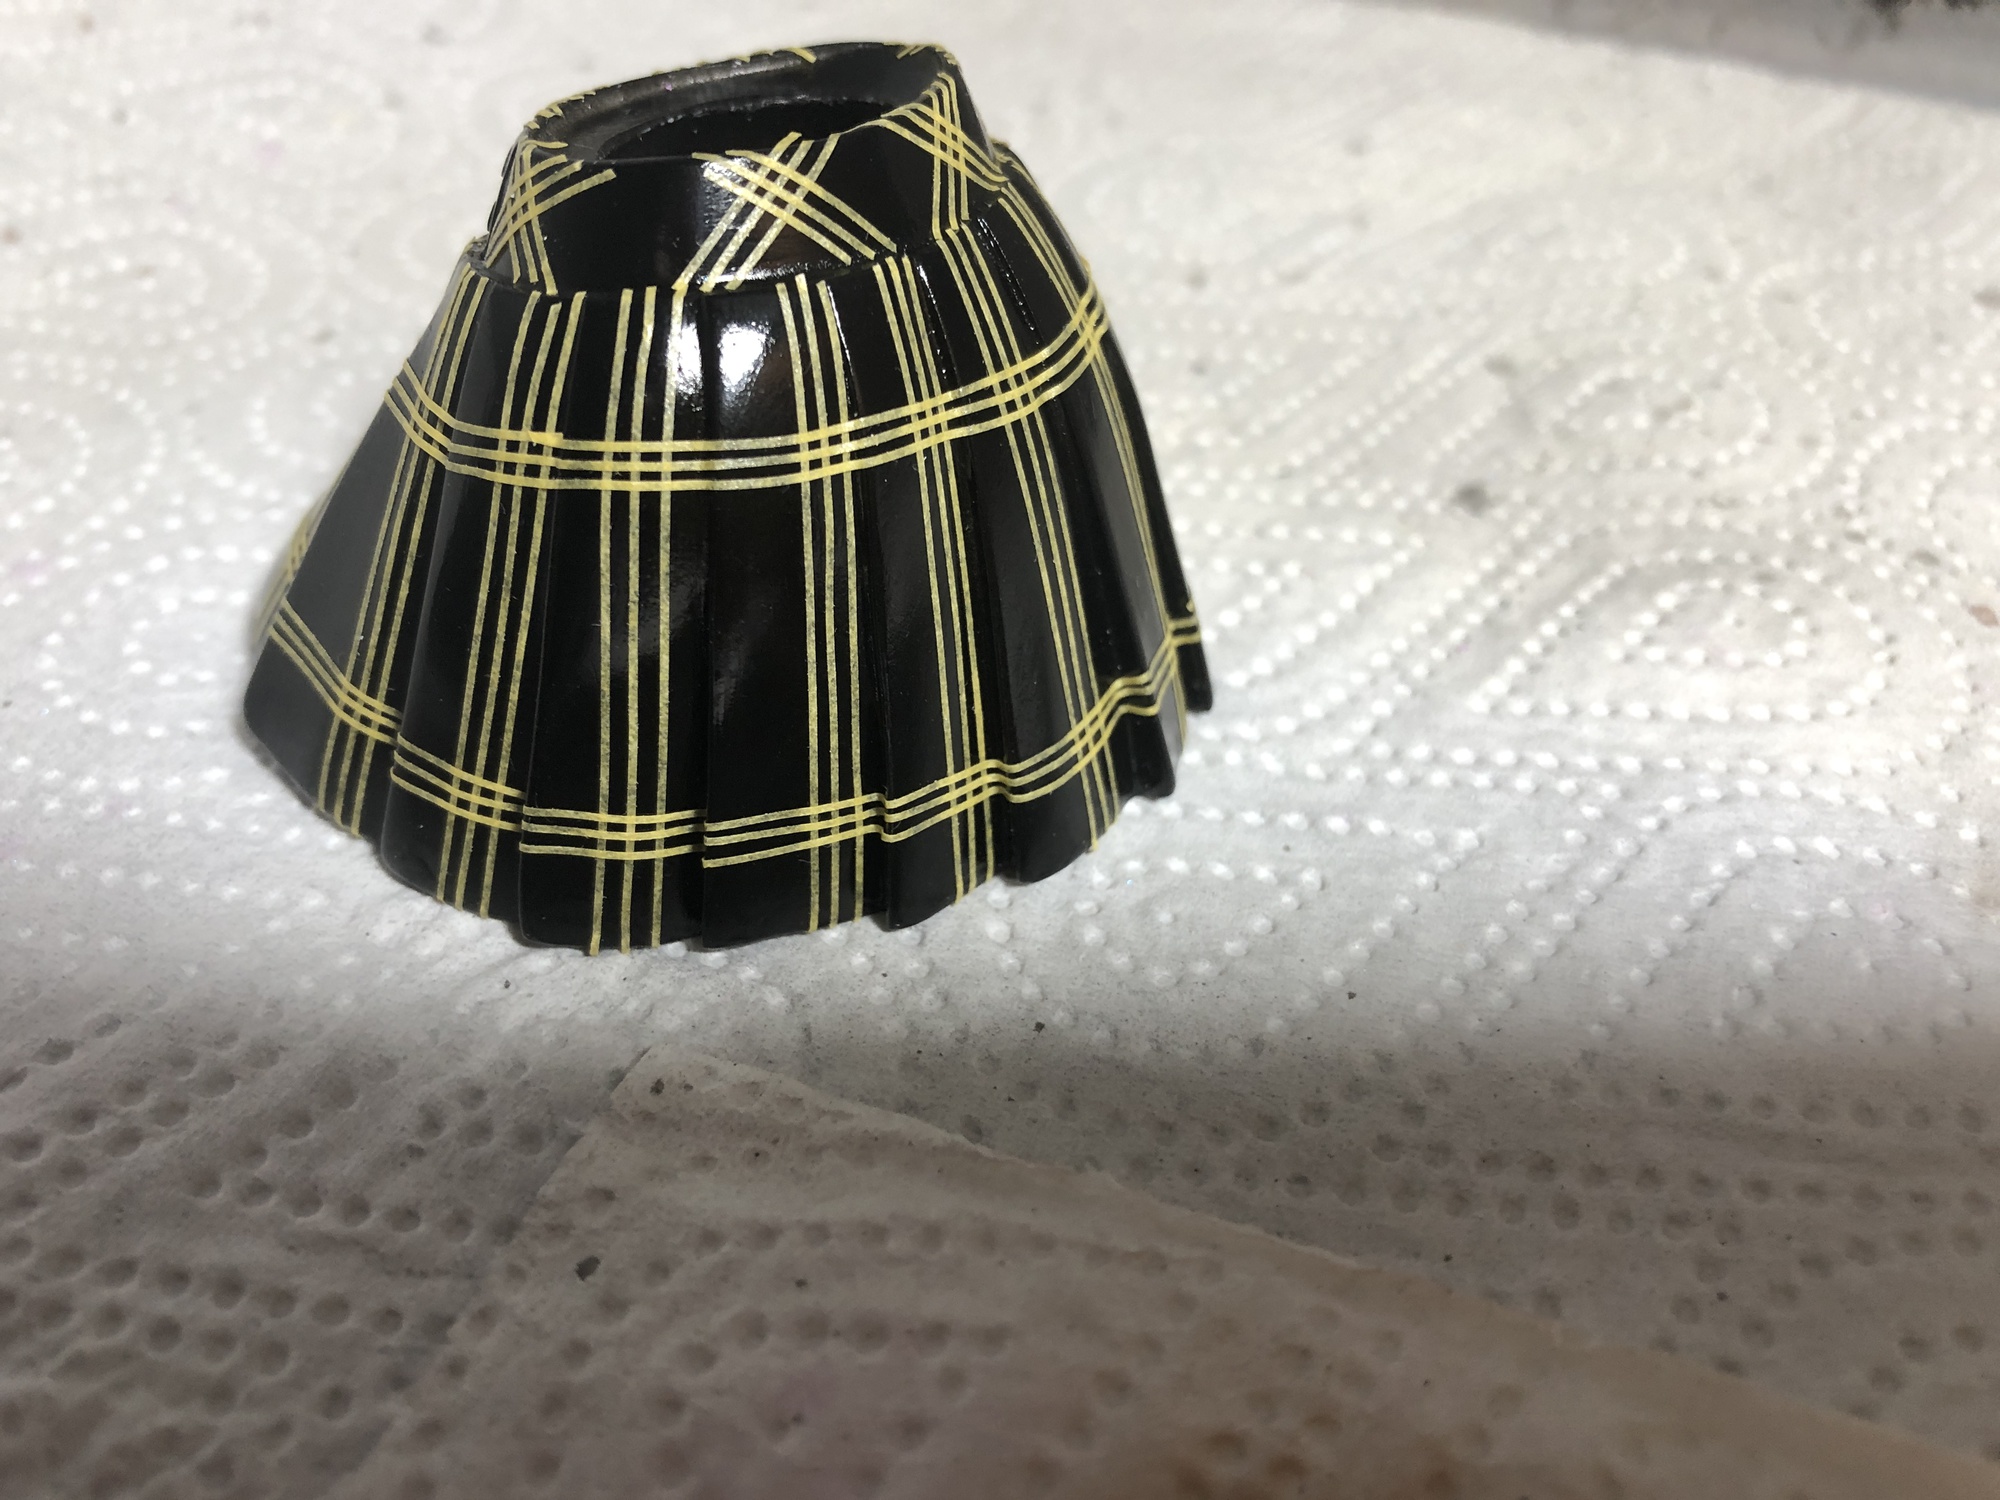
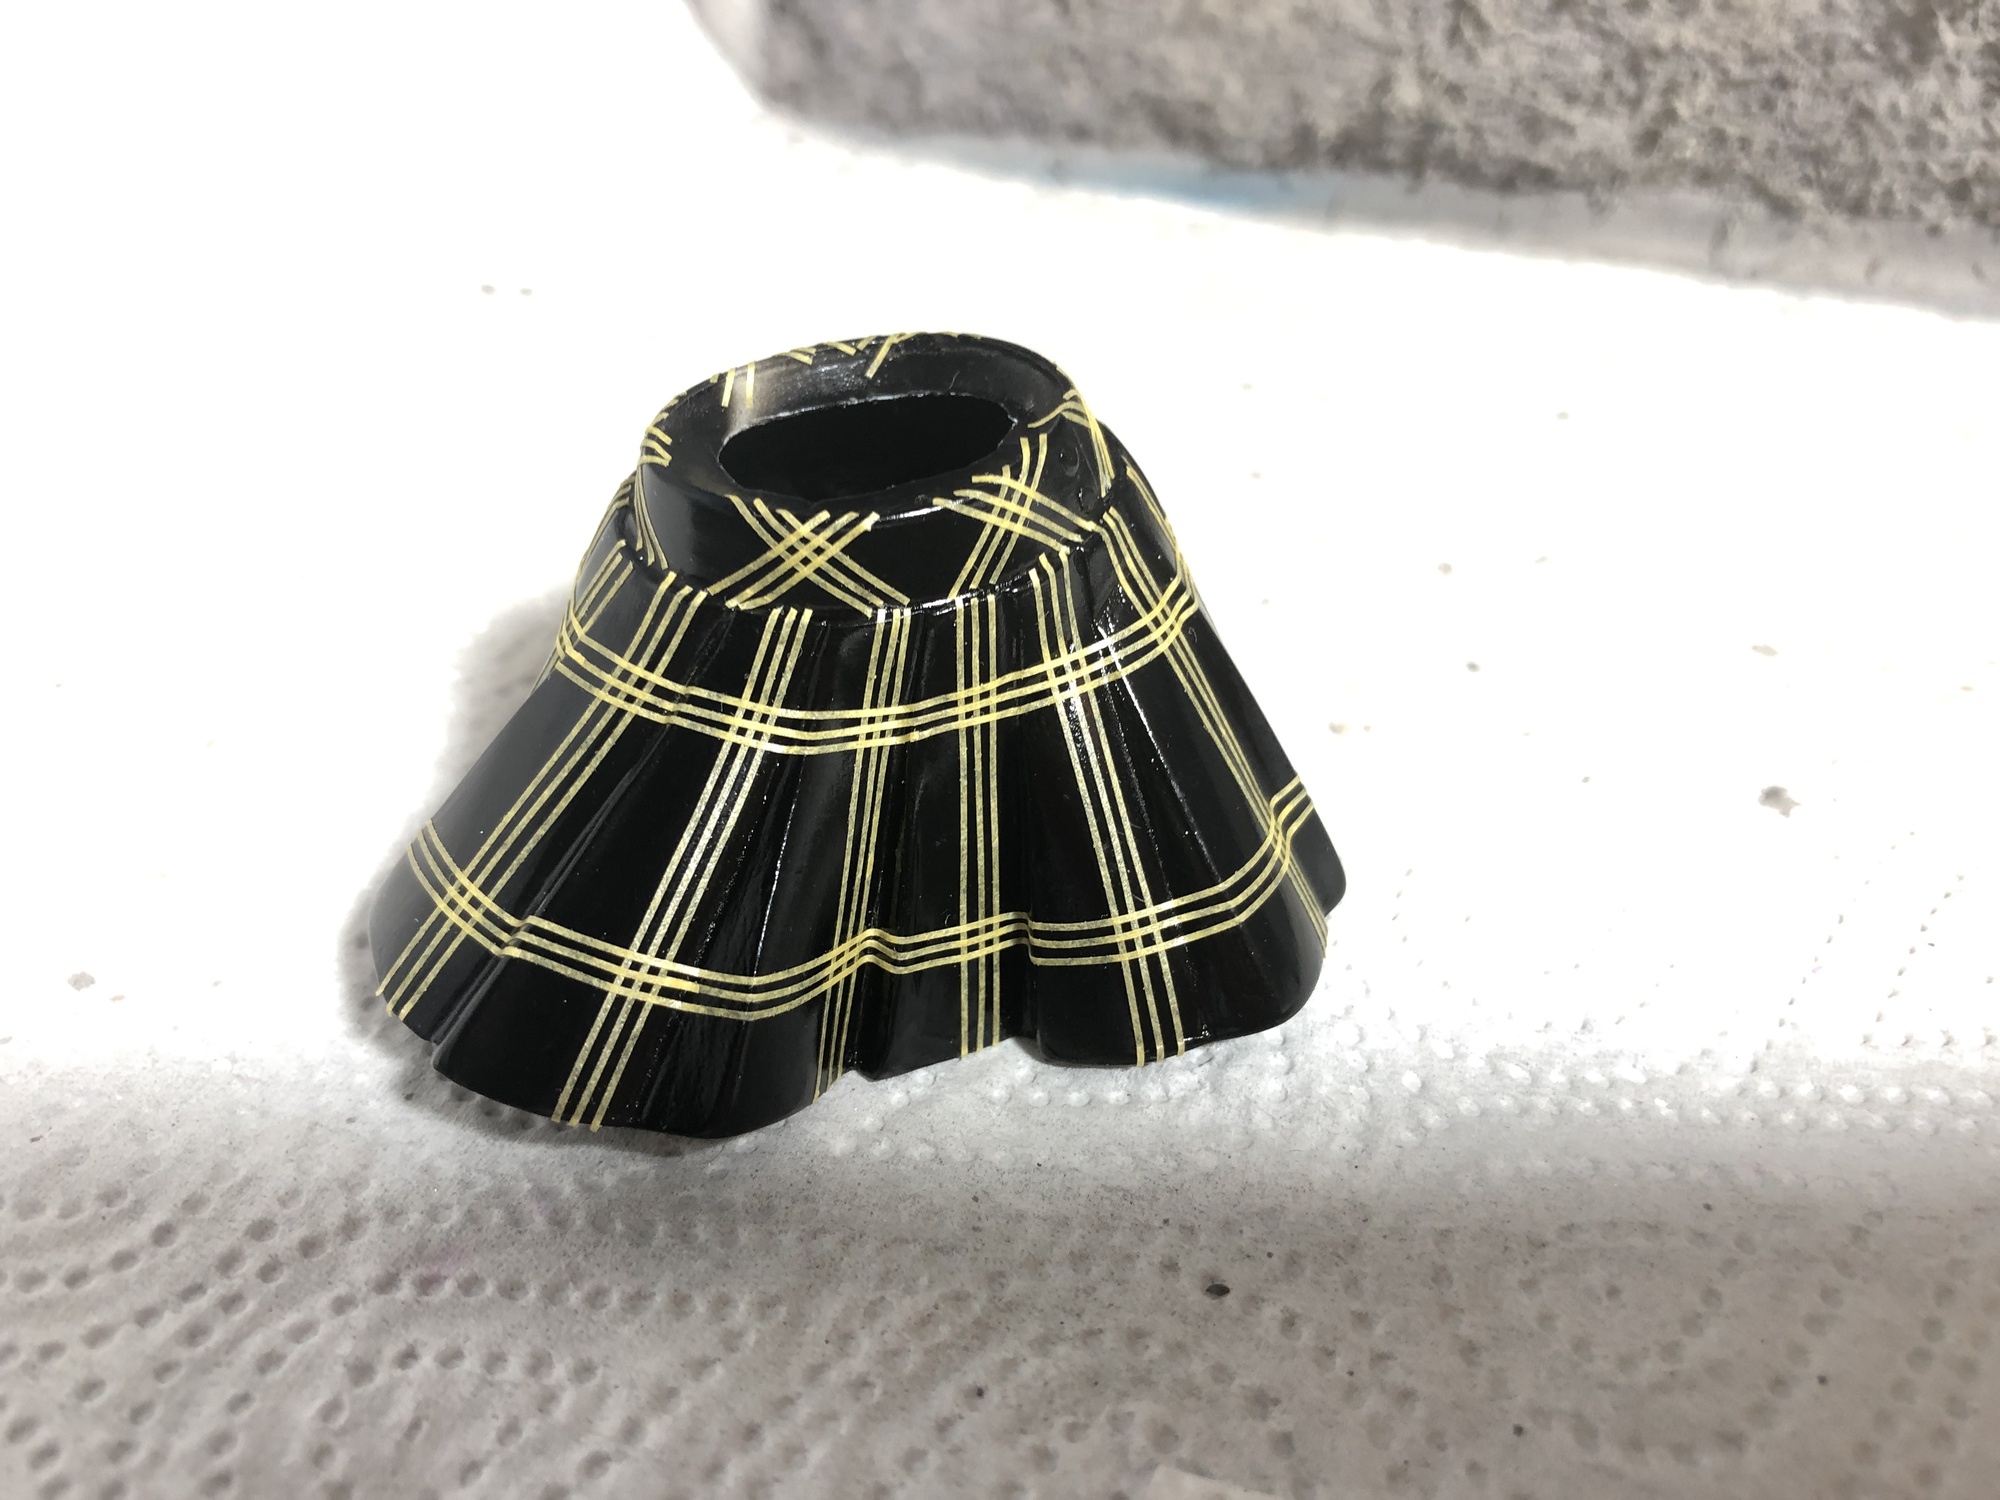
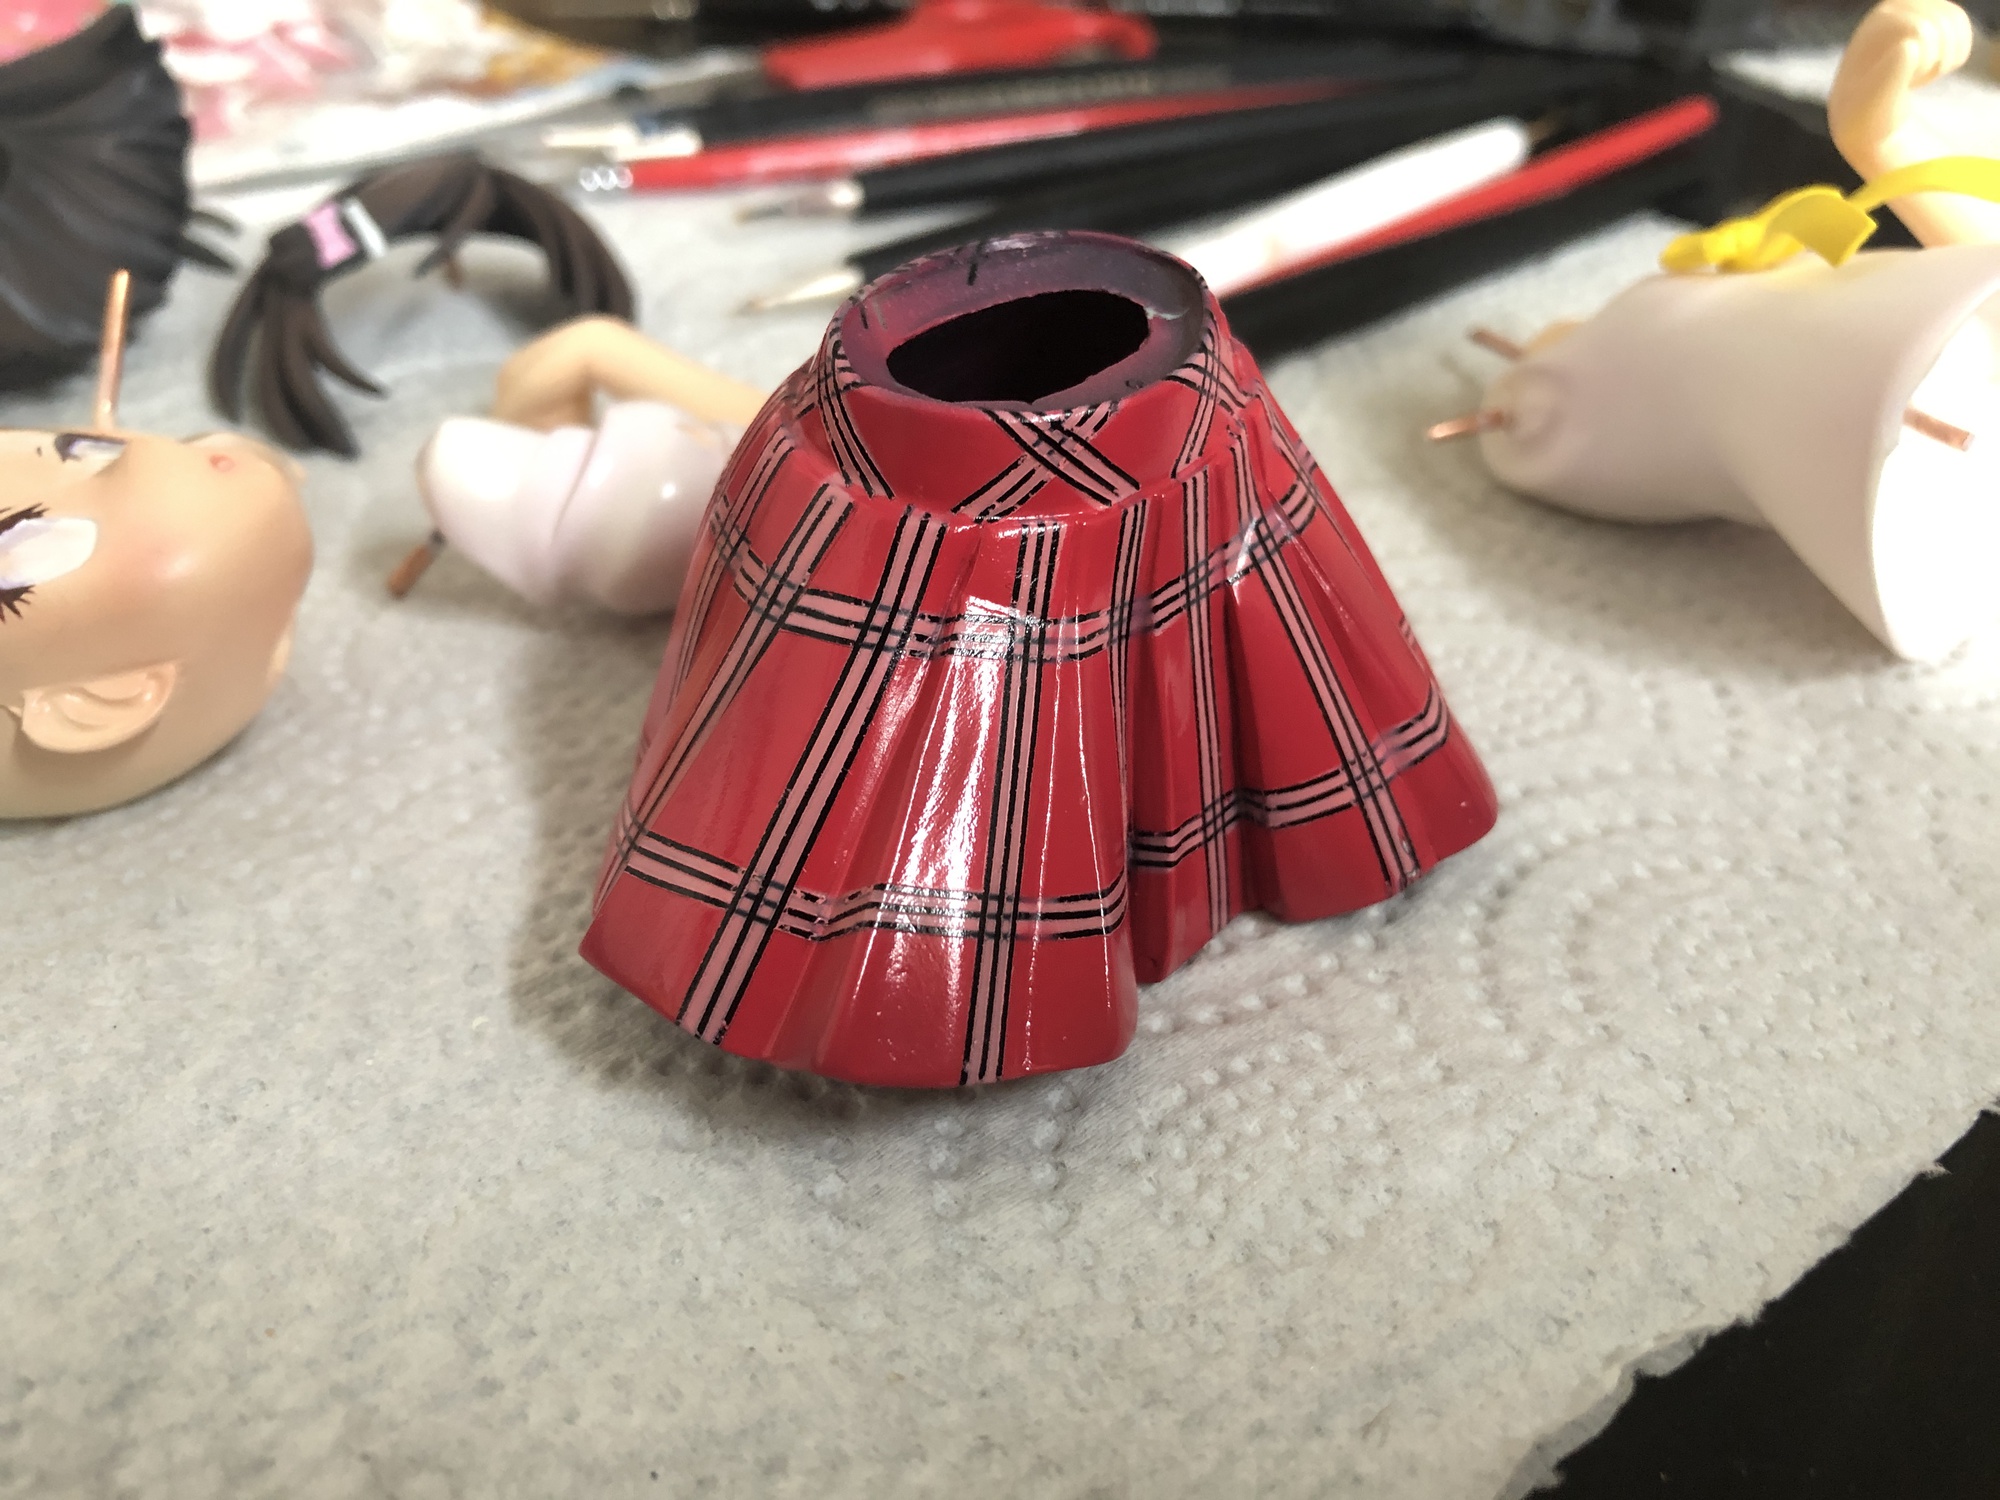
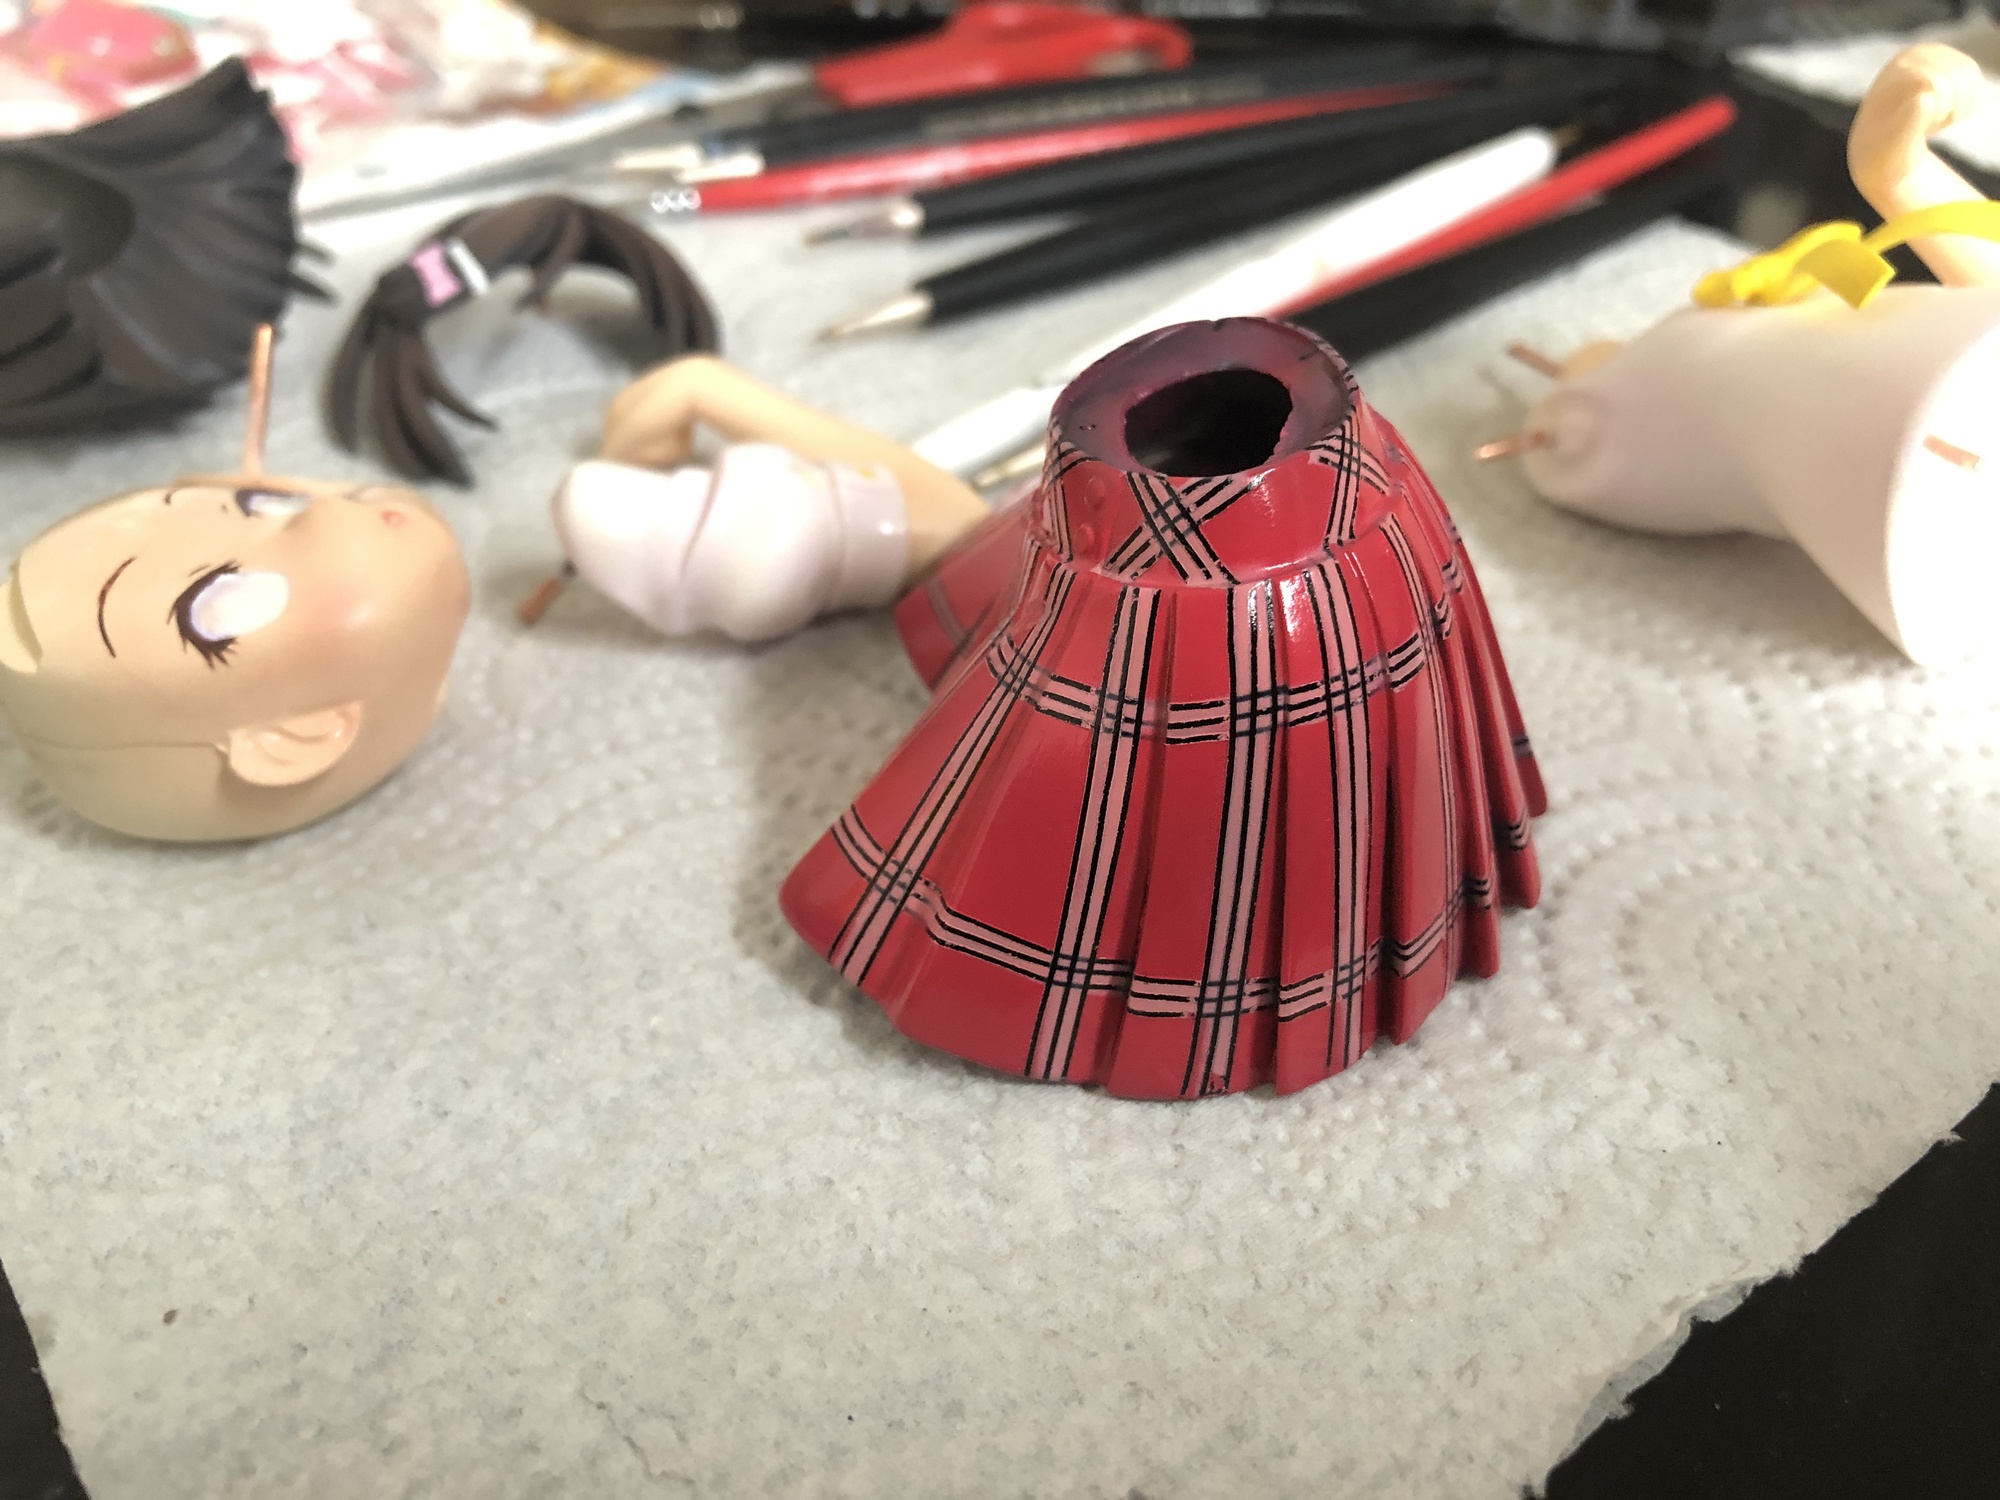
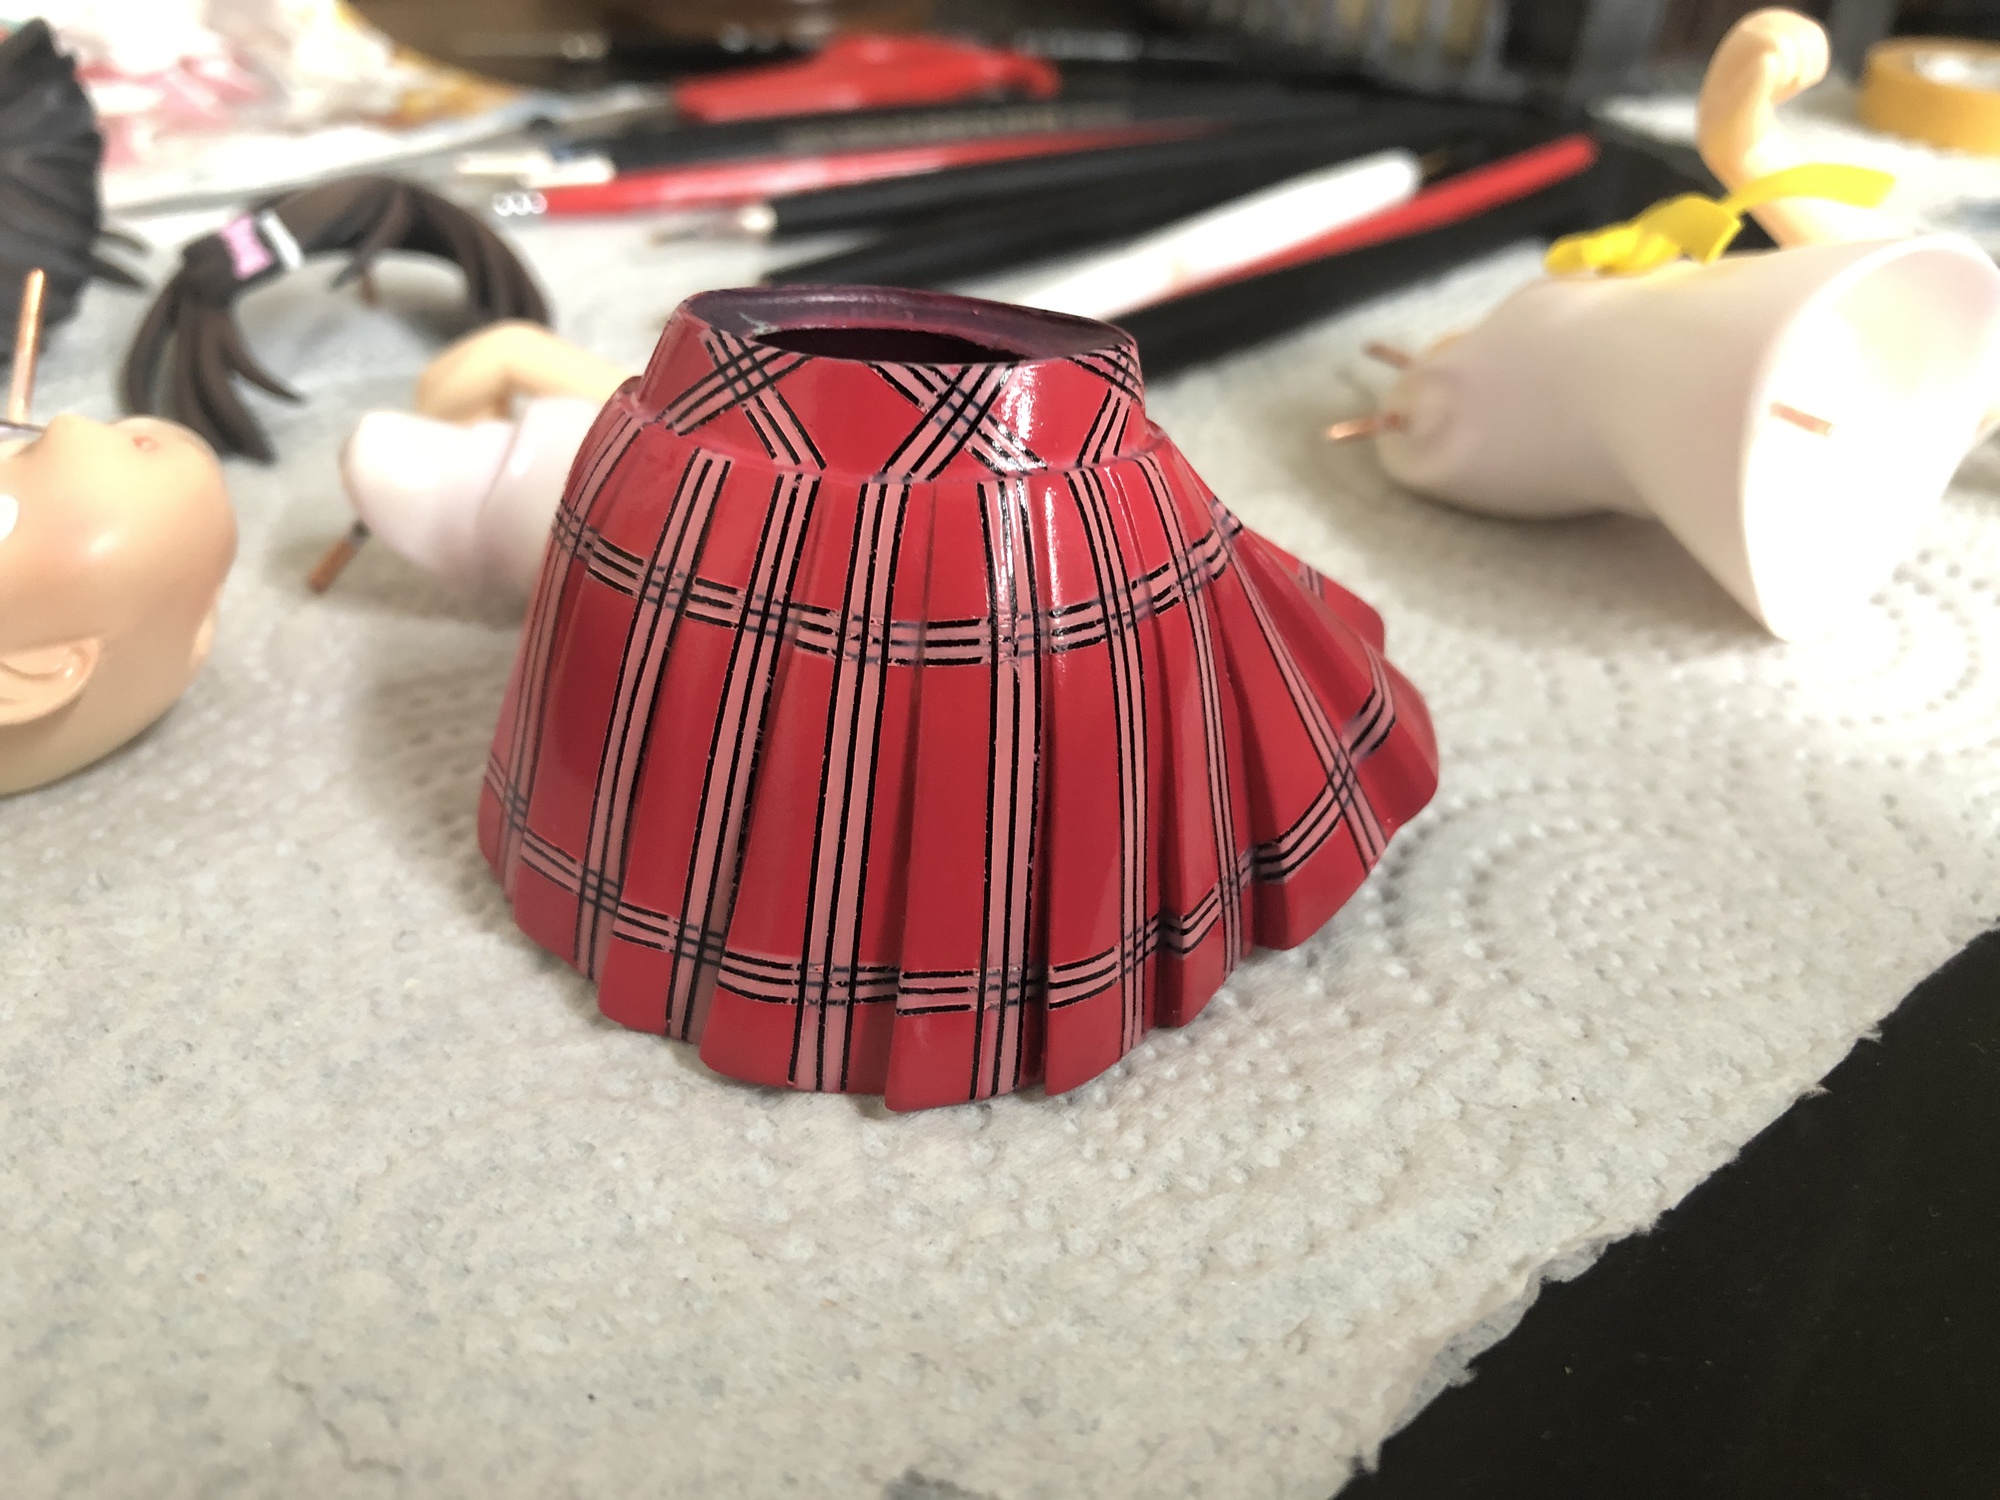
Little corrections, final result.
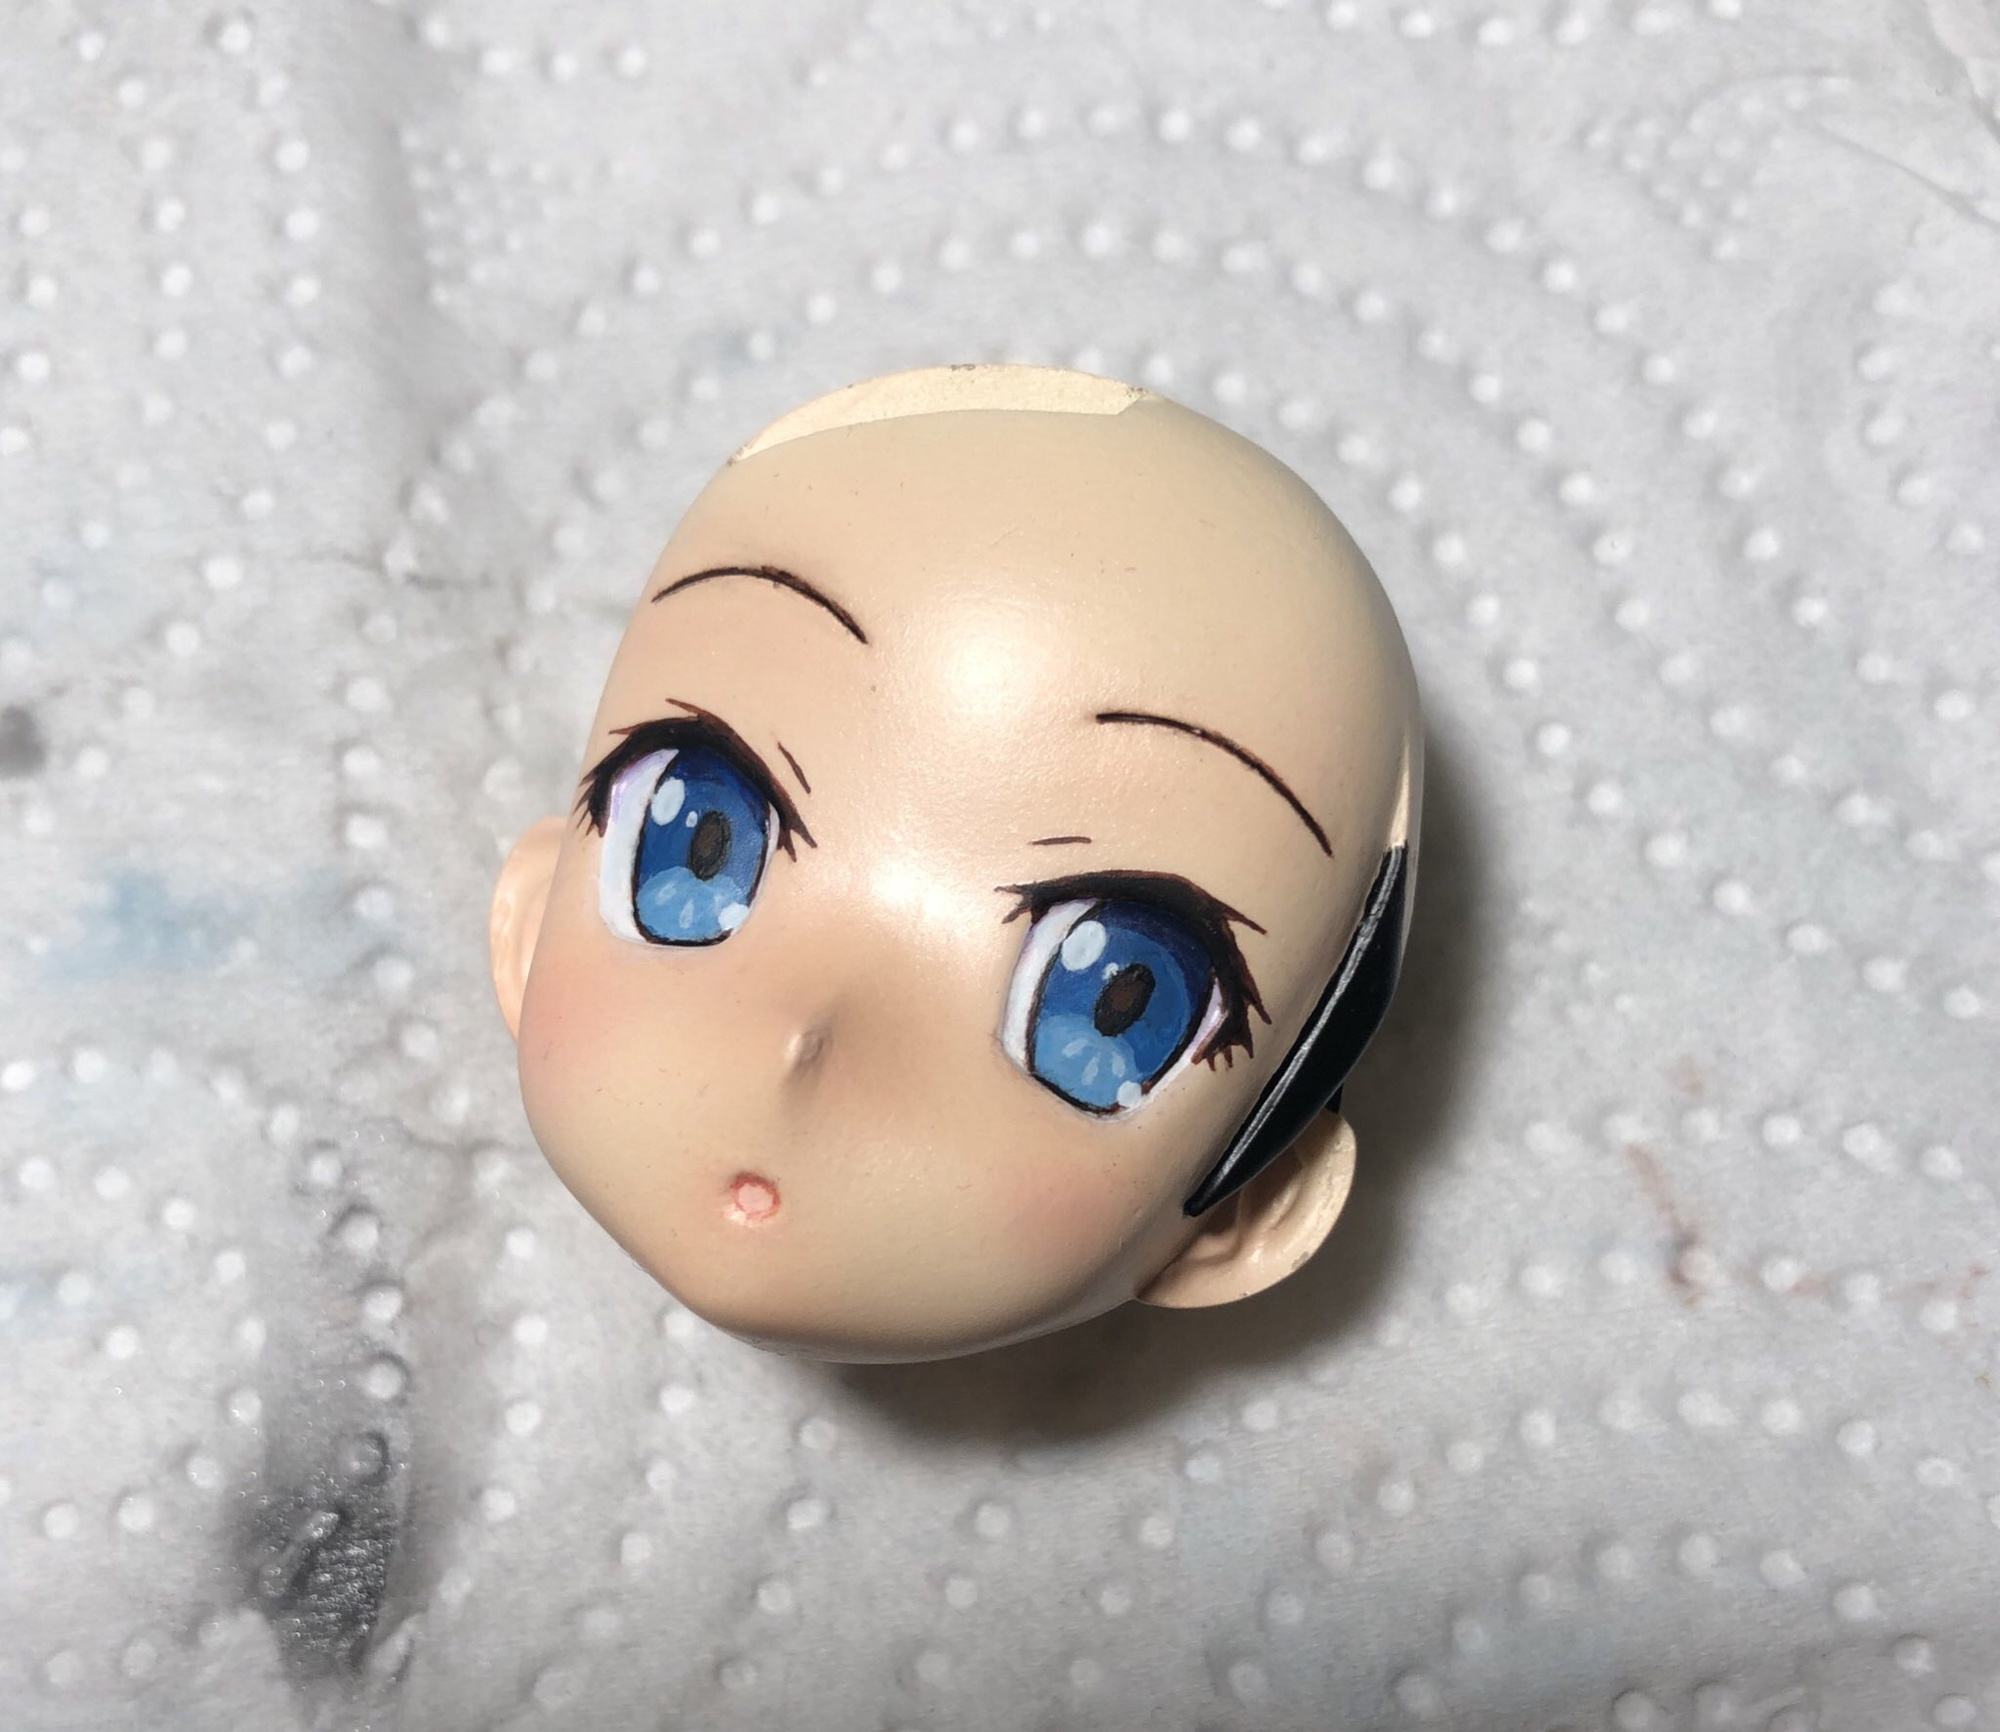
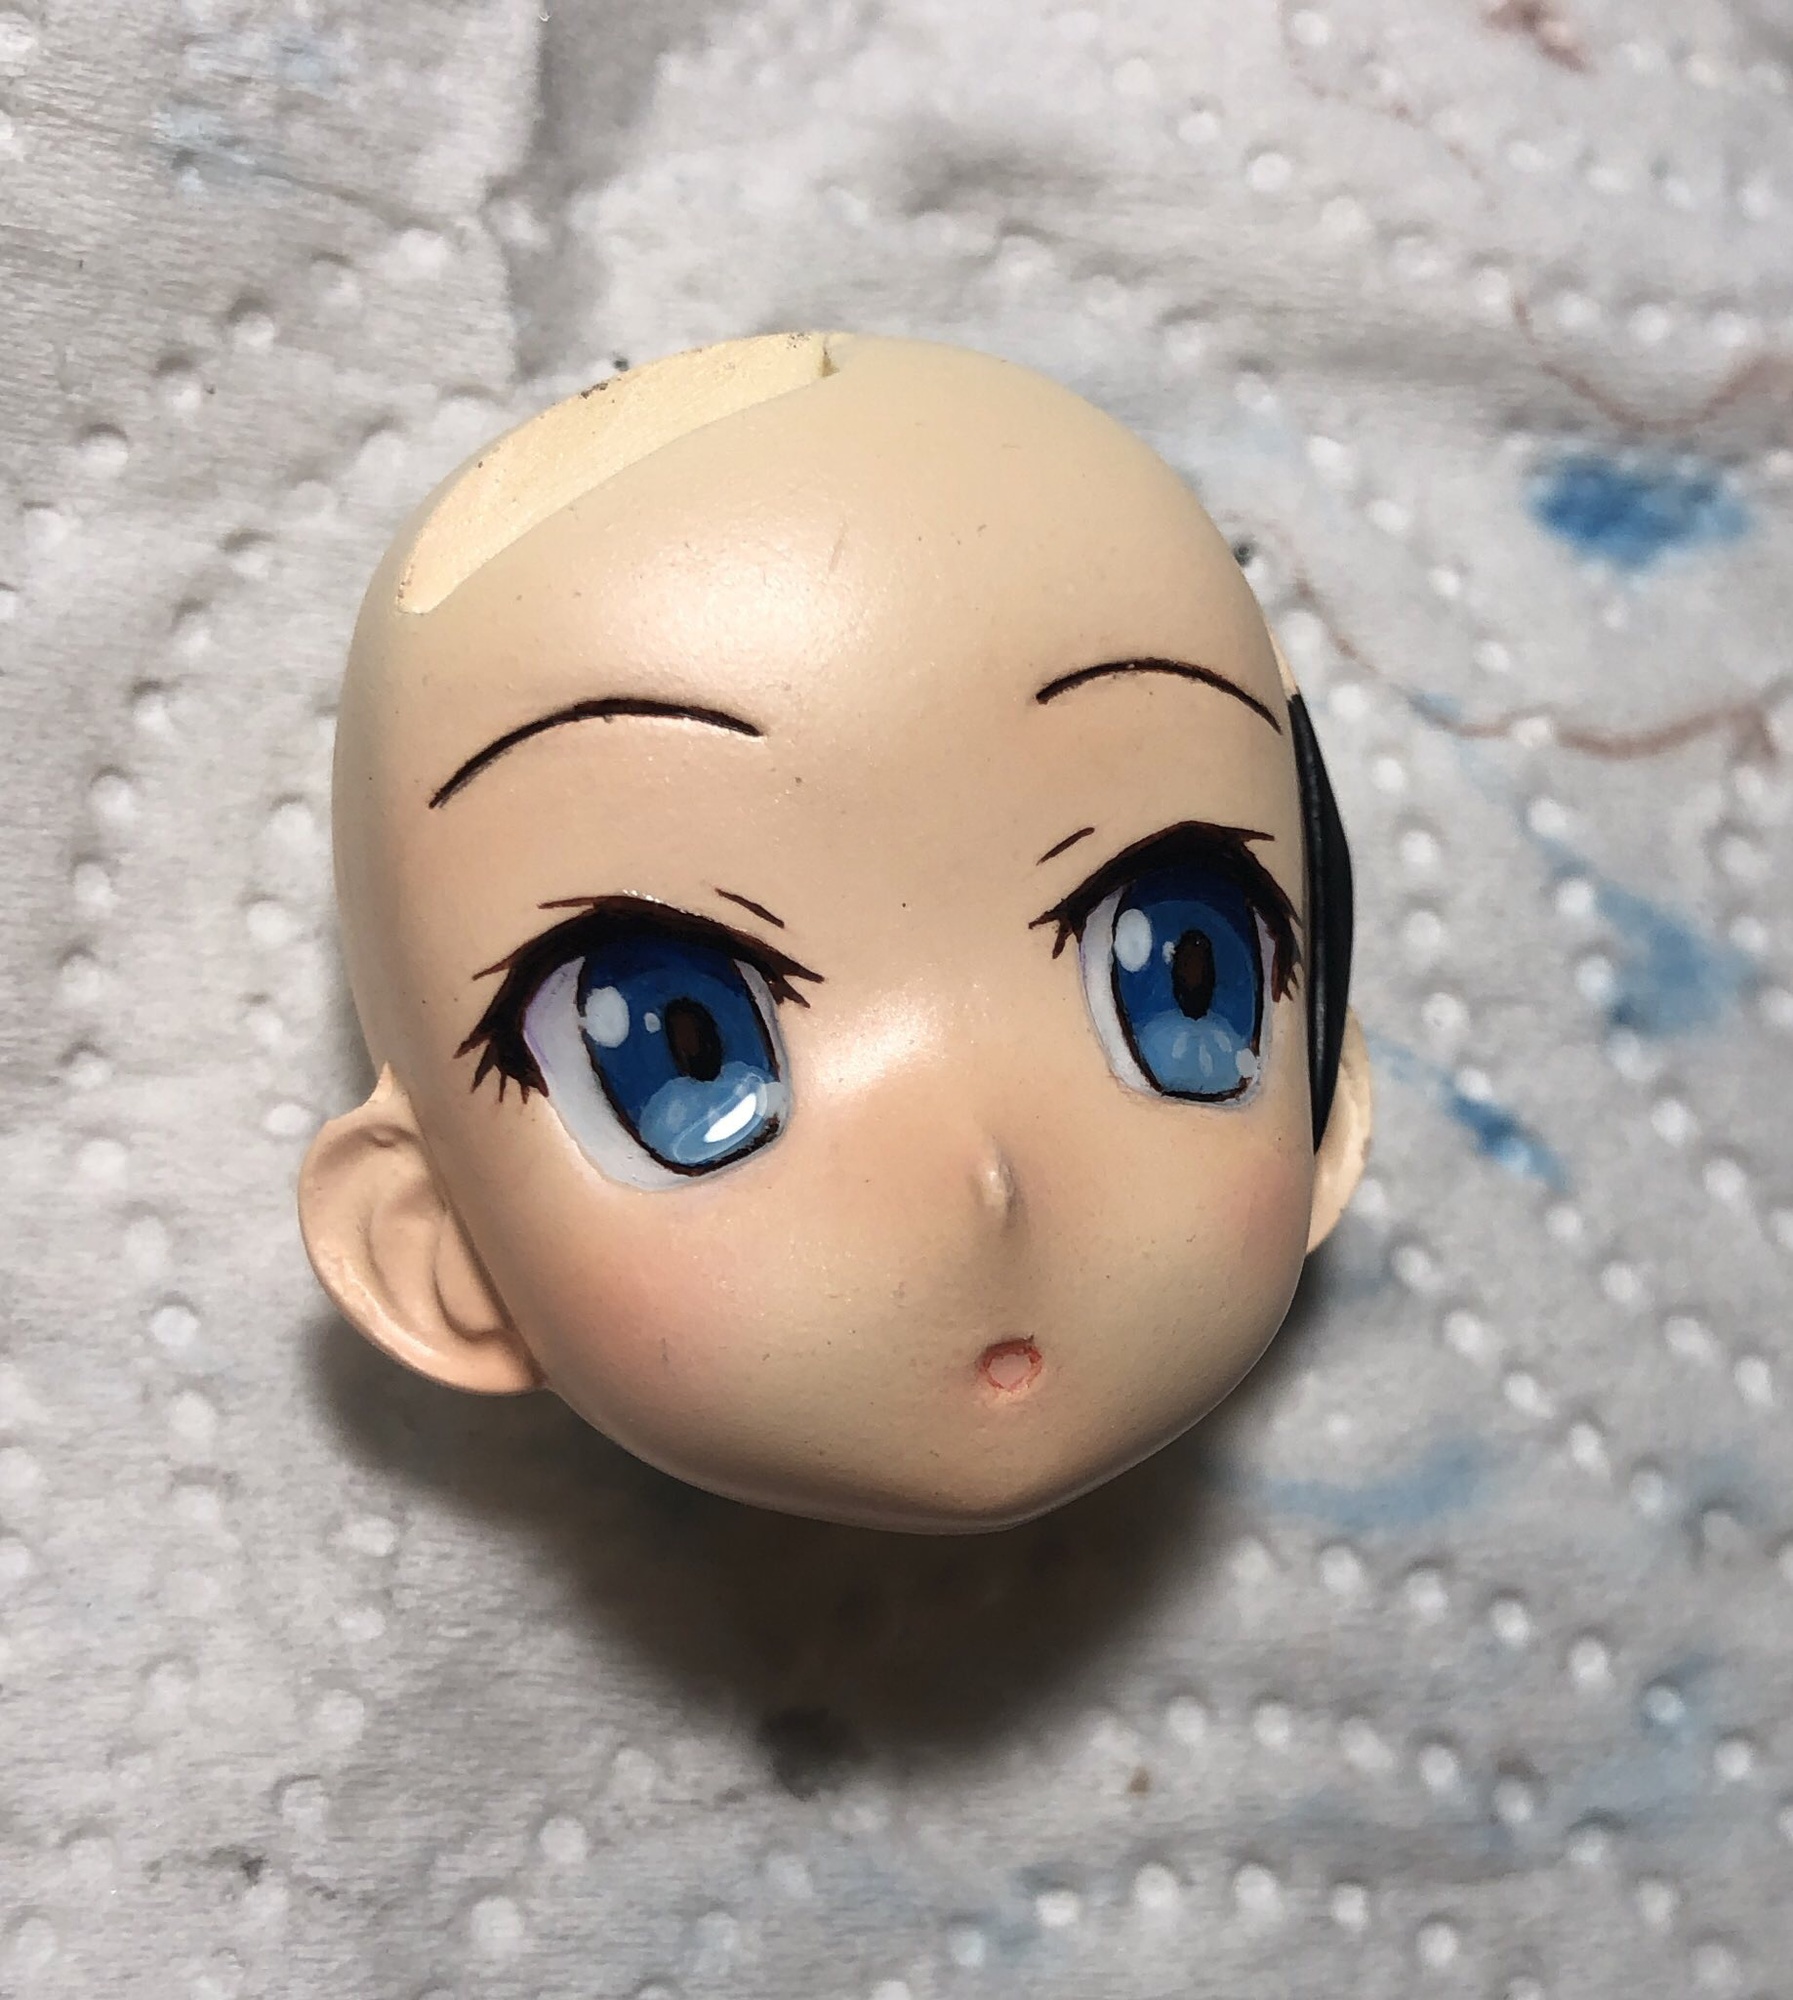
Eyes! ![The Gorgeous Rui [Load Galax by Gouhondou] - inline emoticon 2](/api/media/file/starsy-520908-001-emoticon.gif)
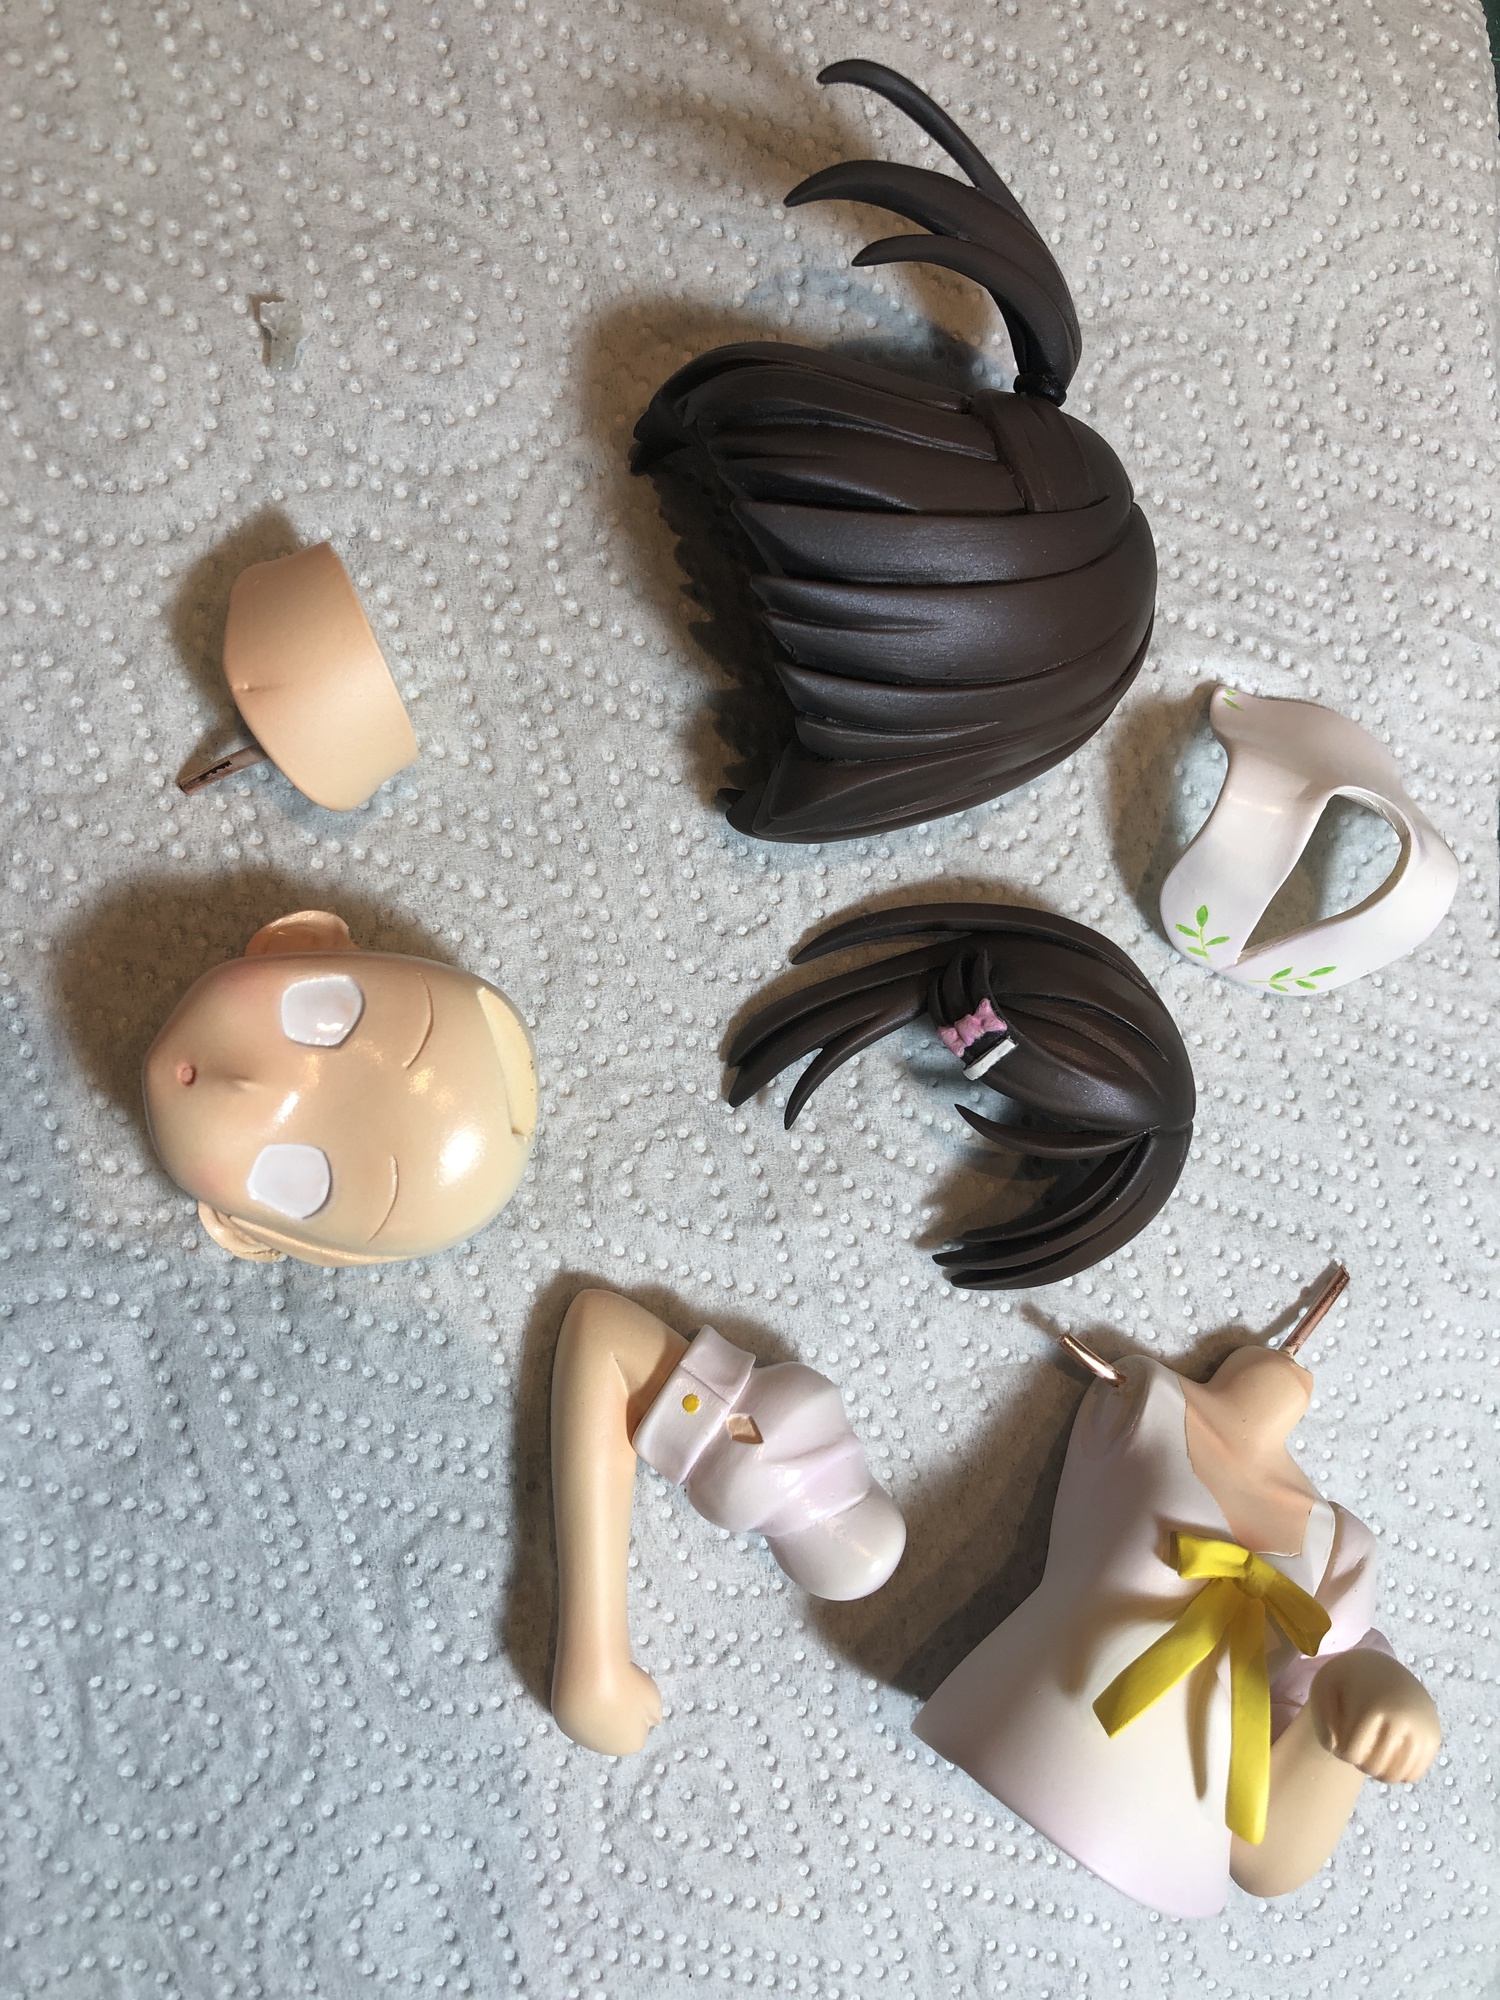
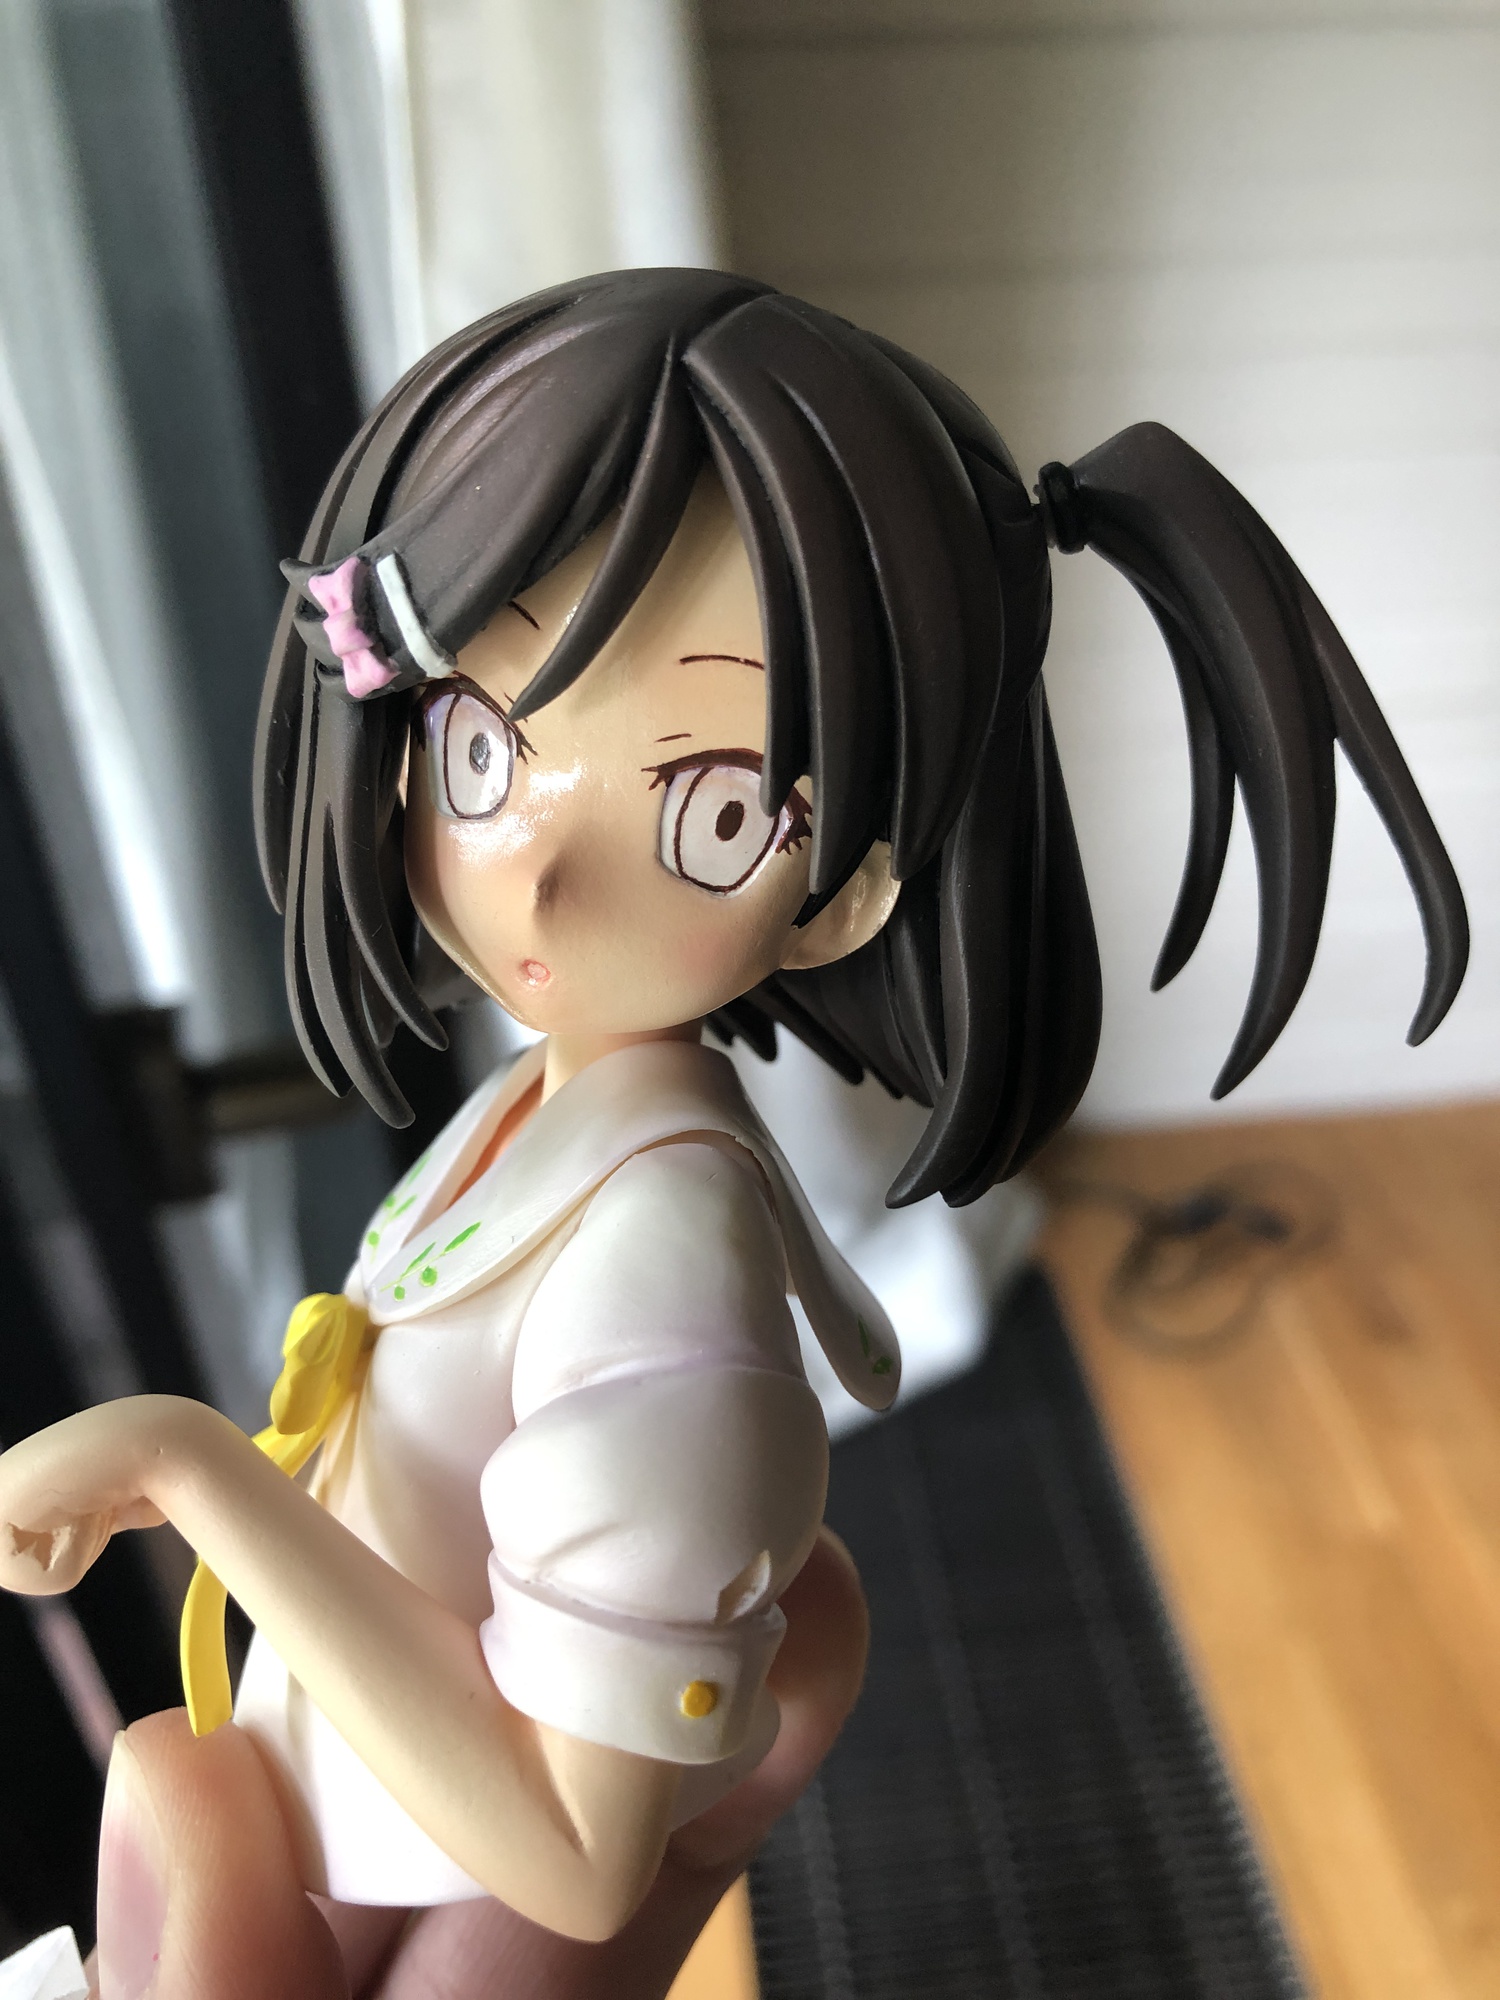
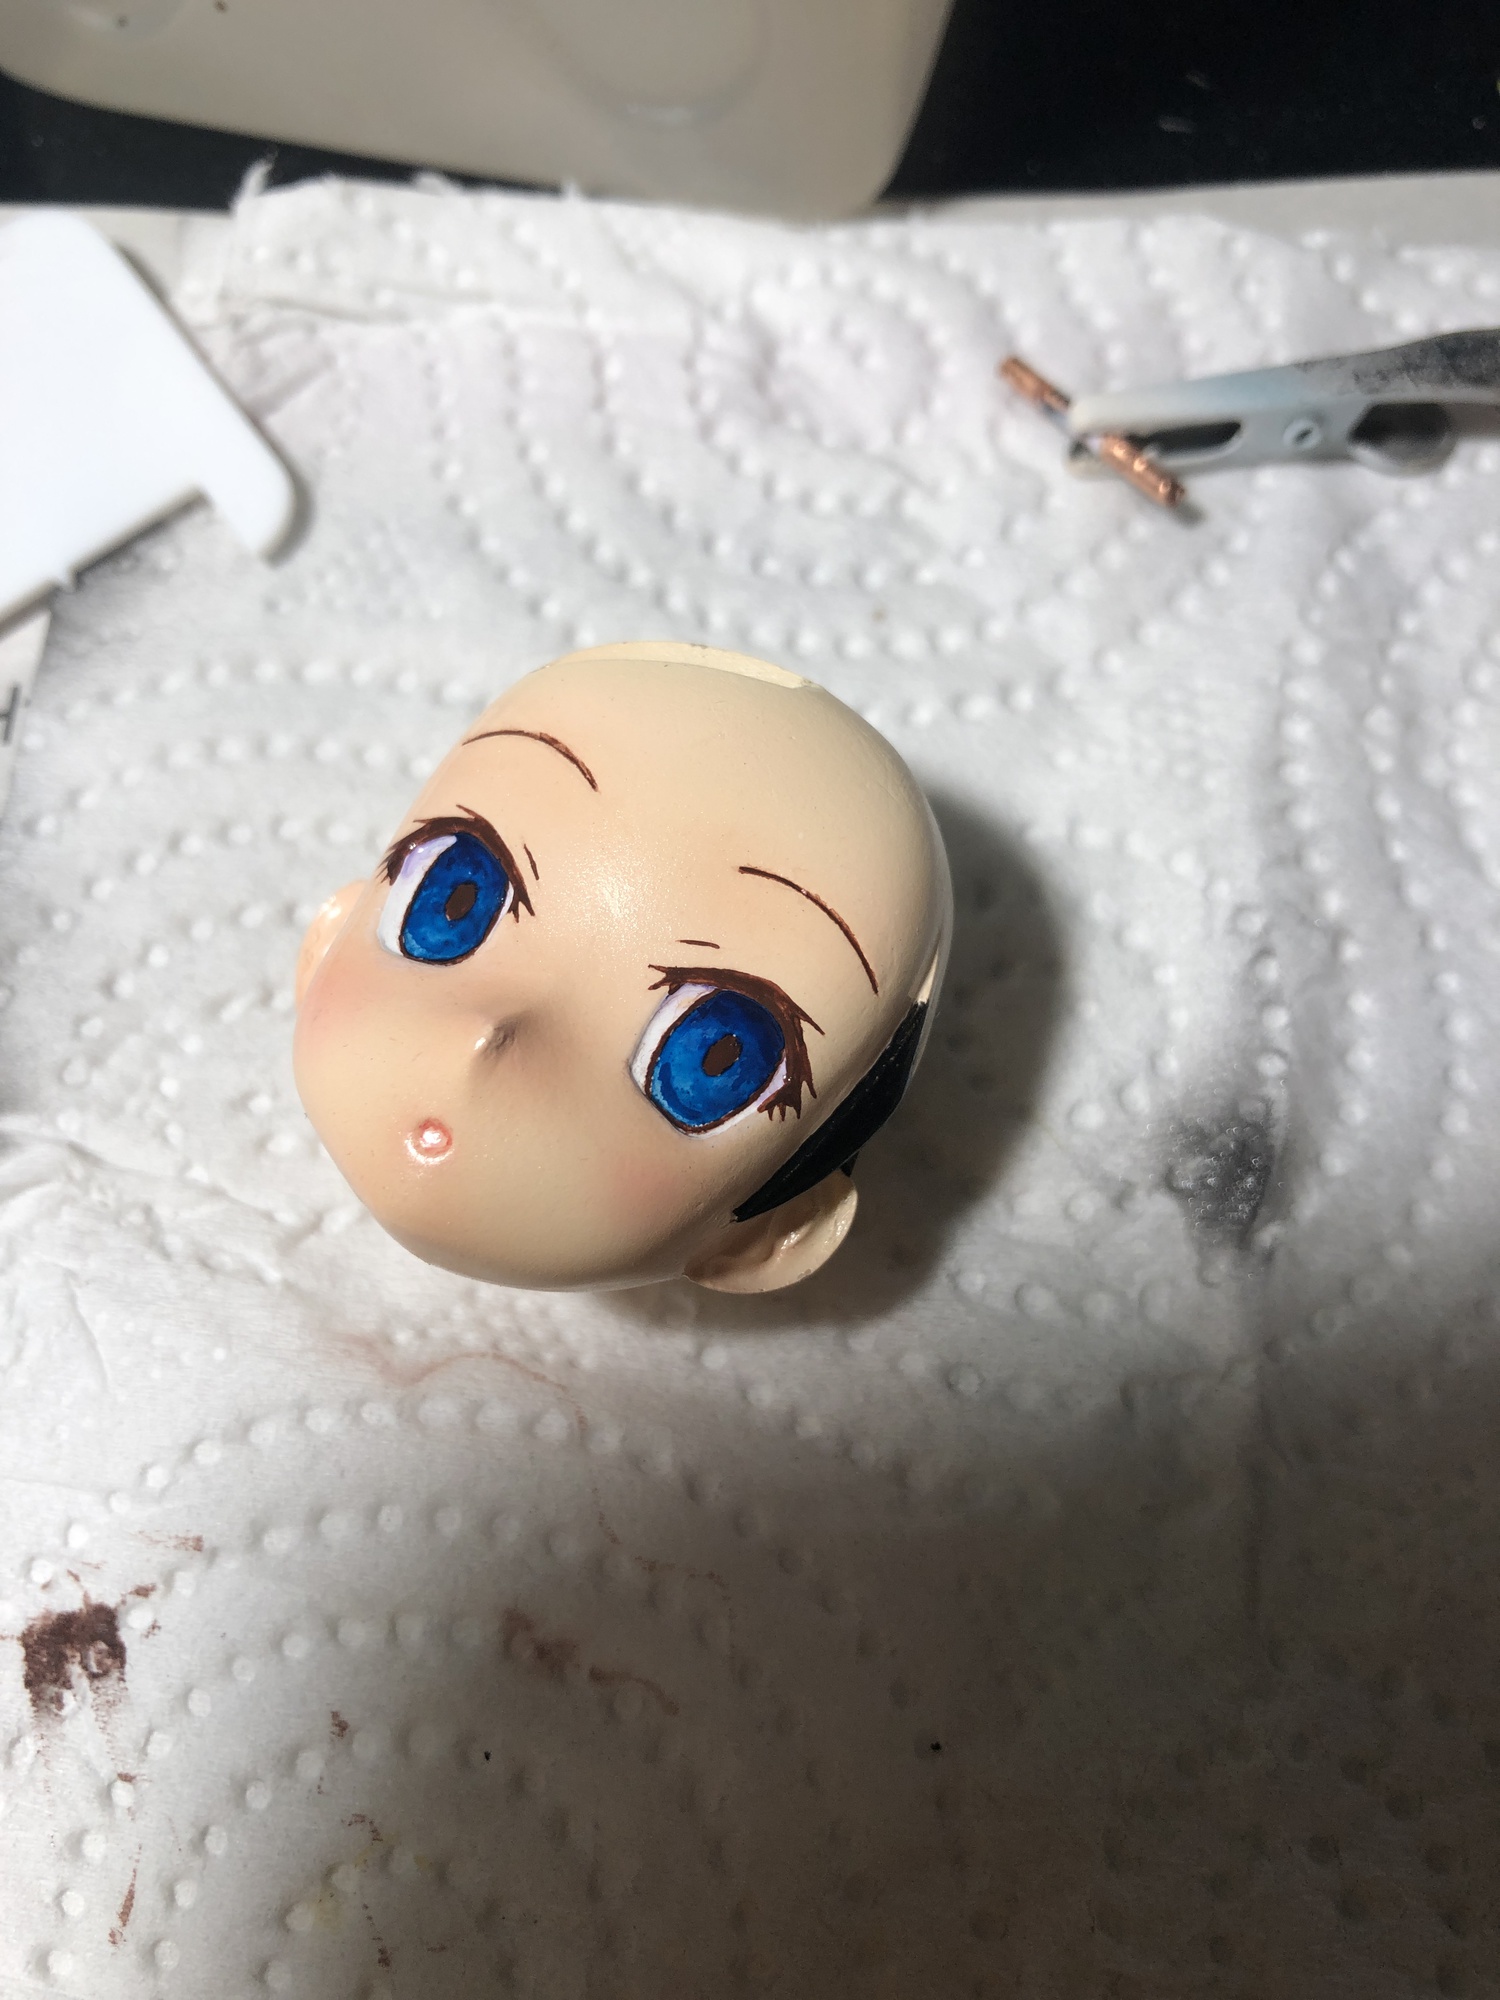
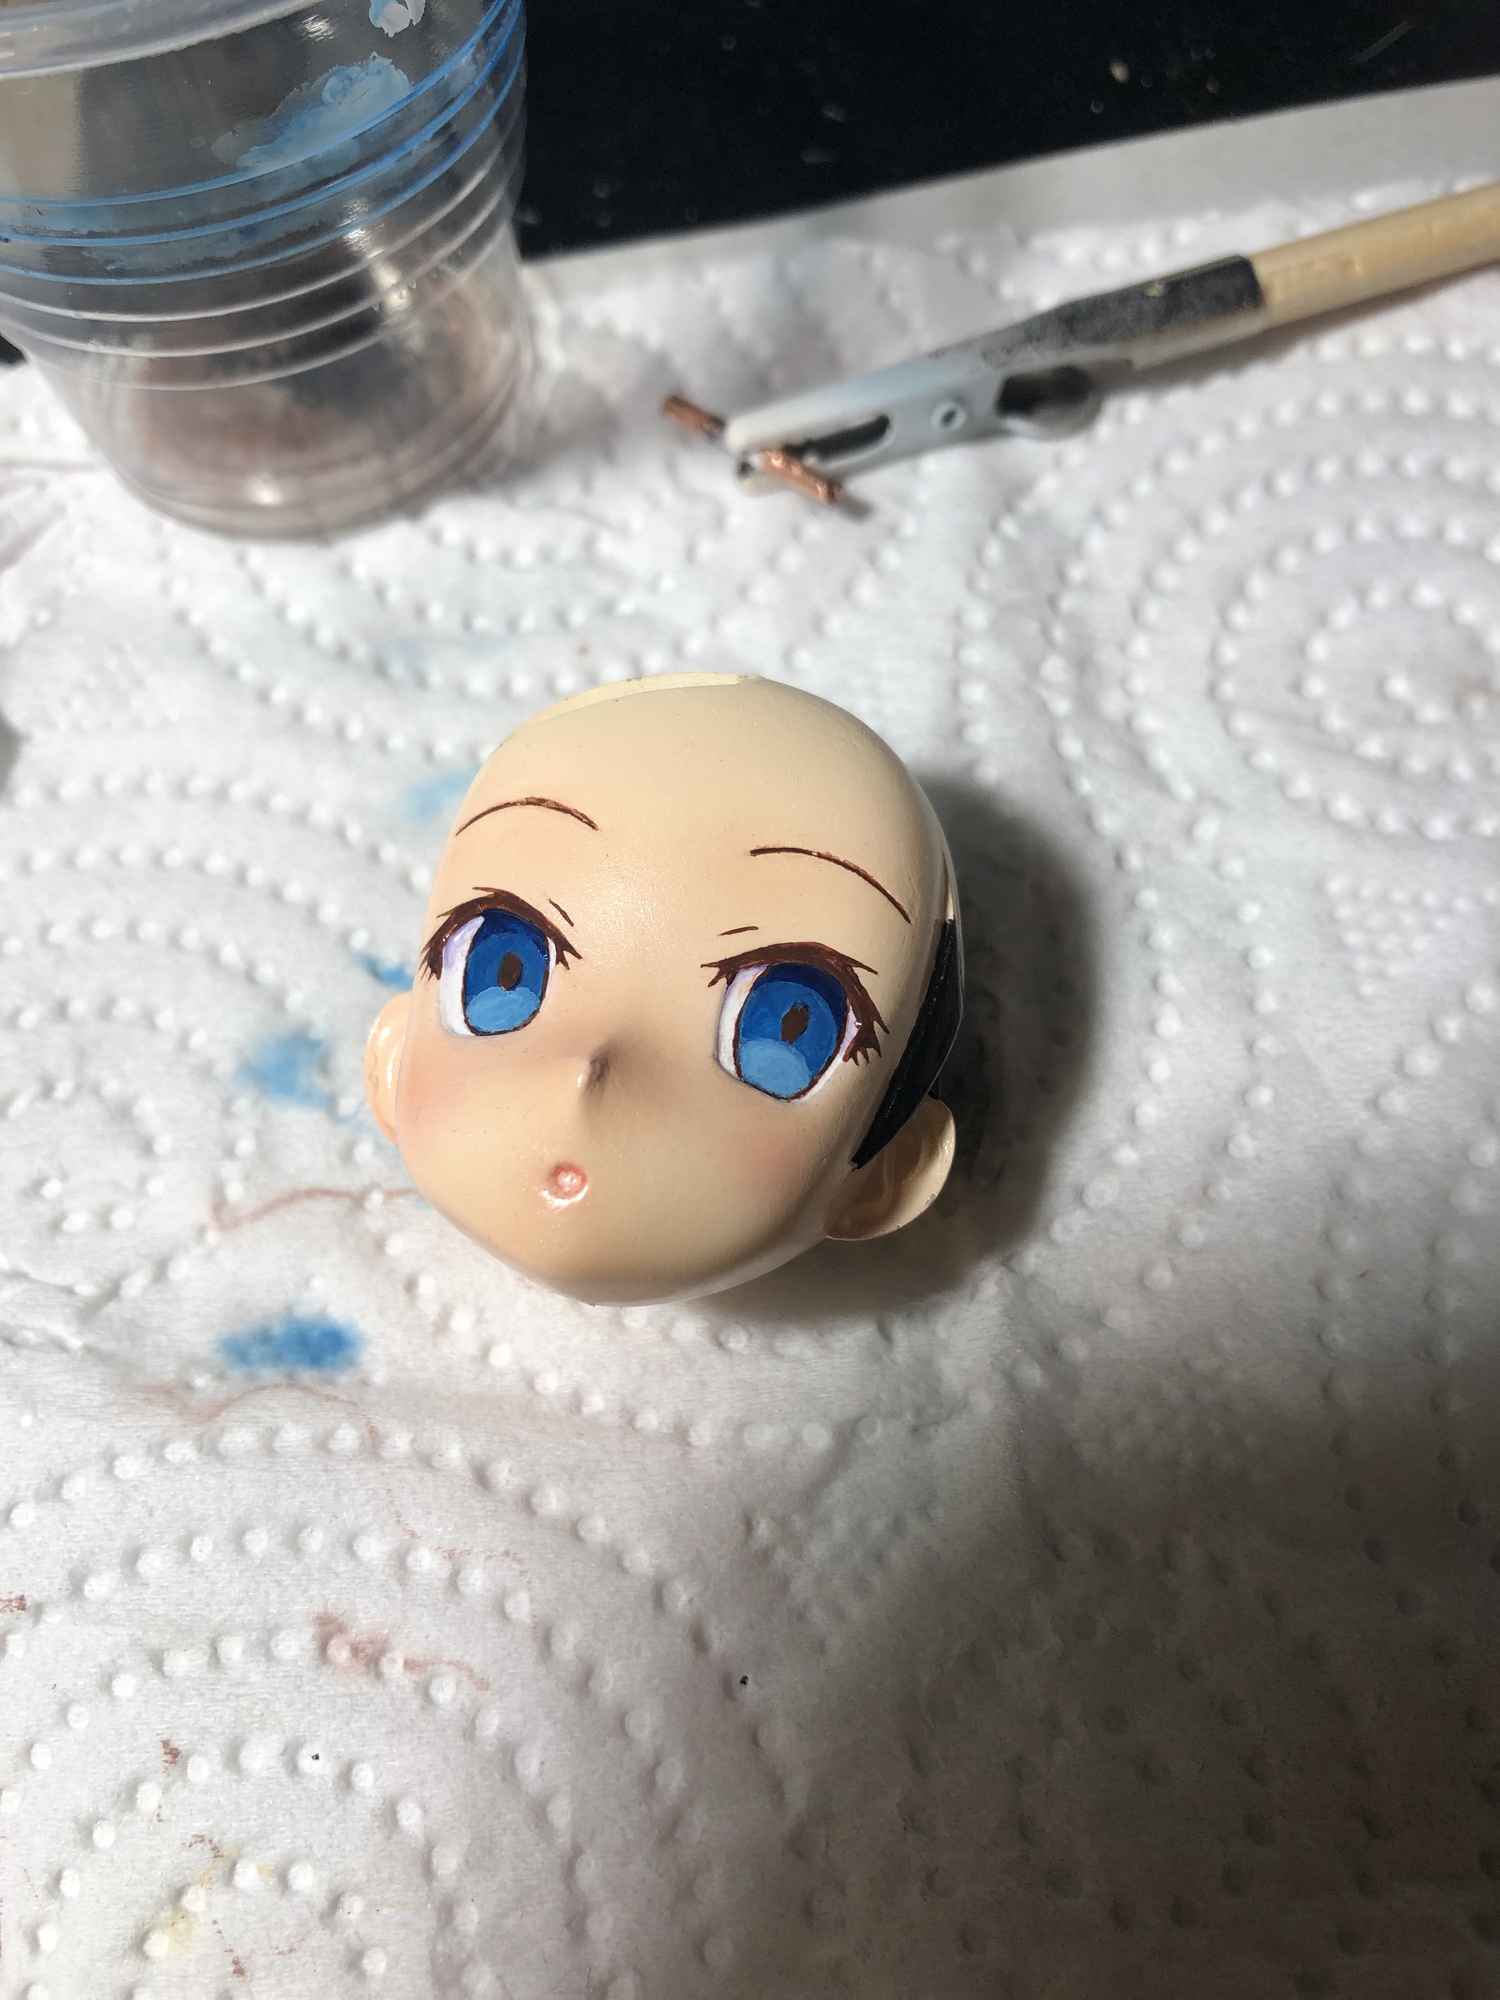
Touch them up, matte them down, then cover them with nail topcoat (the last two photos, respectively).
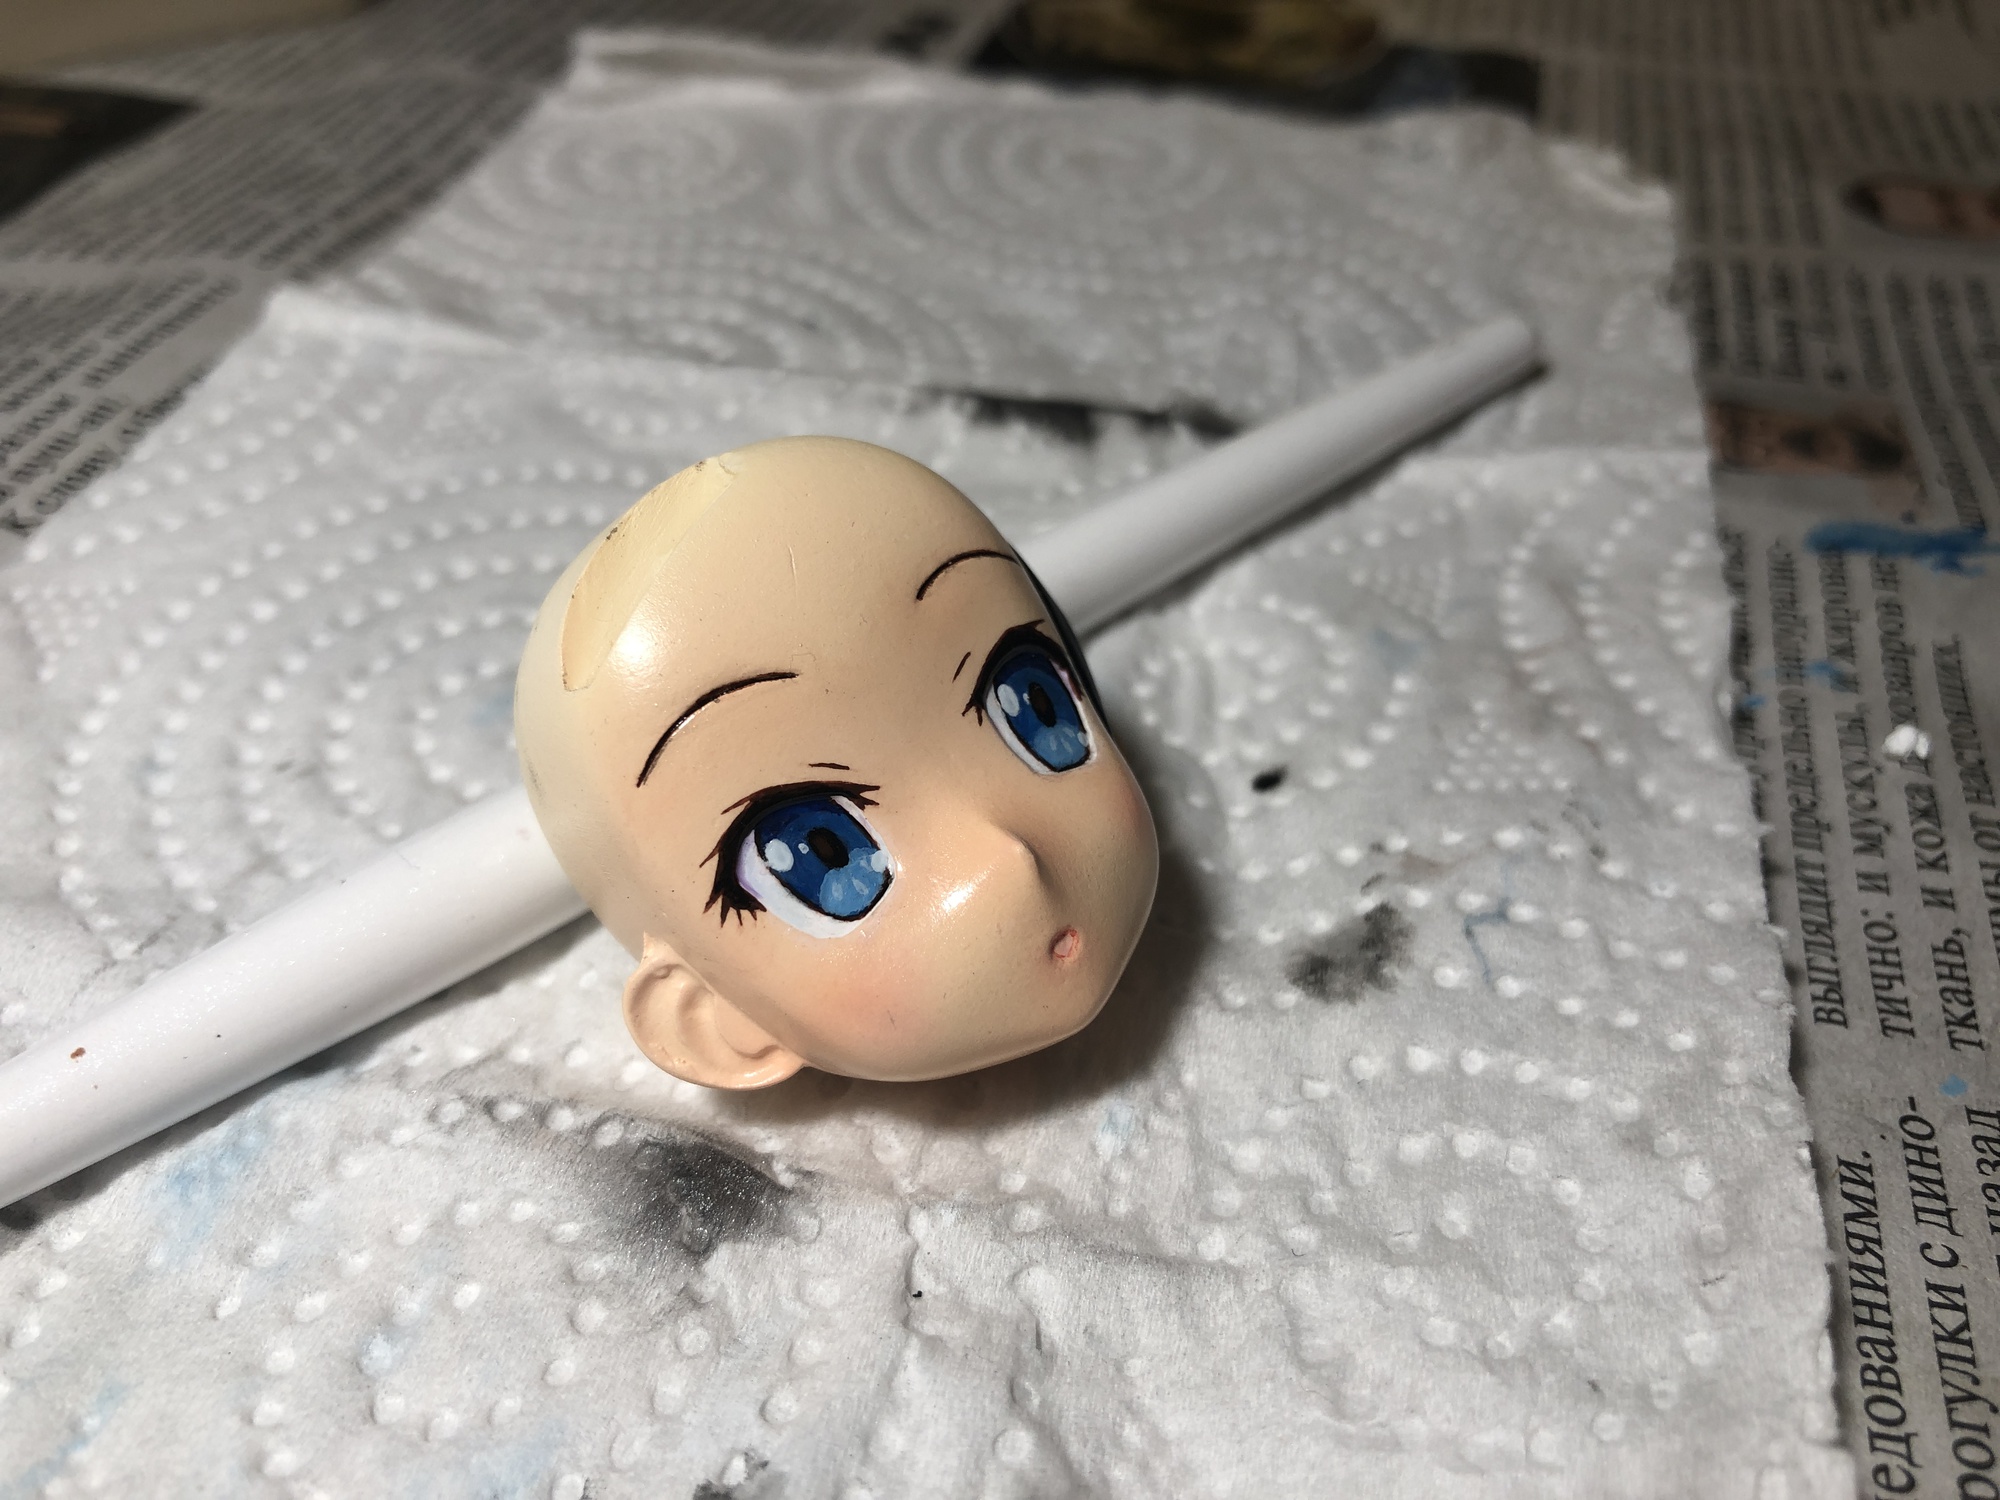
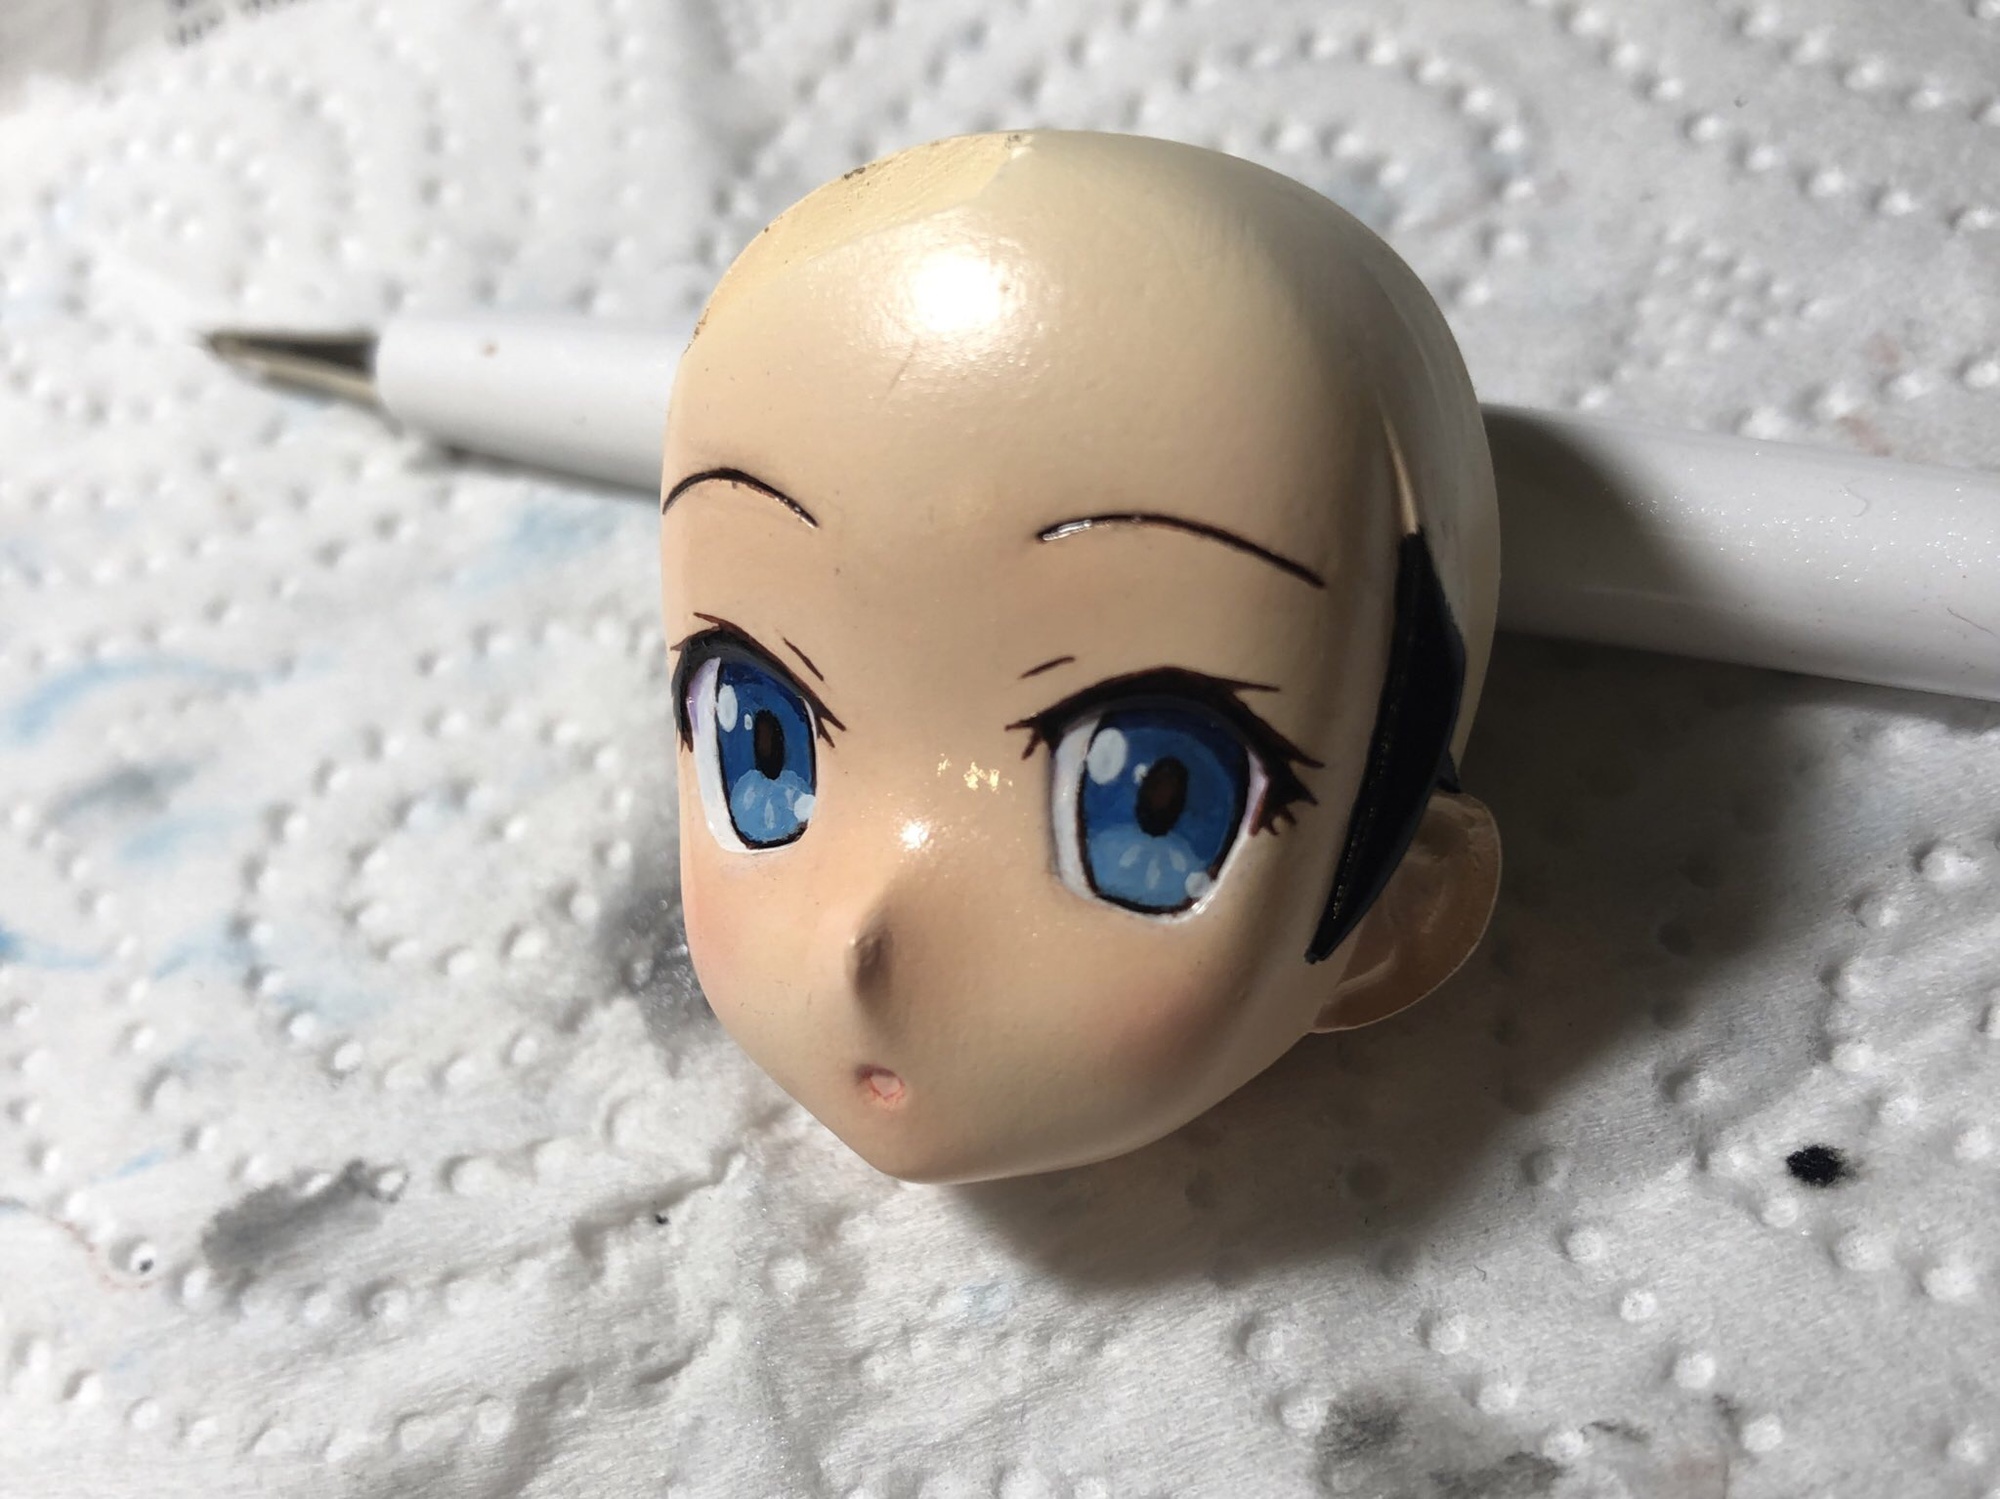
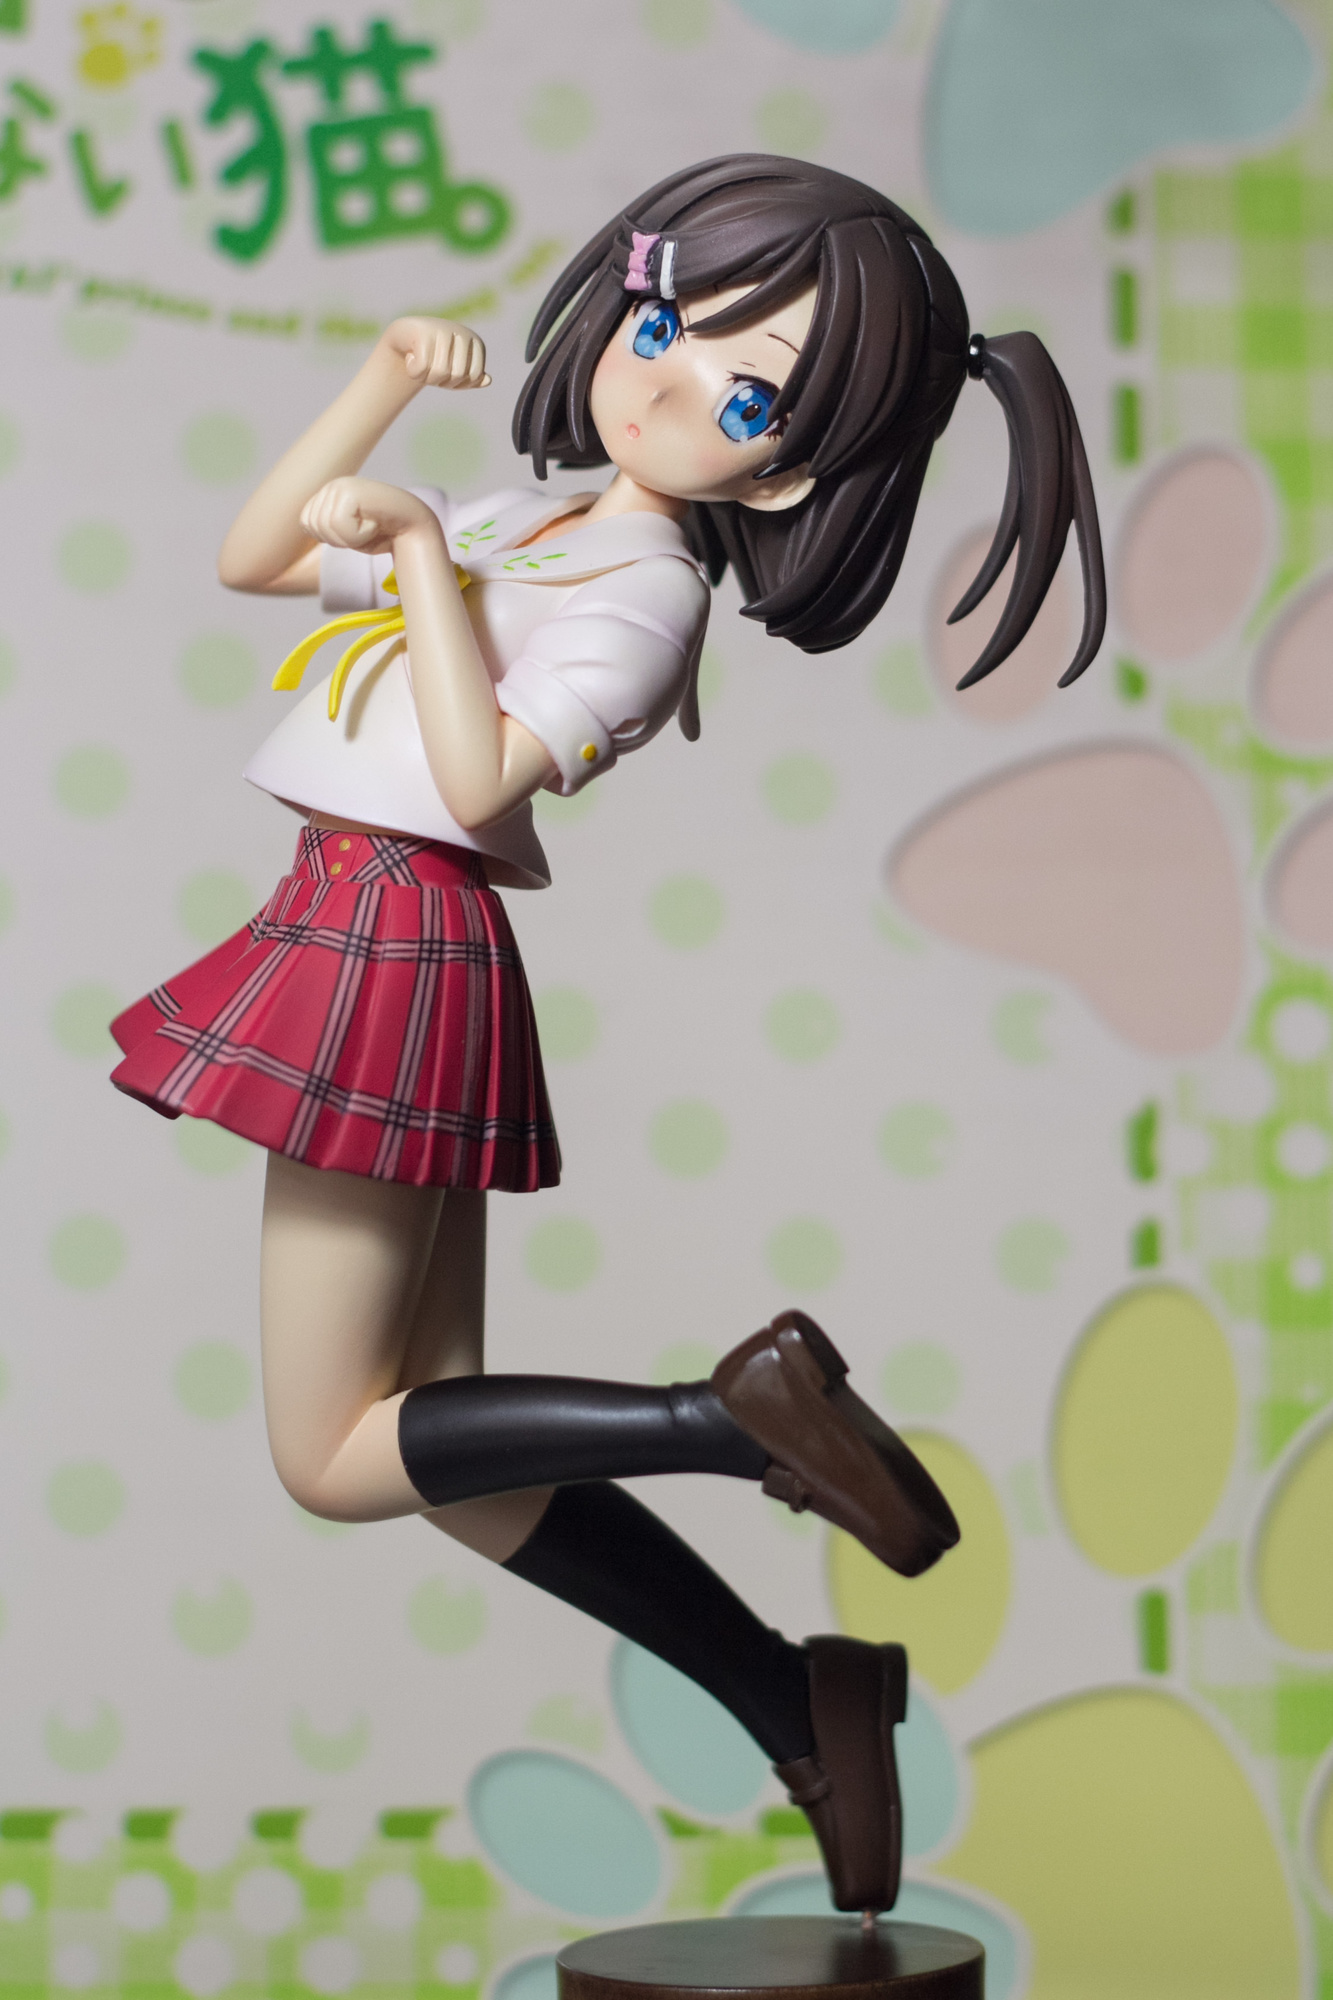
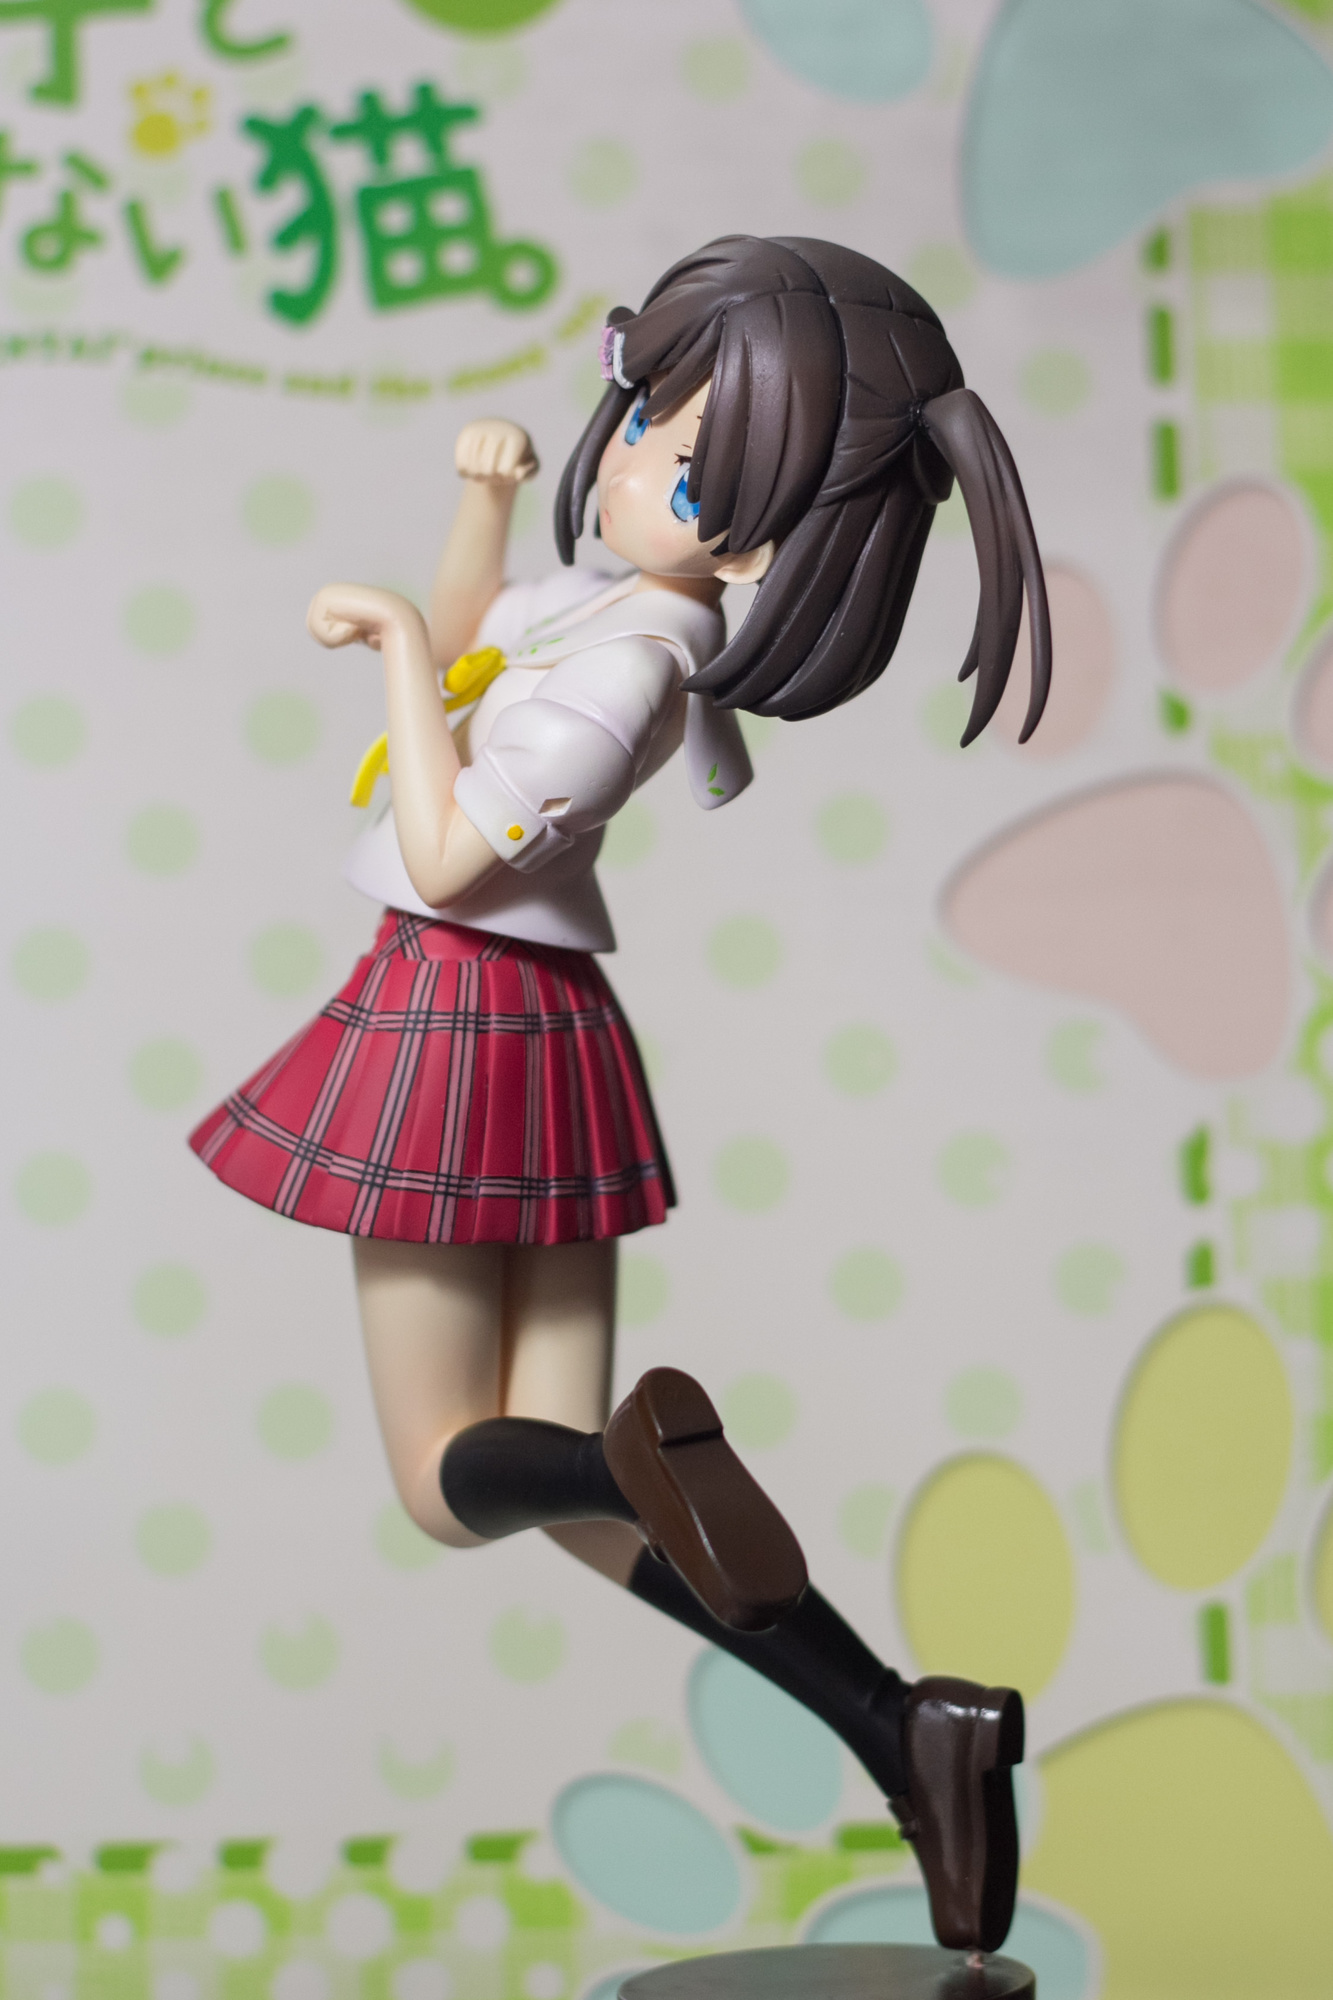
And the kitty is finished!
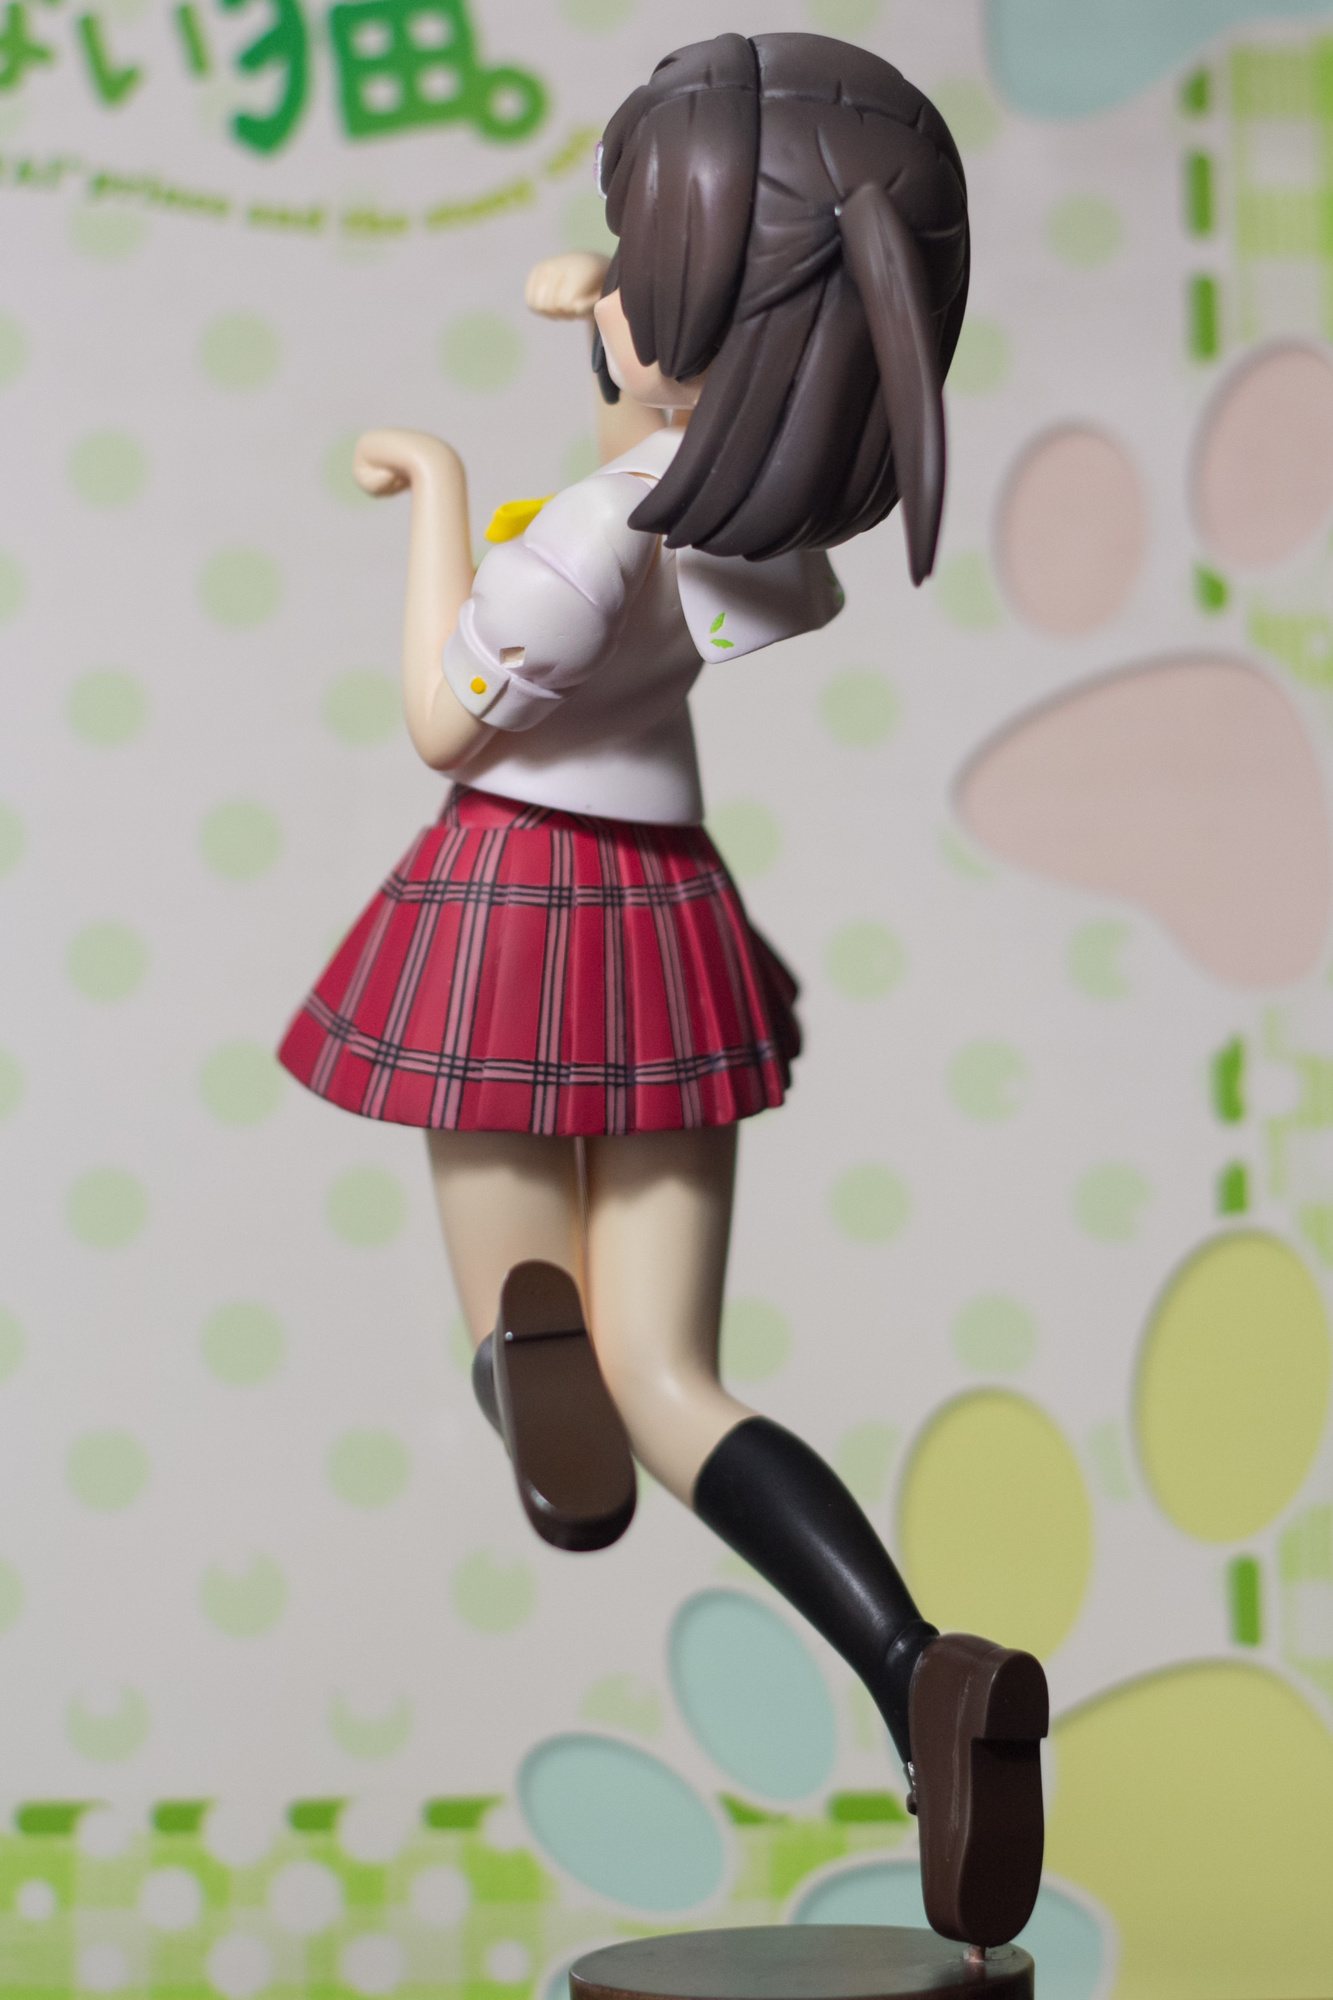
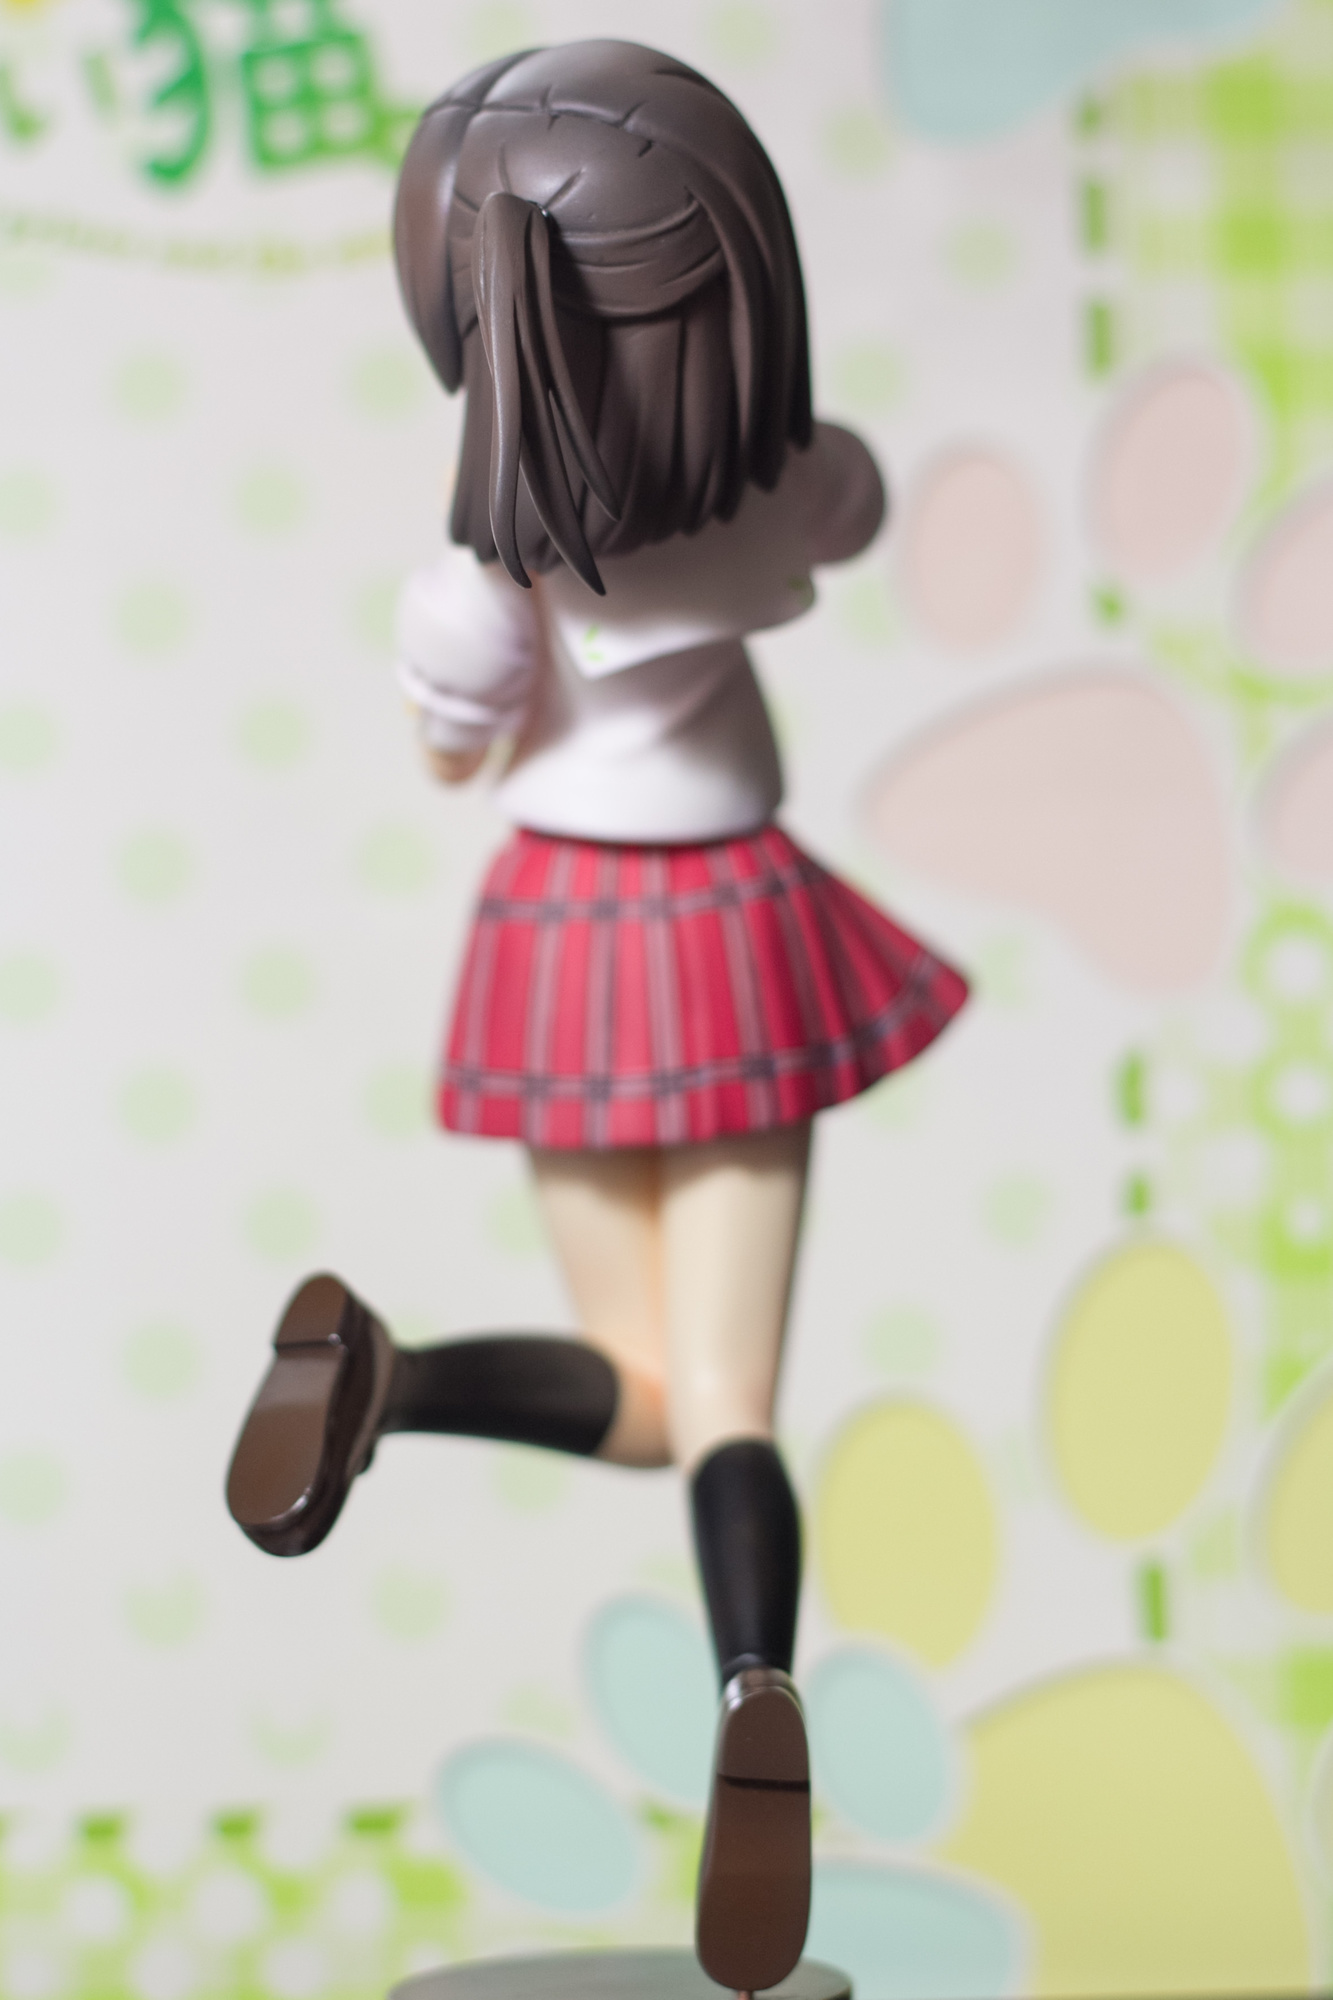
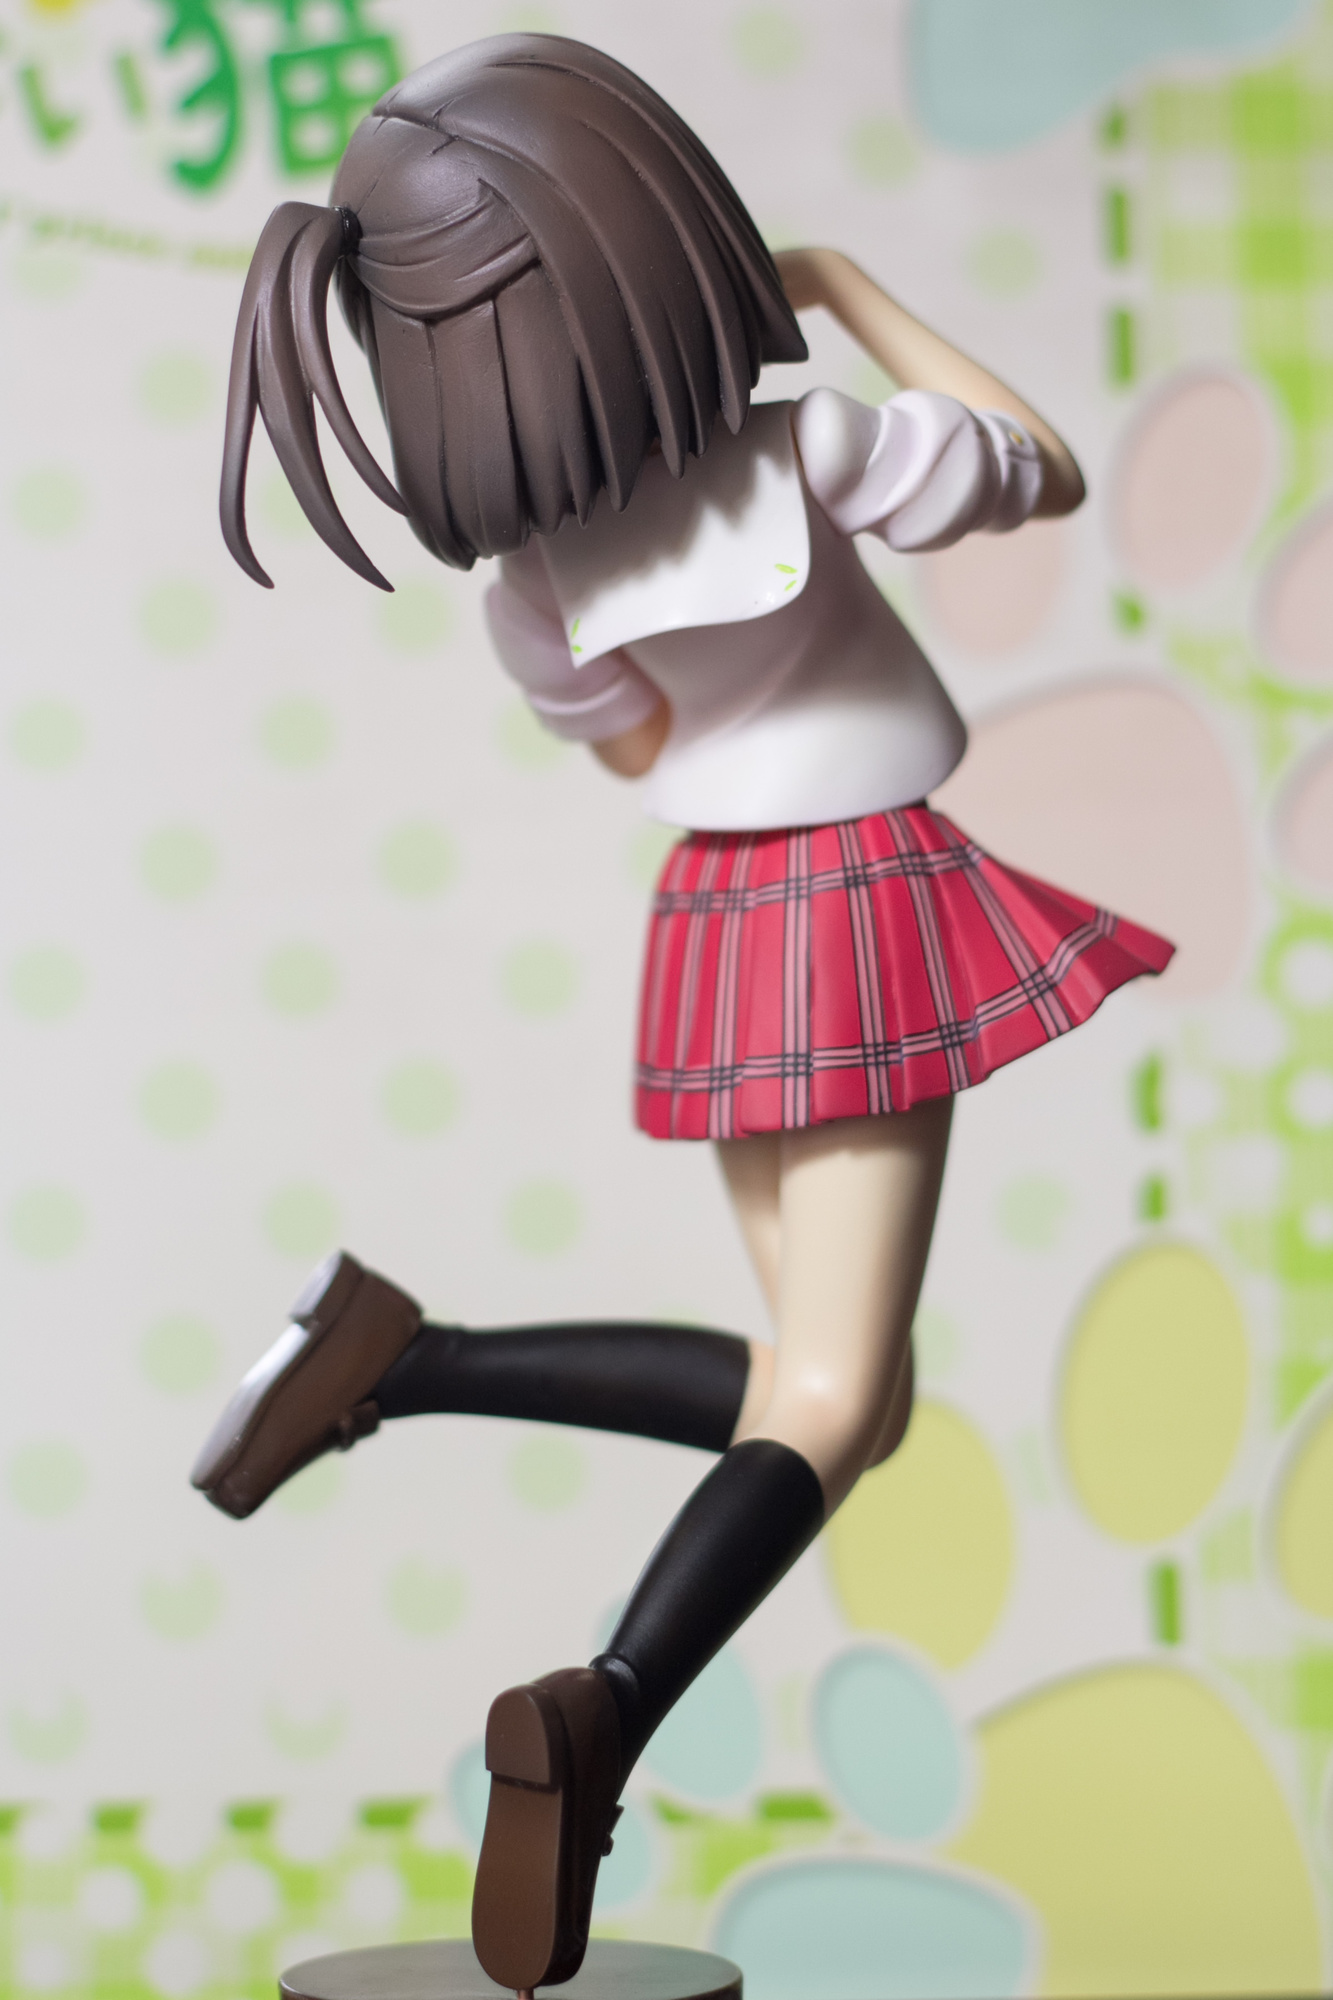
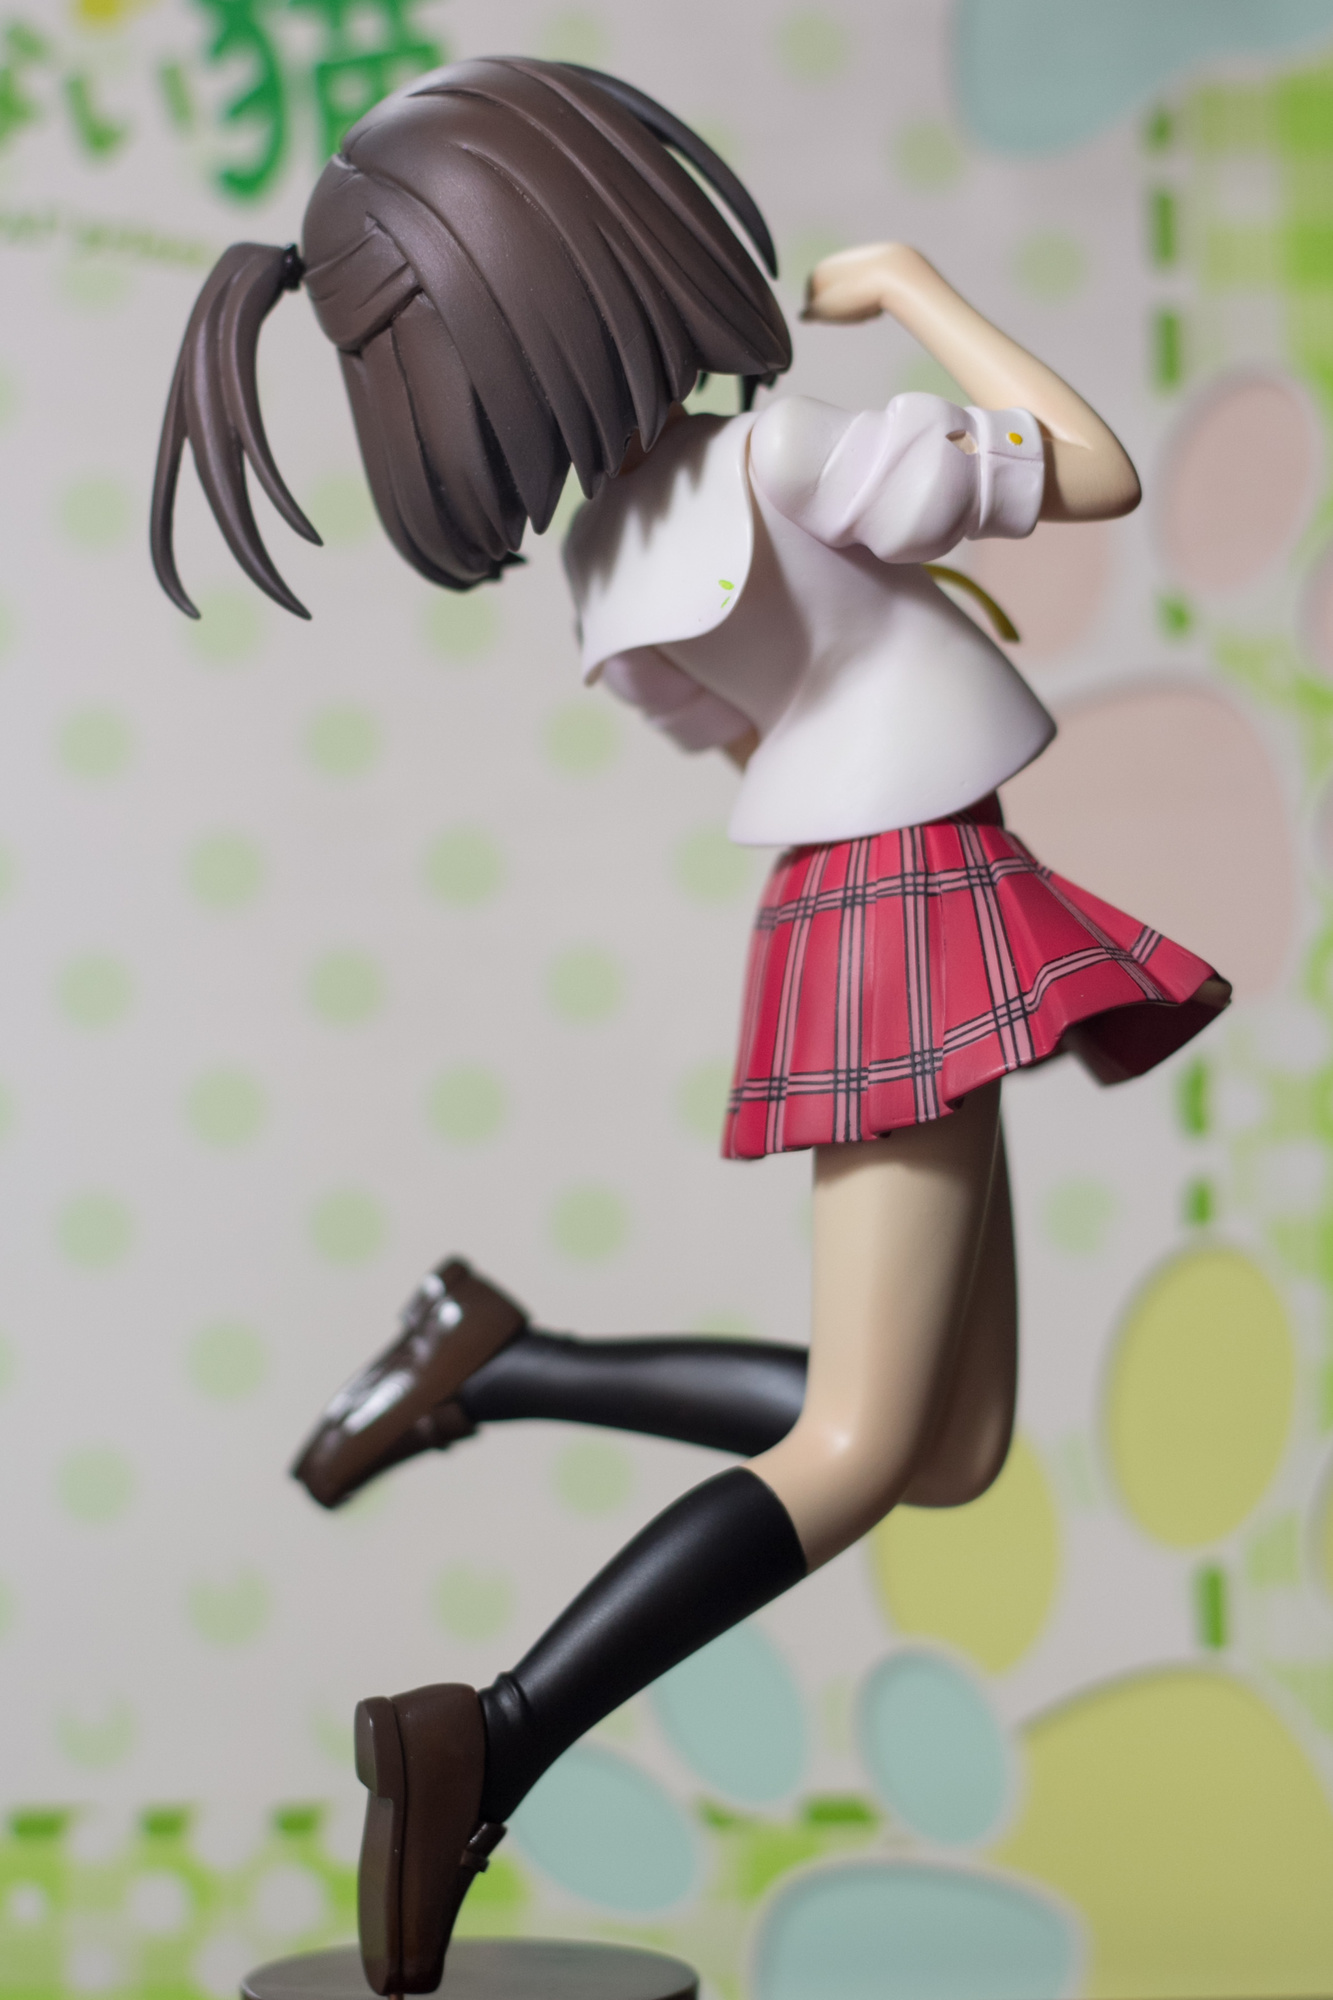
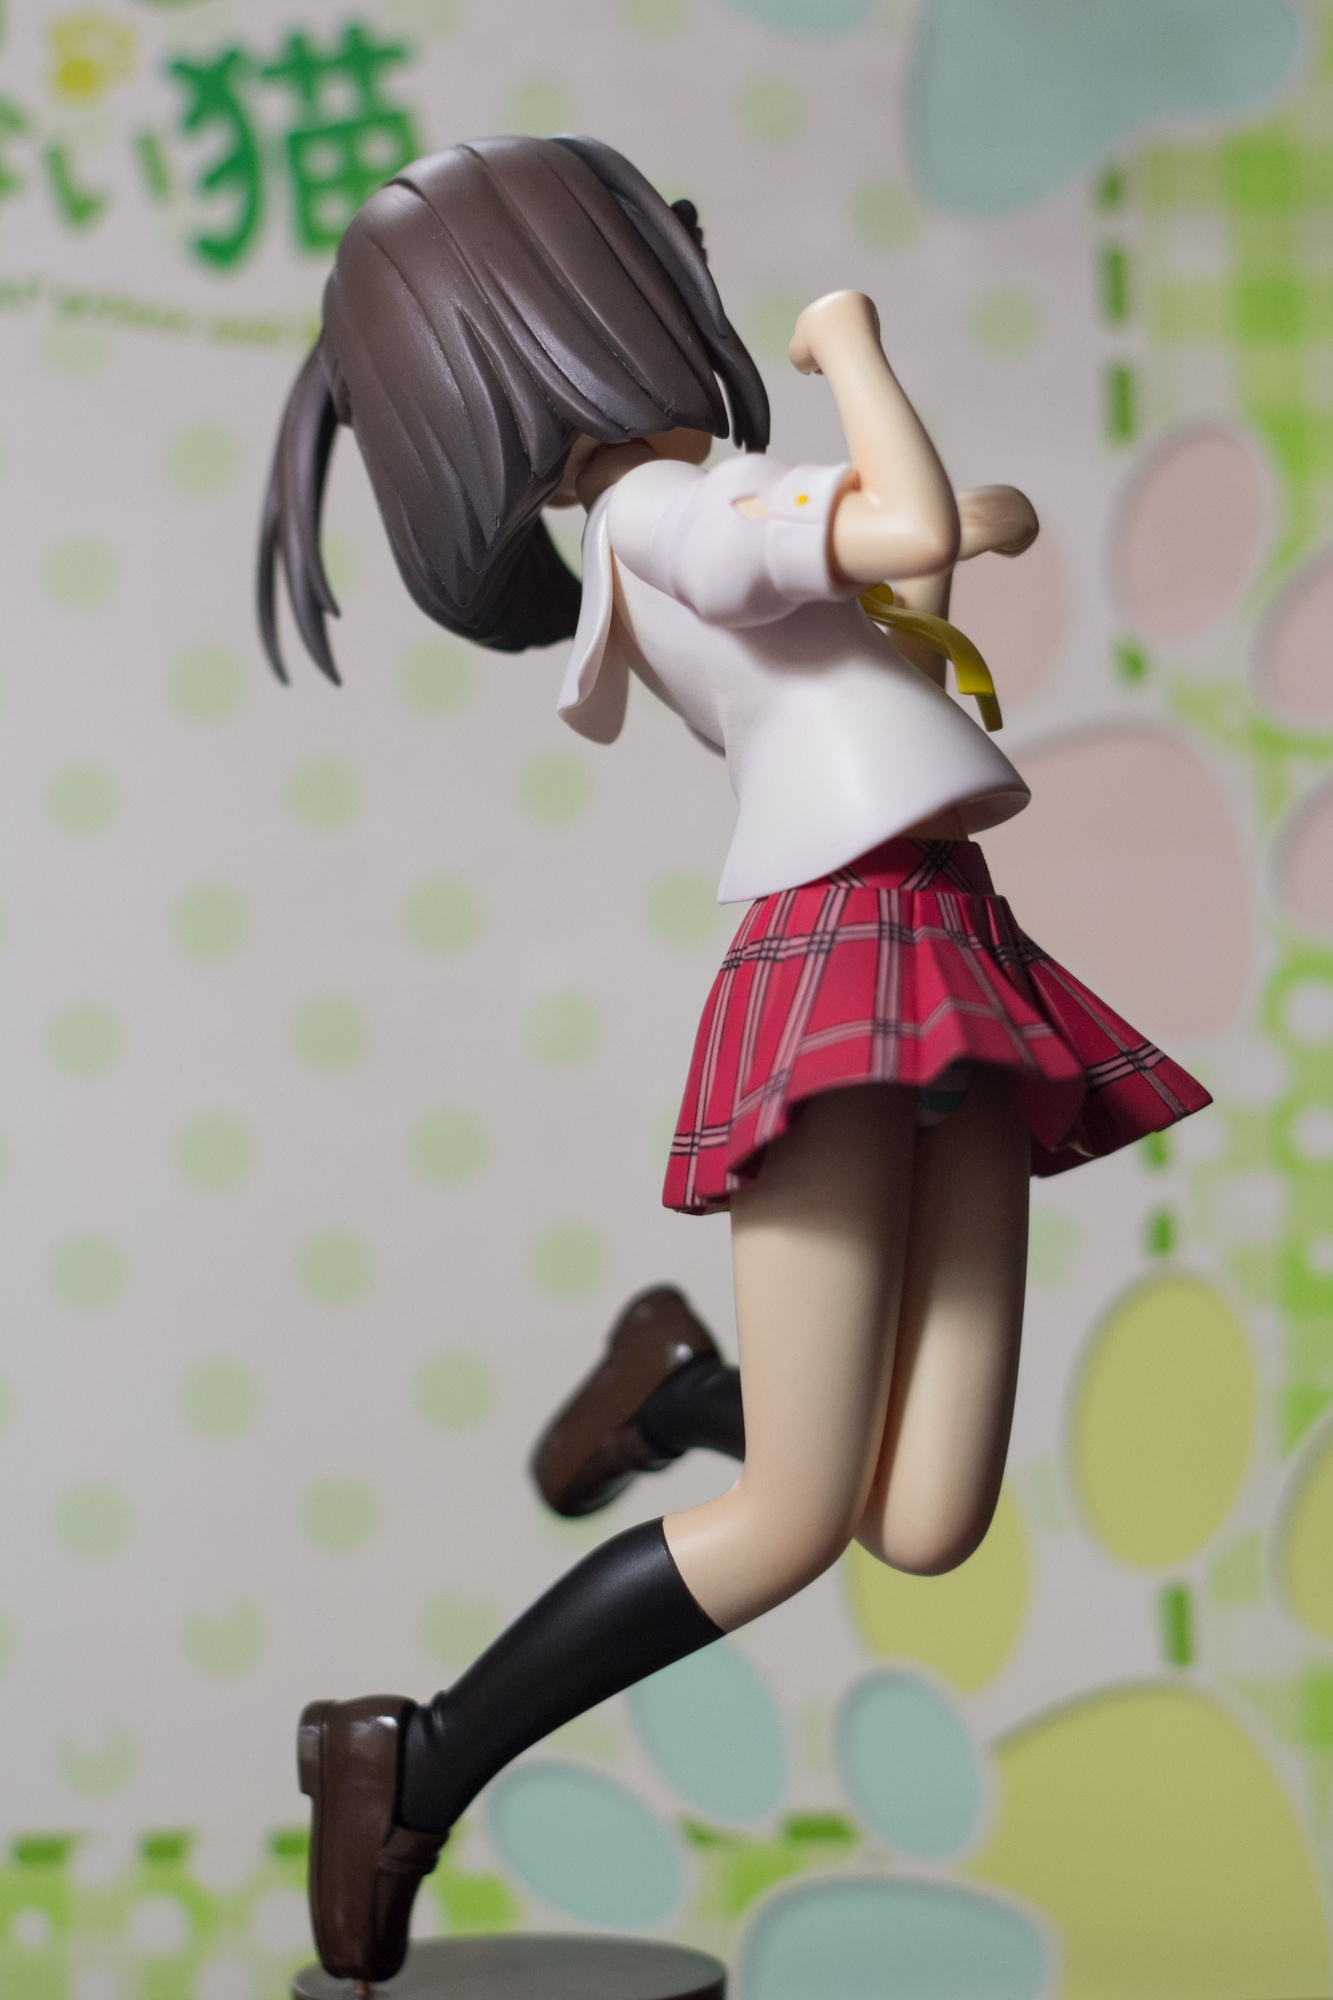
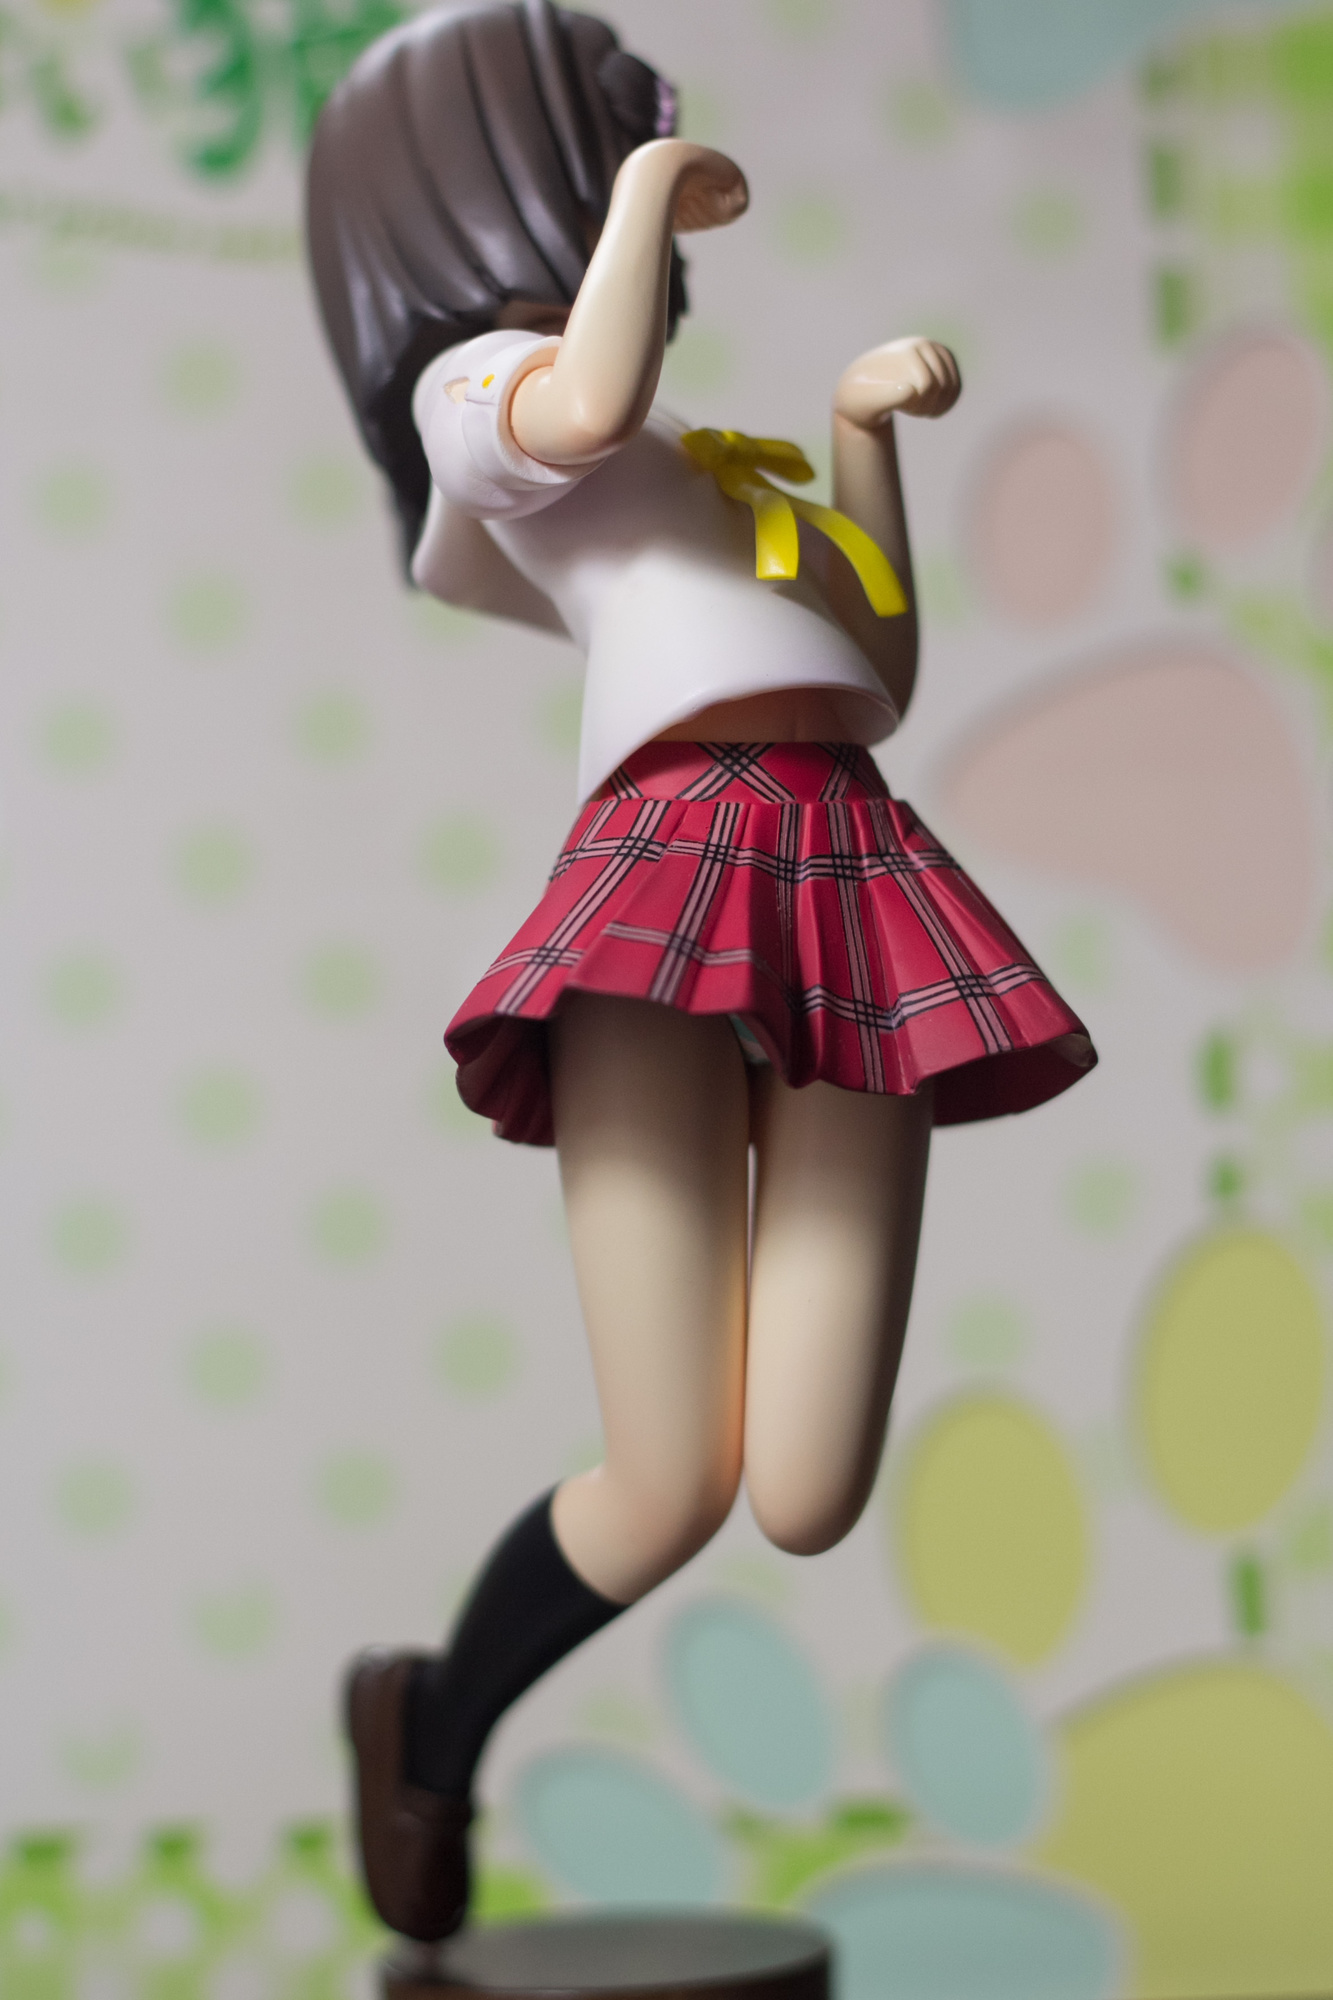
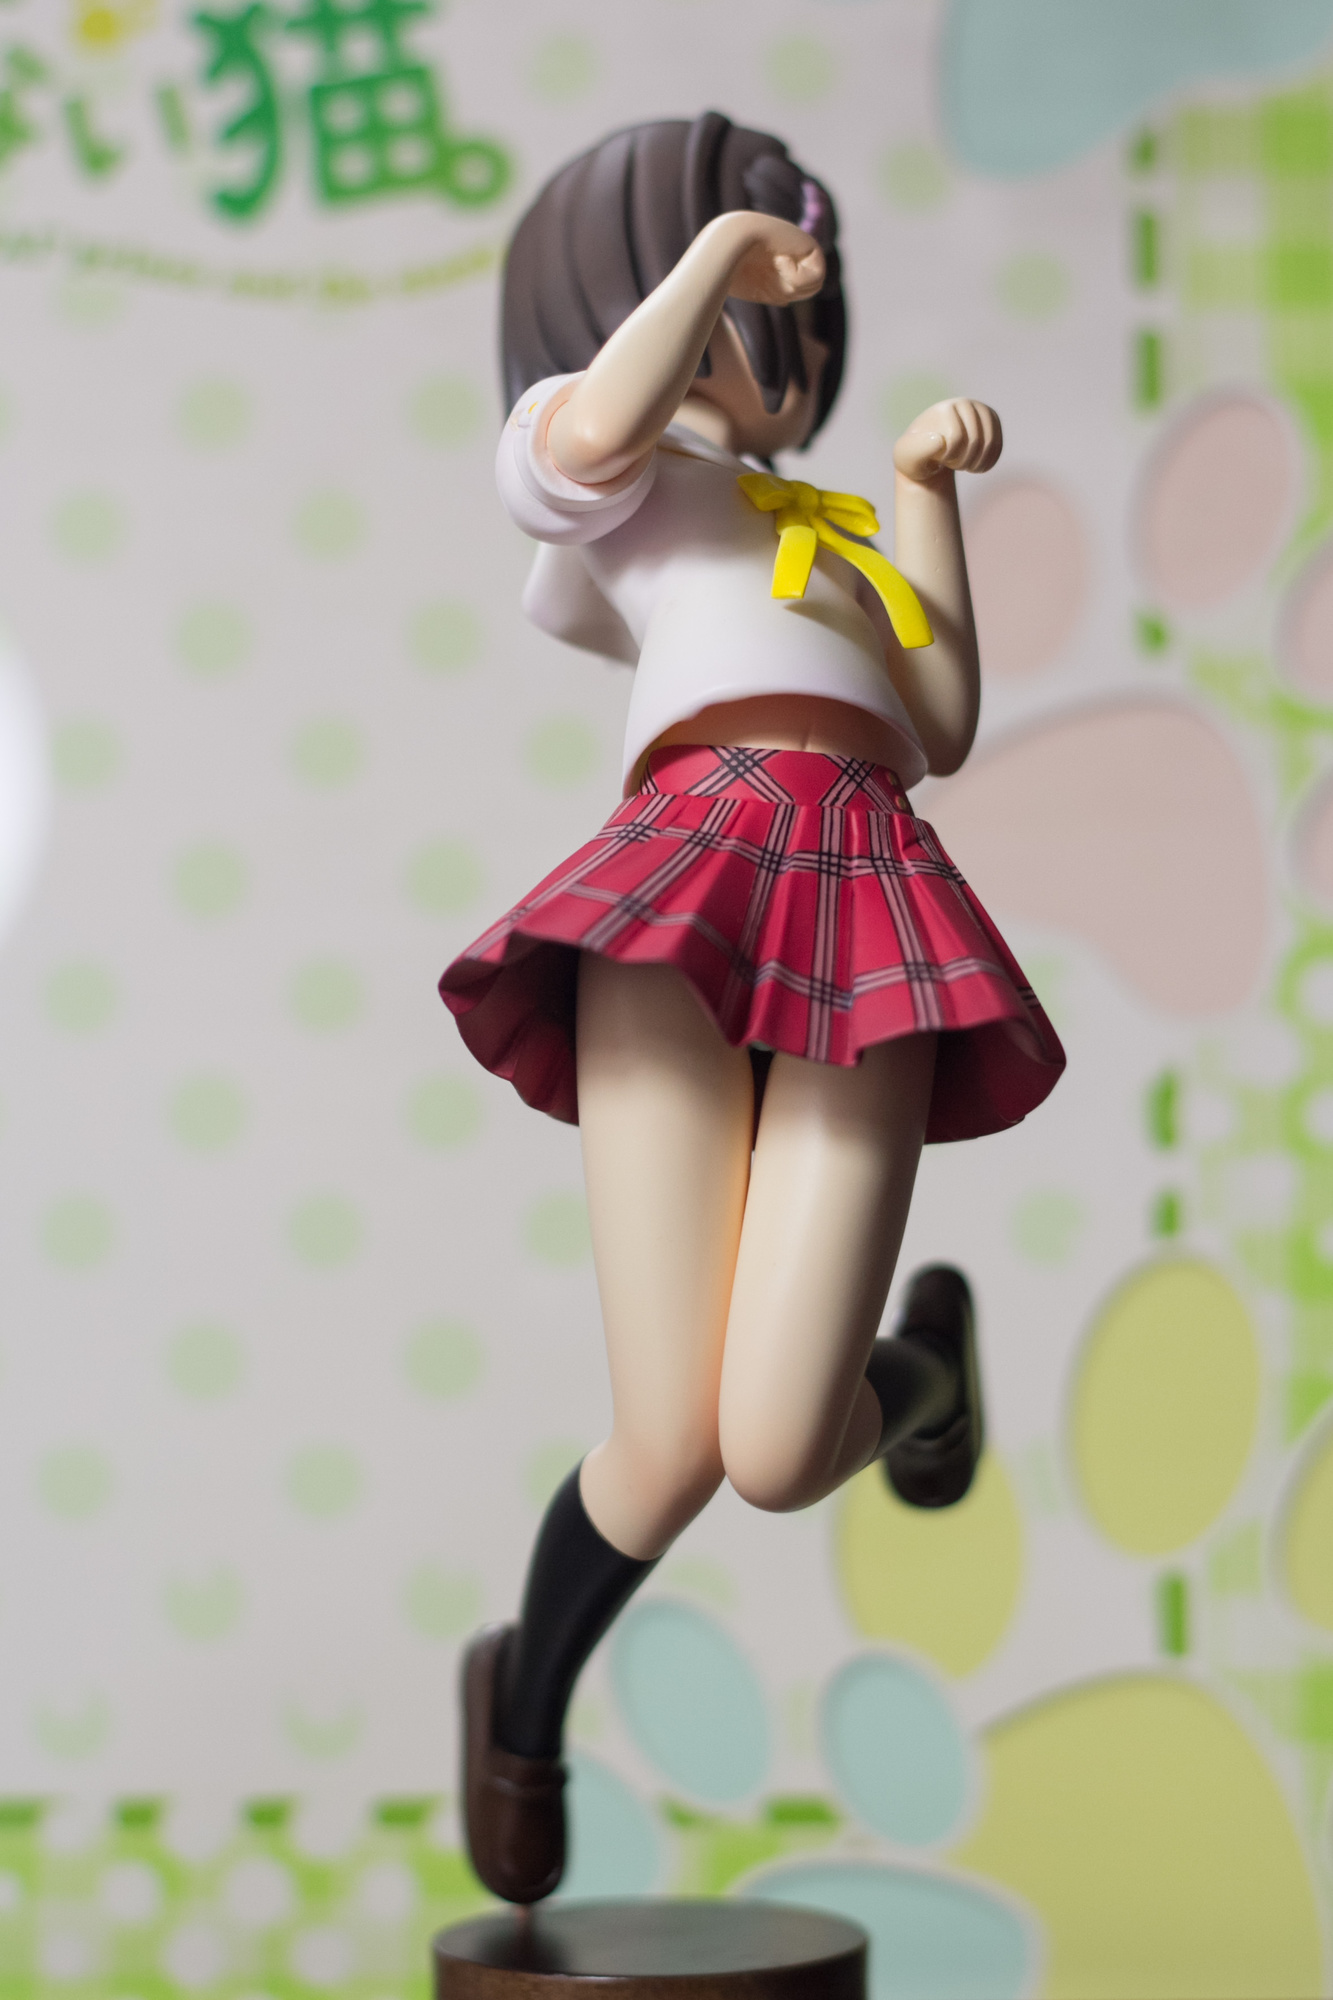
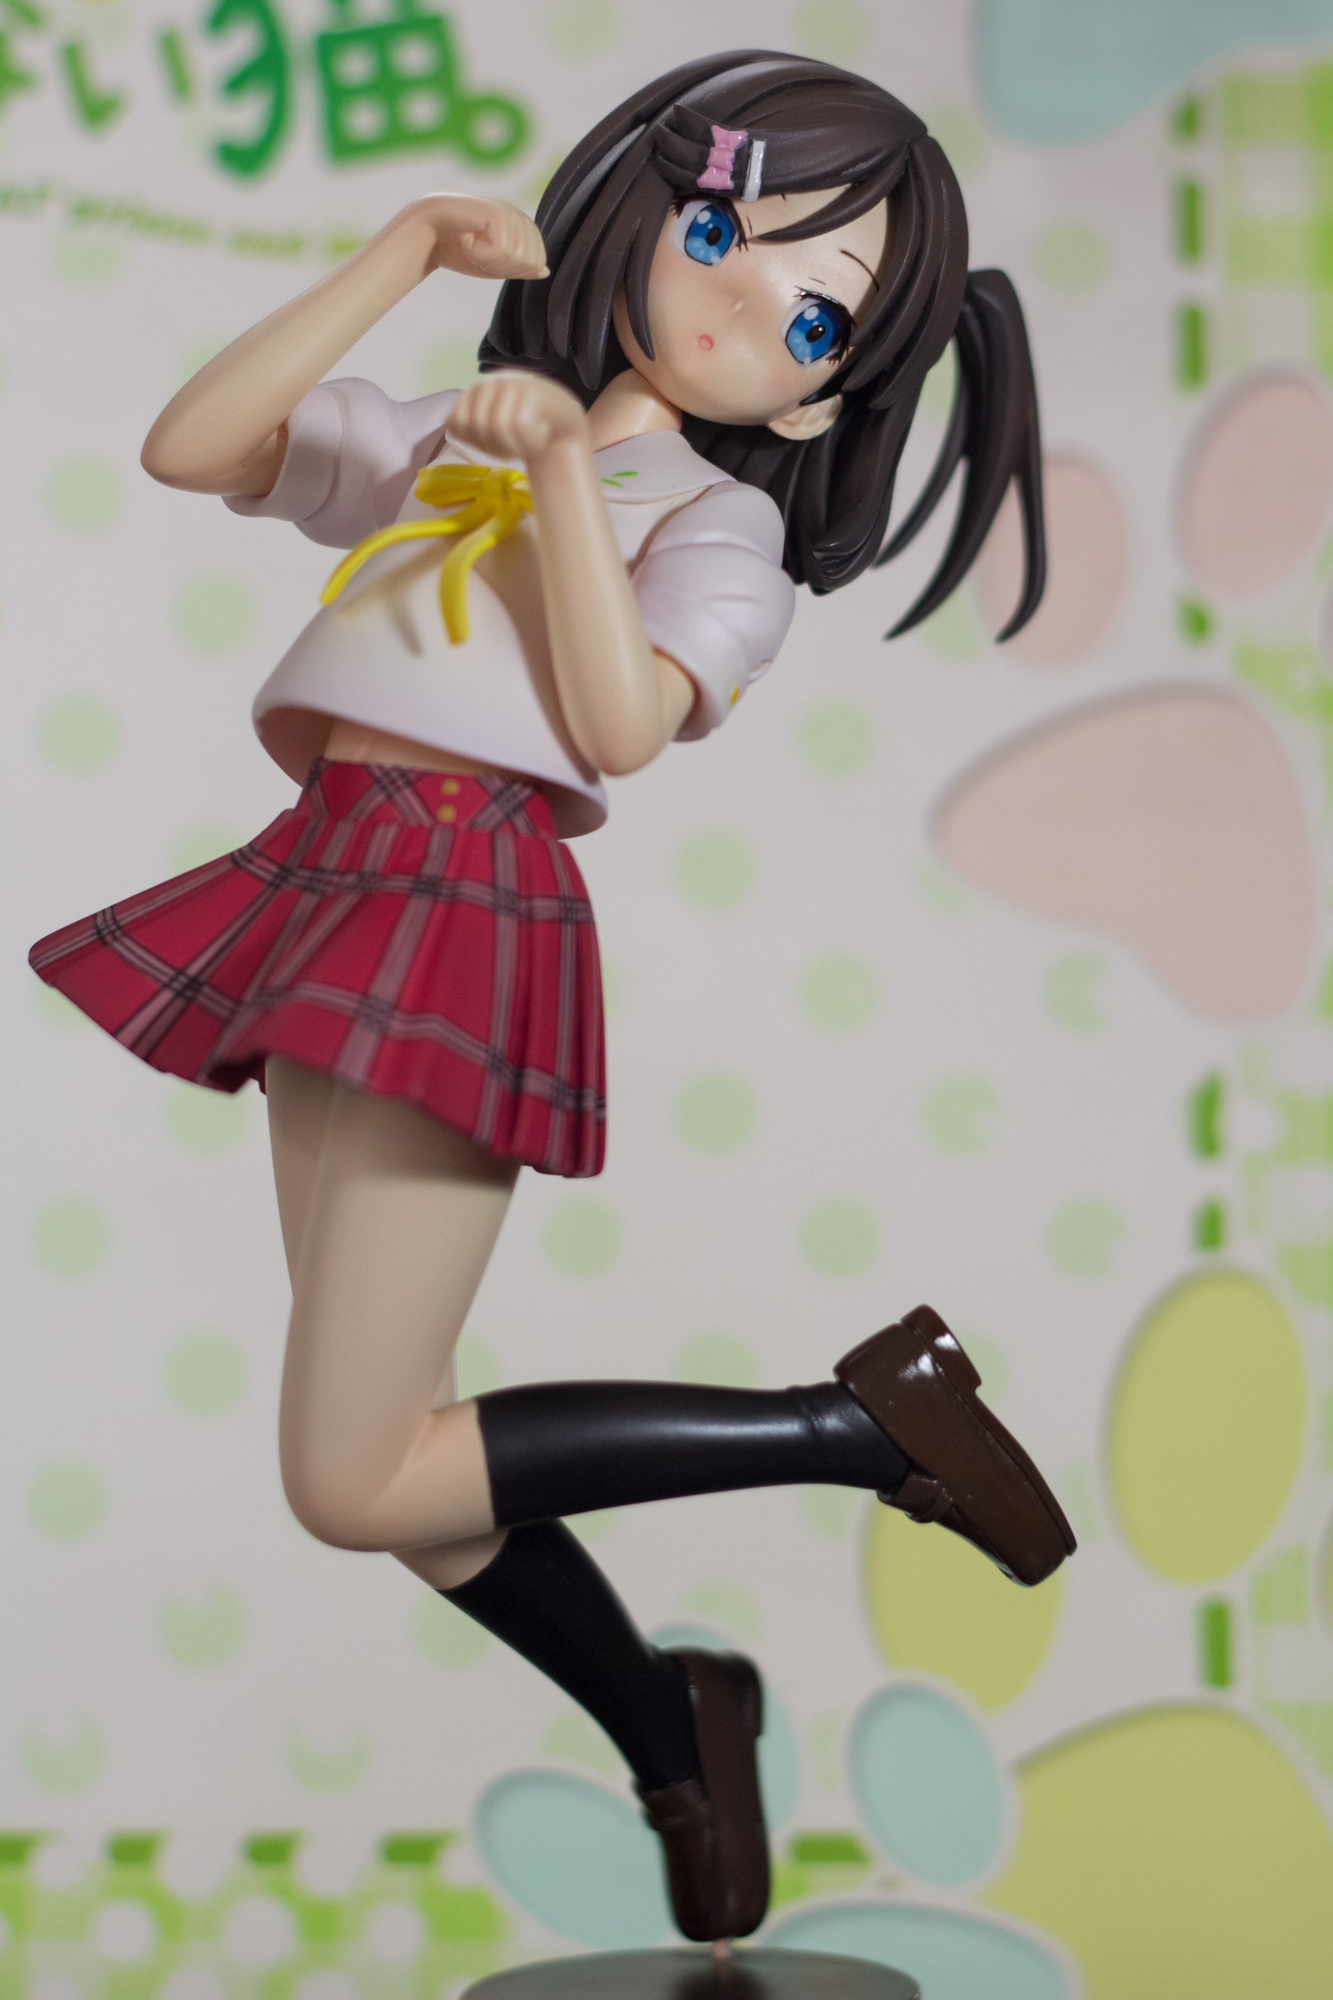
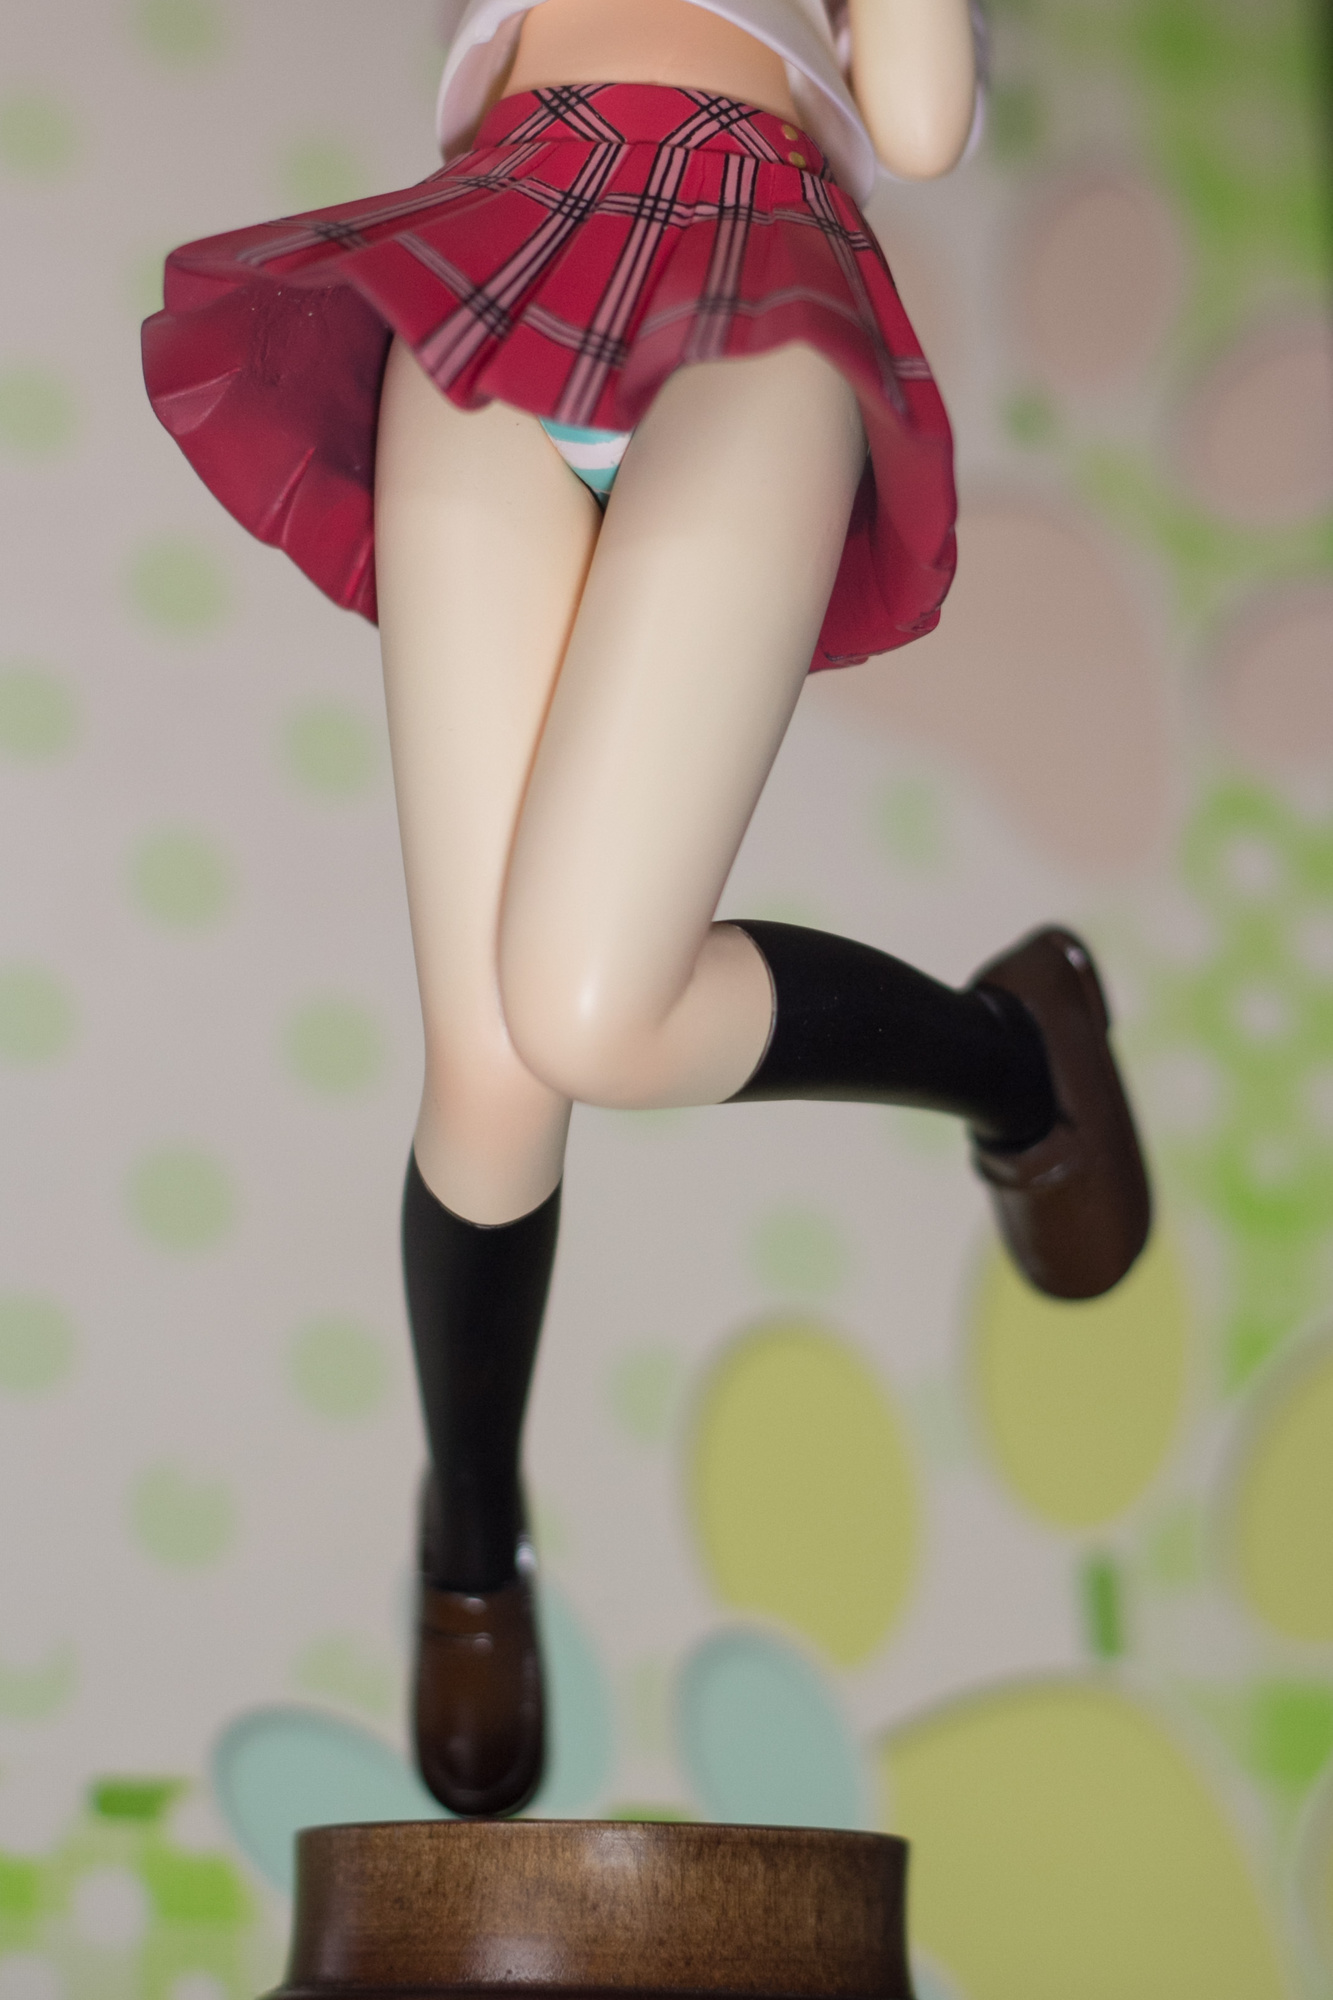
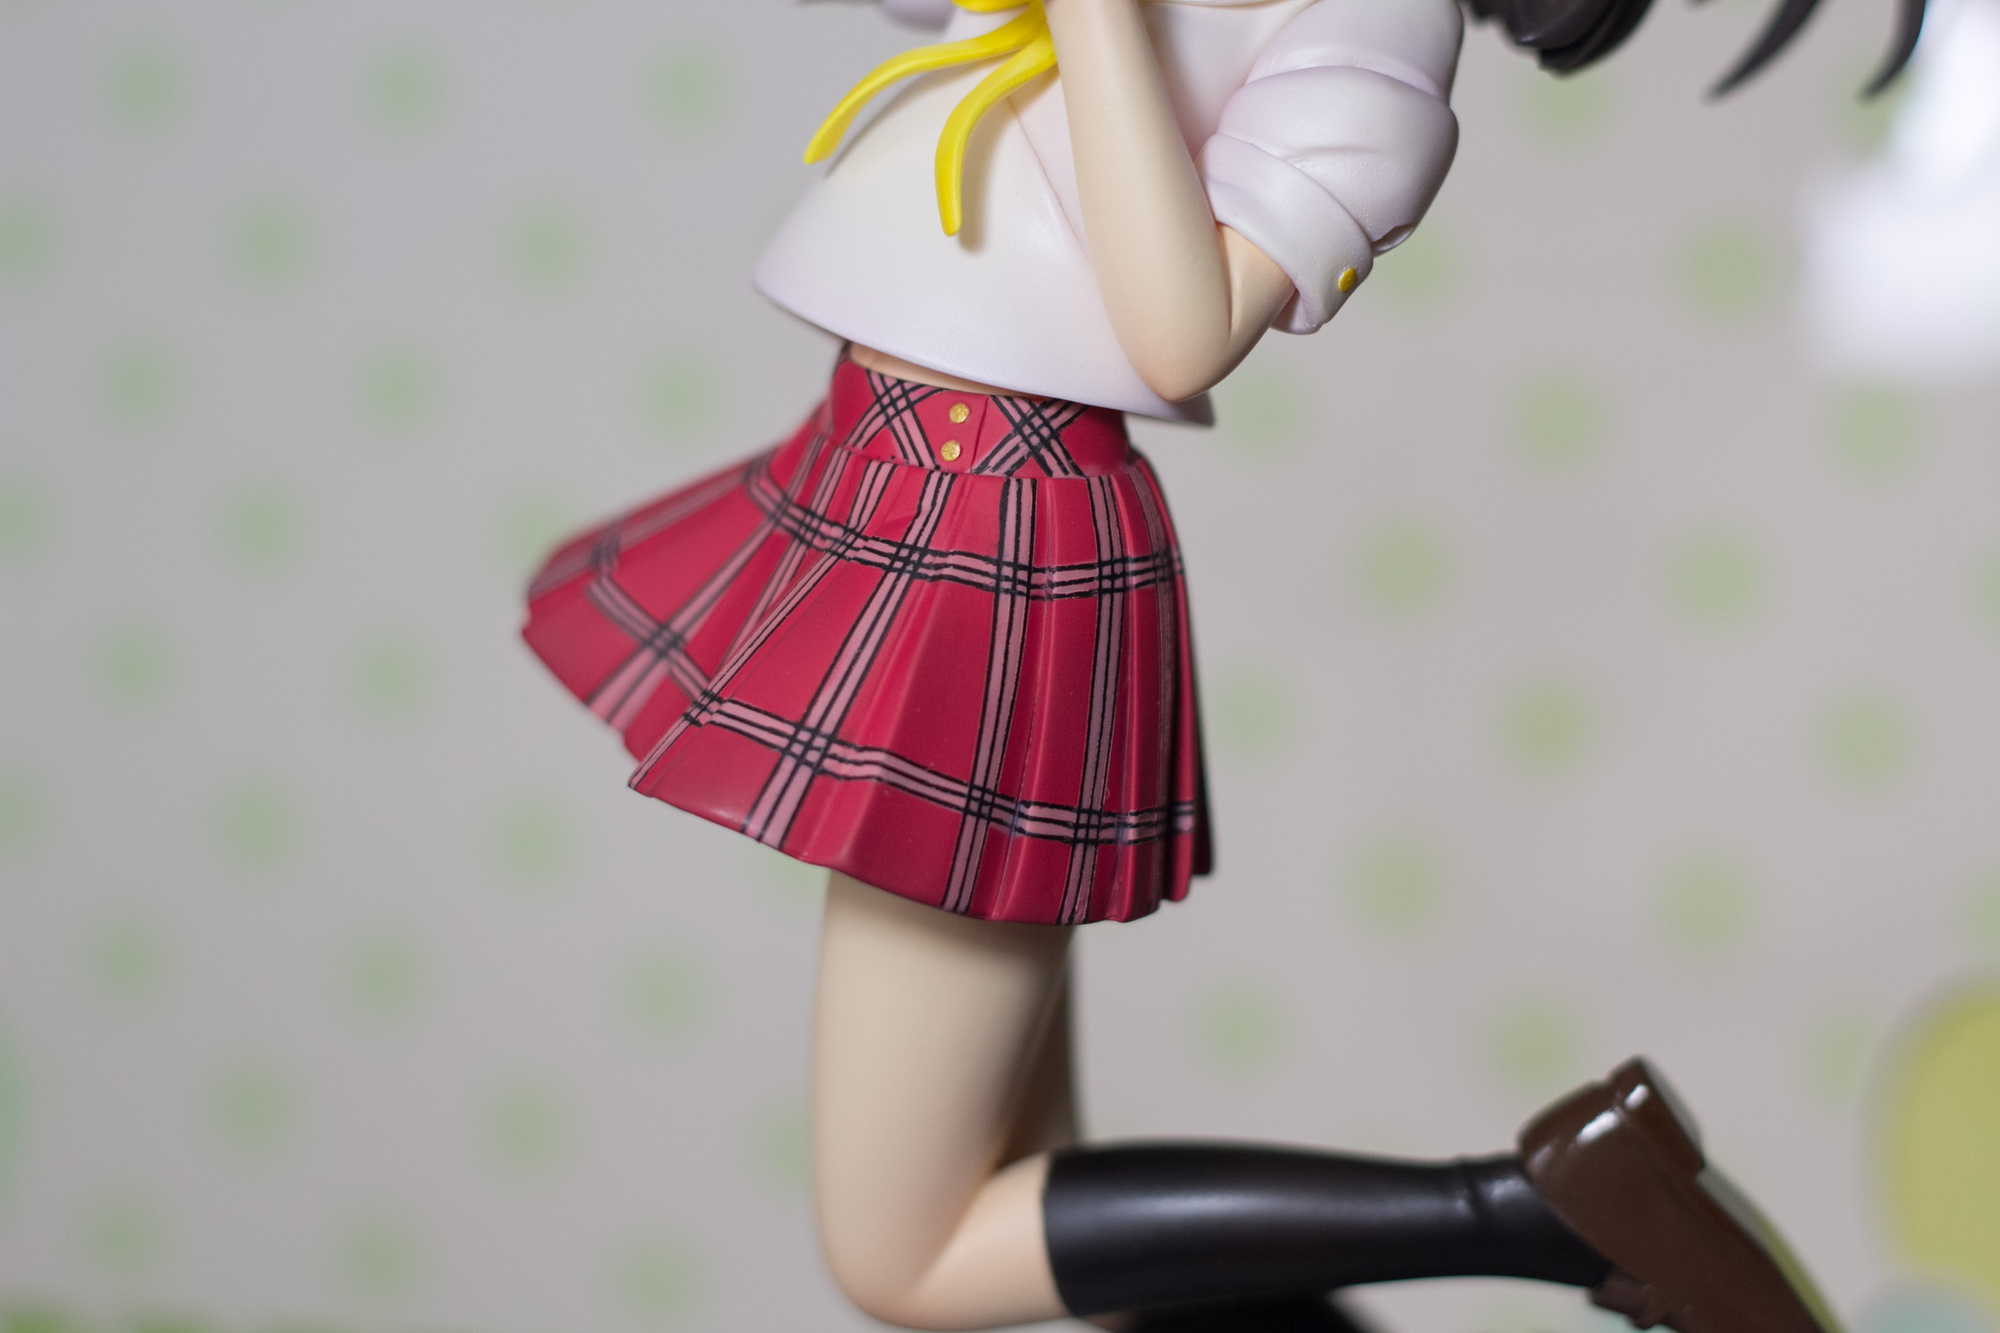
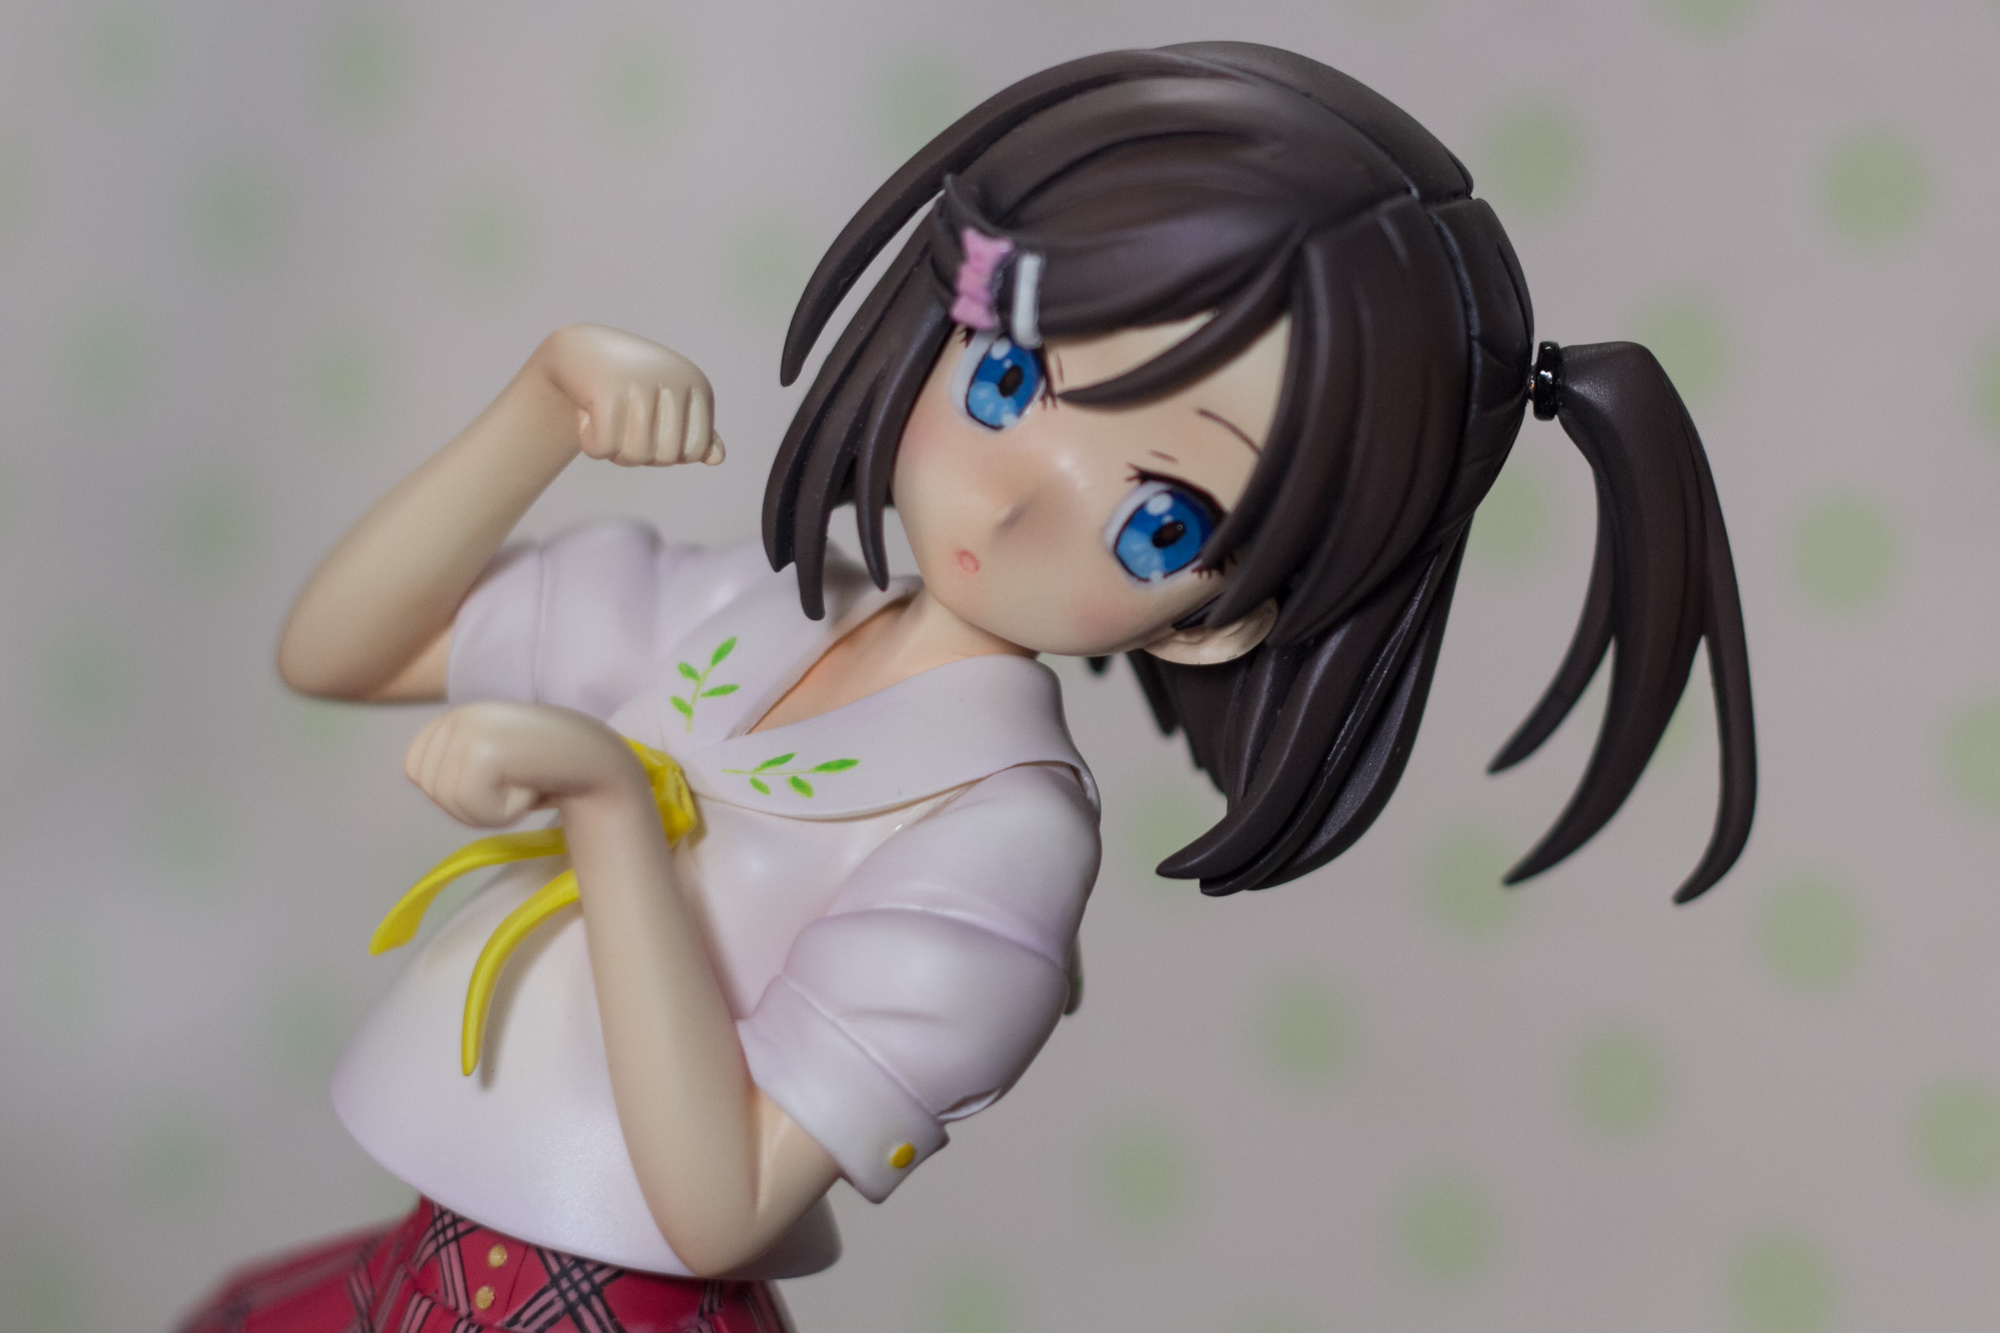
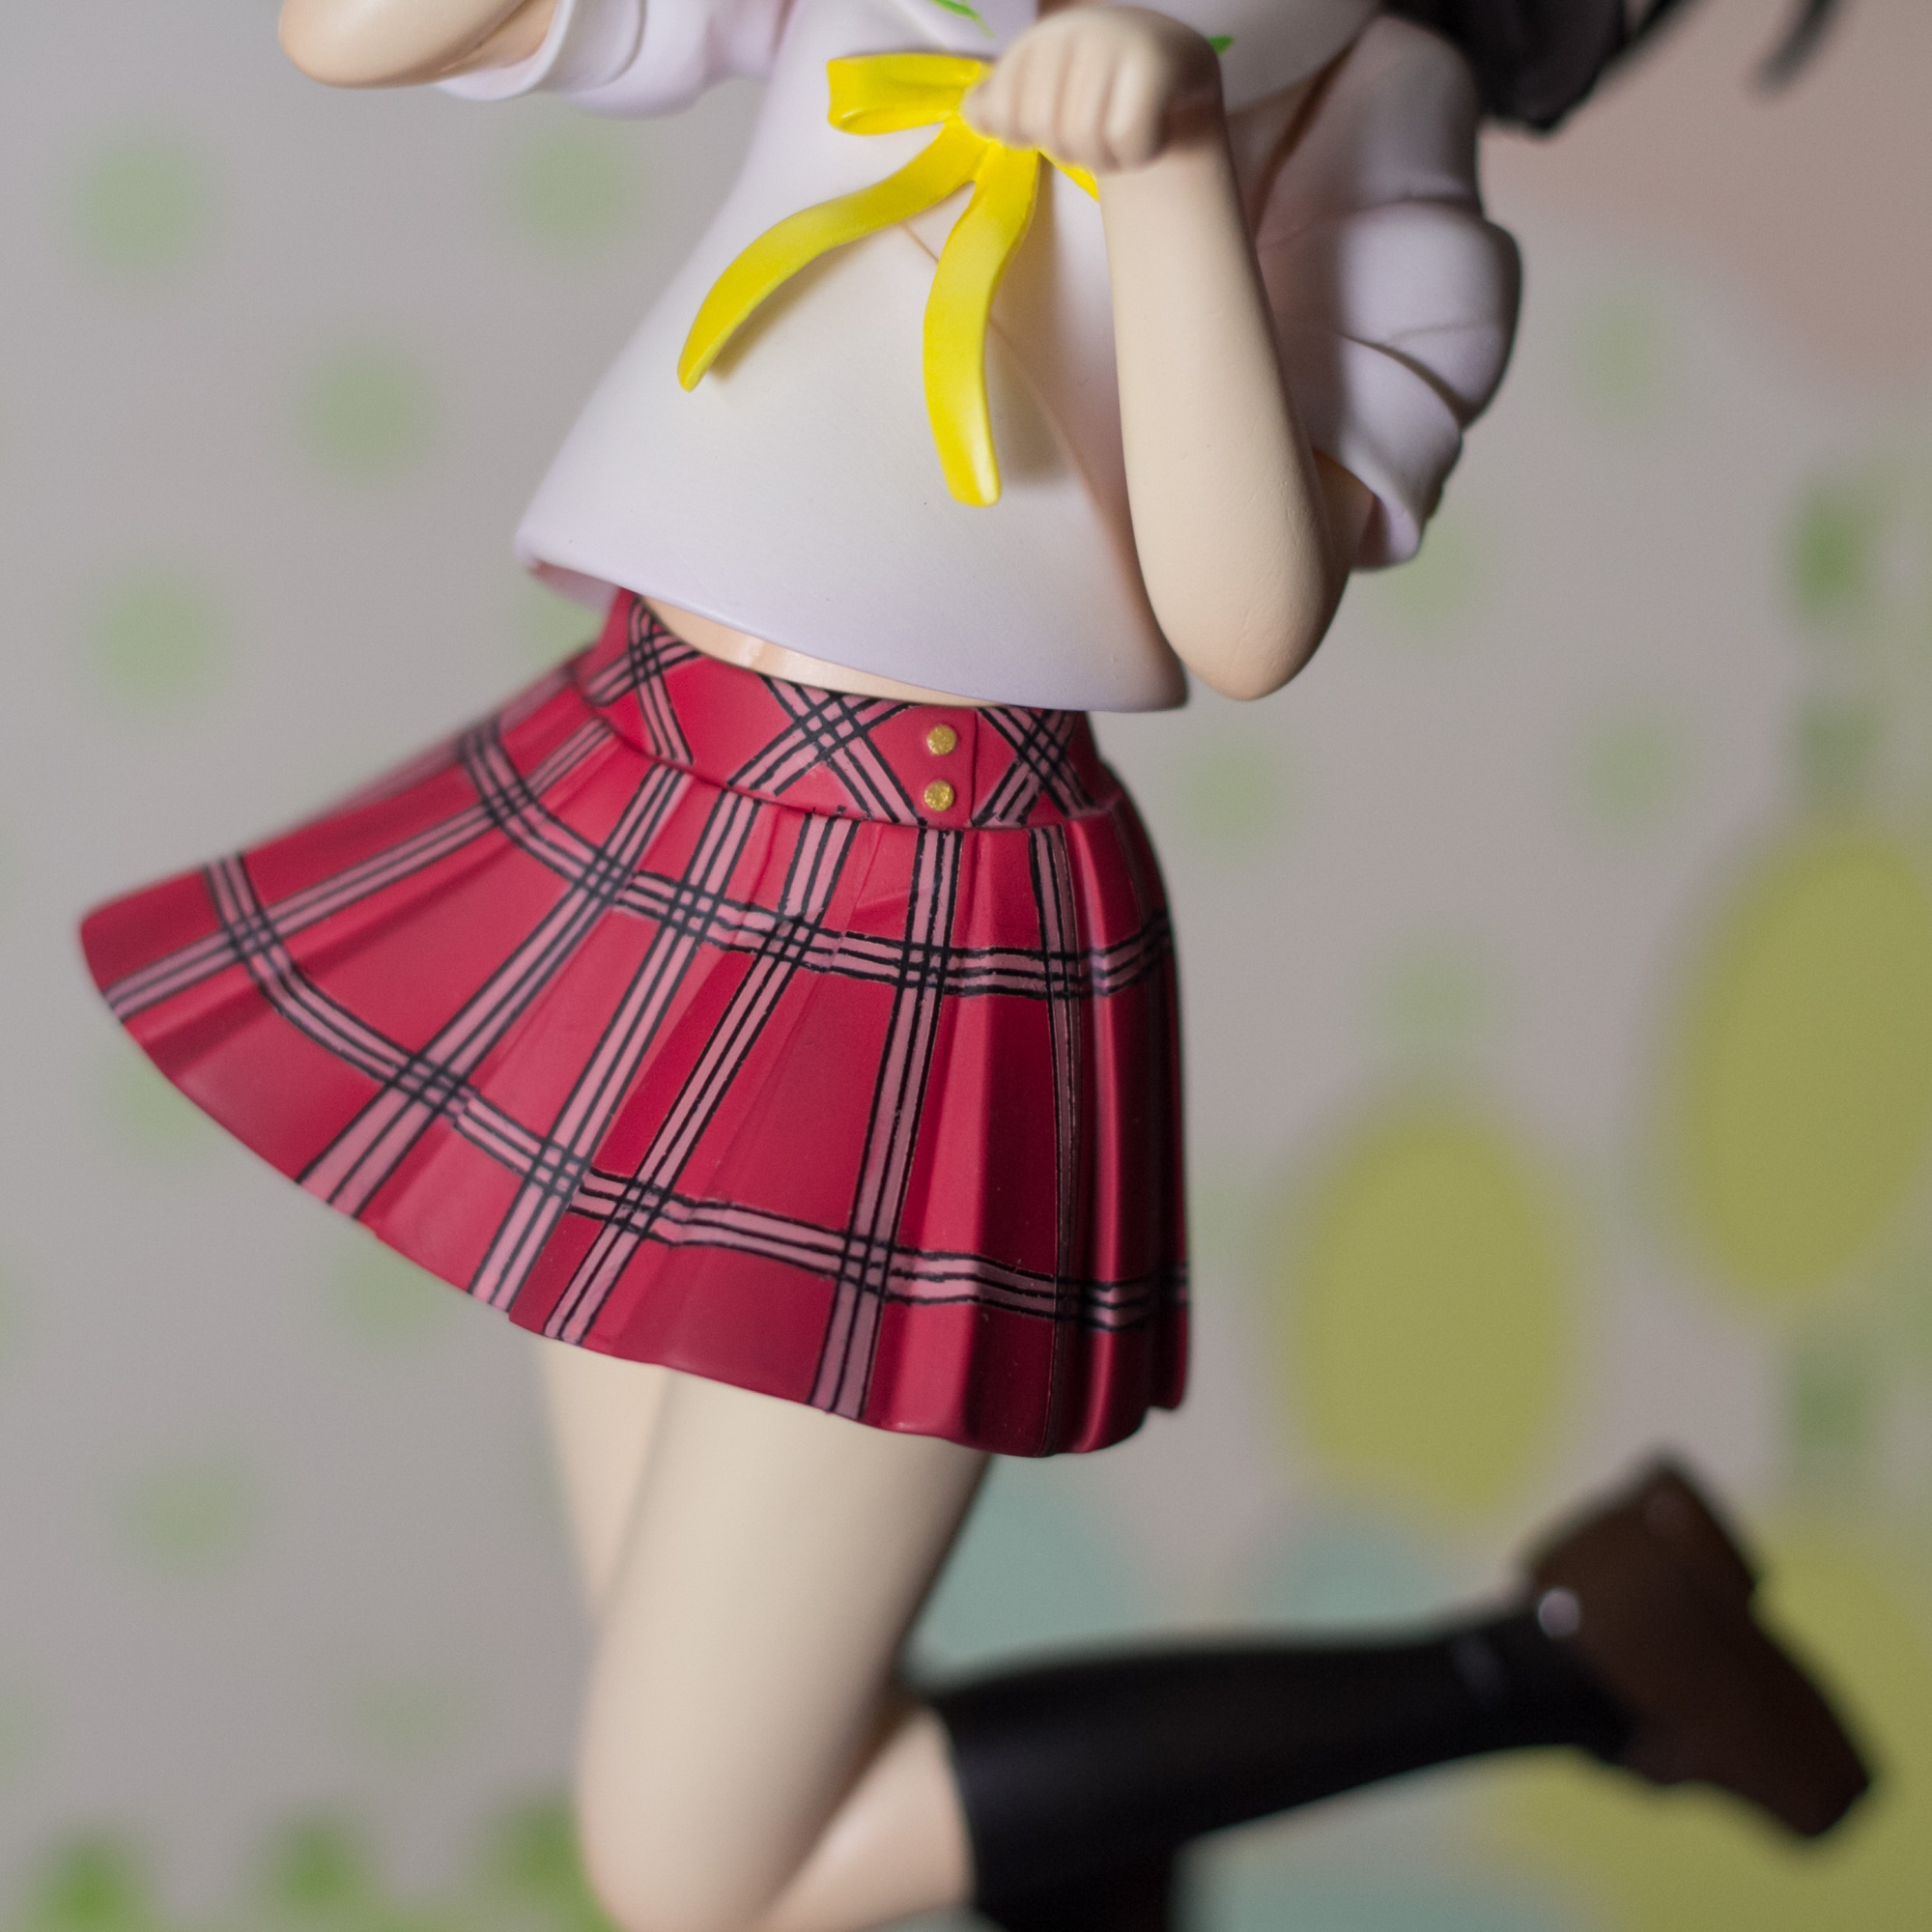
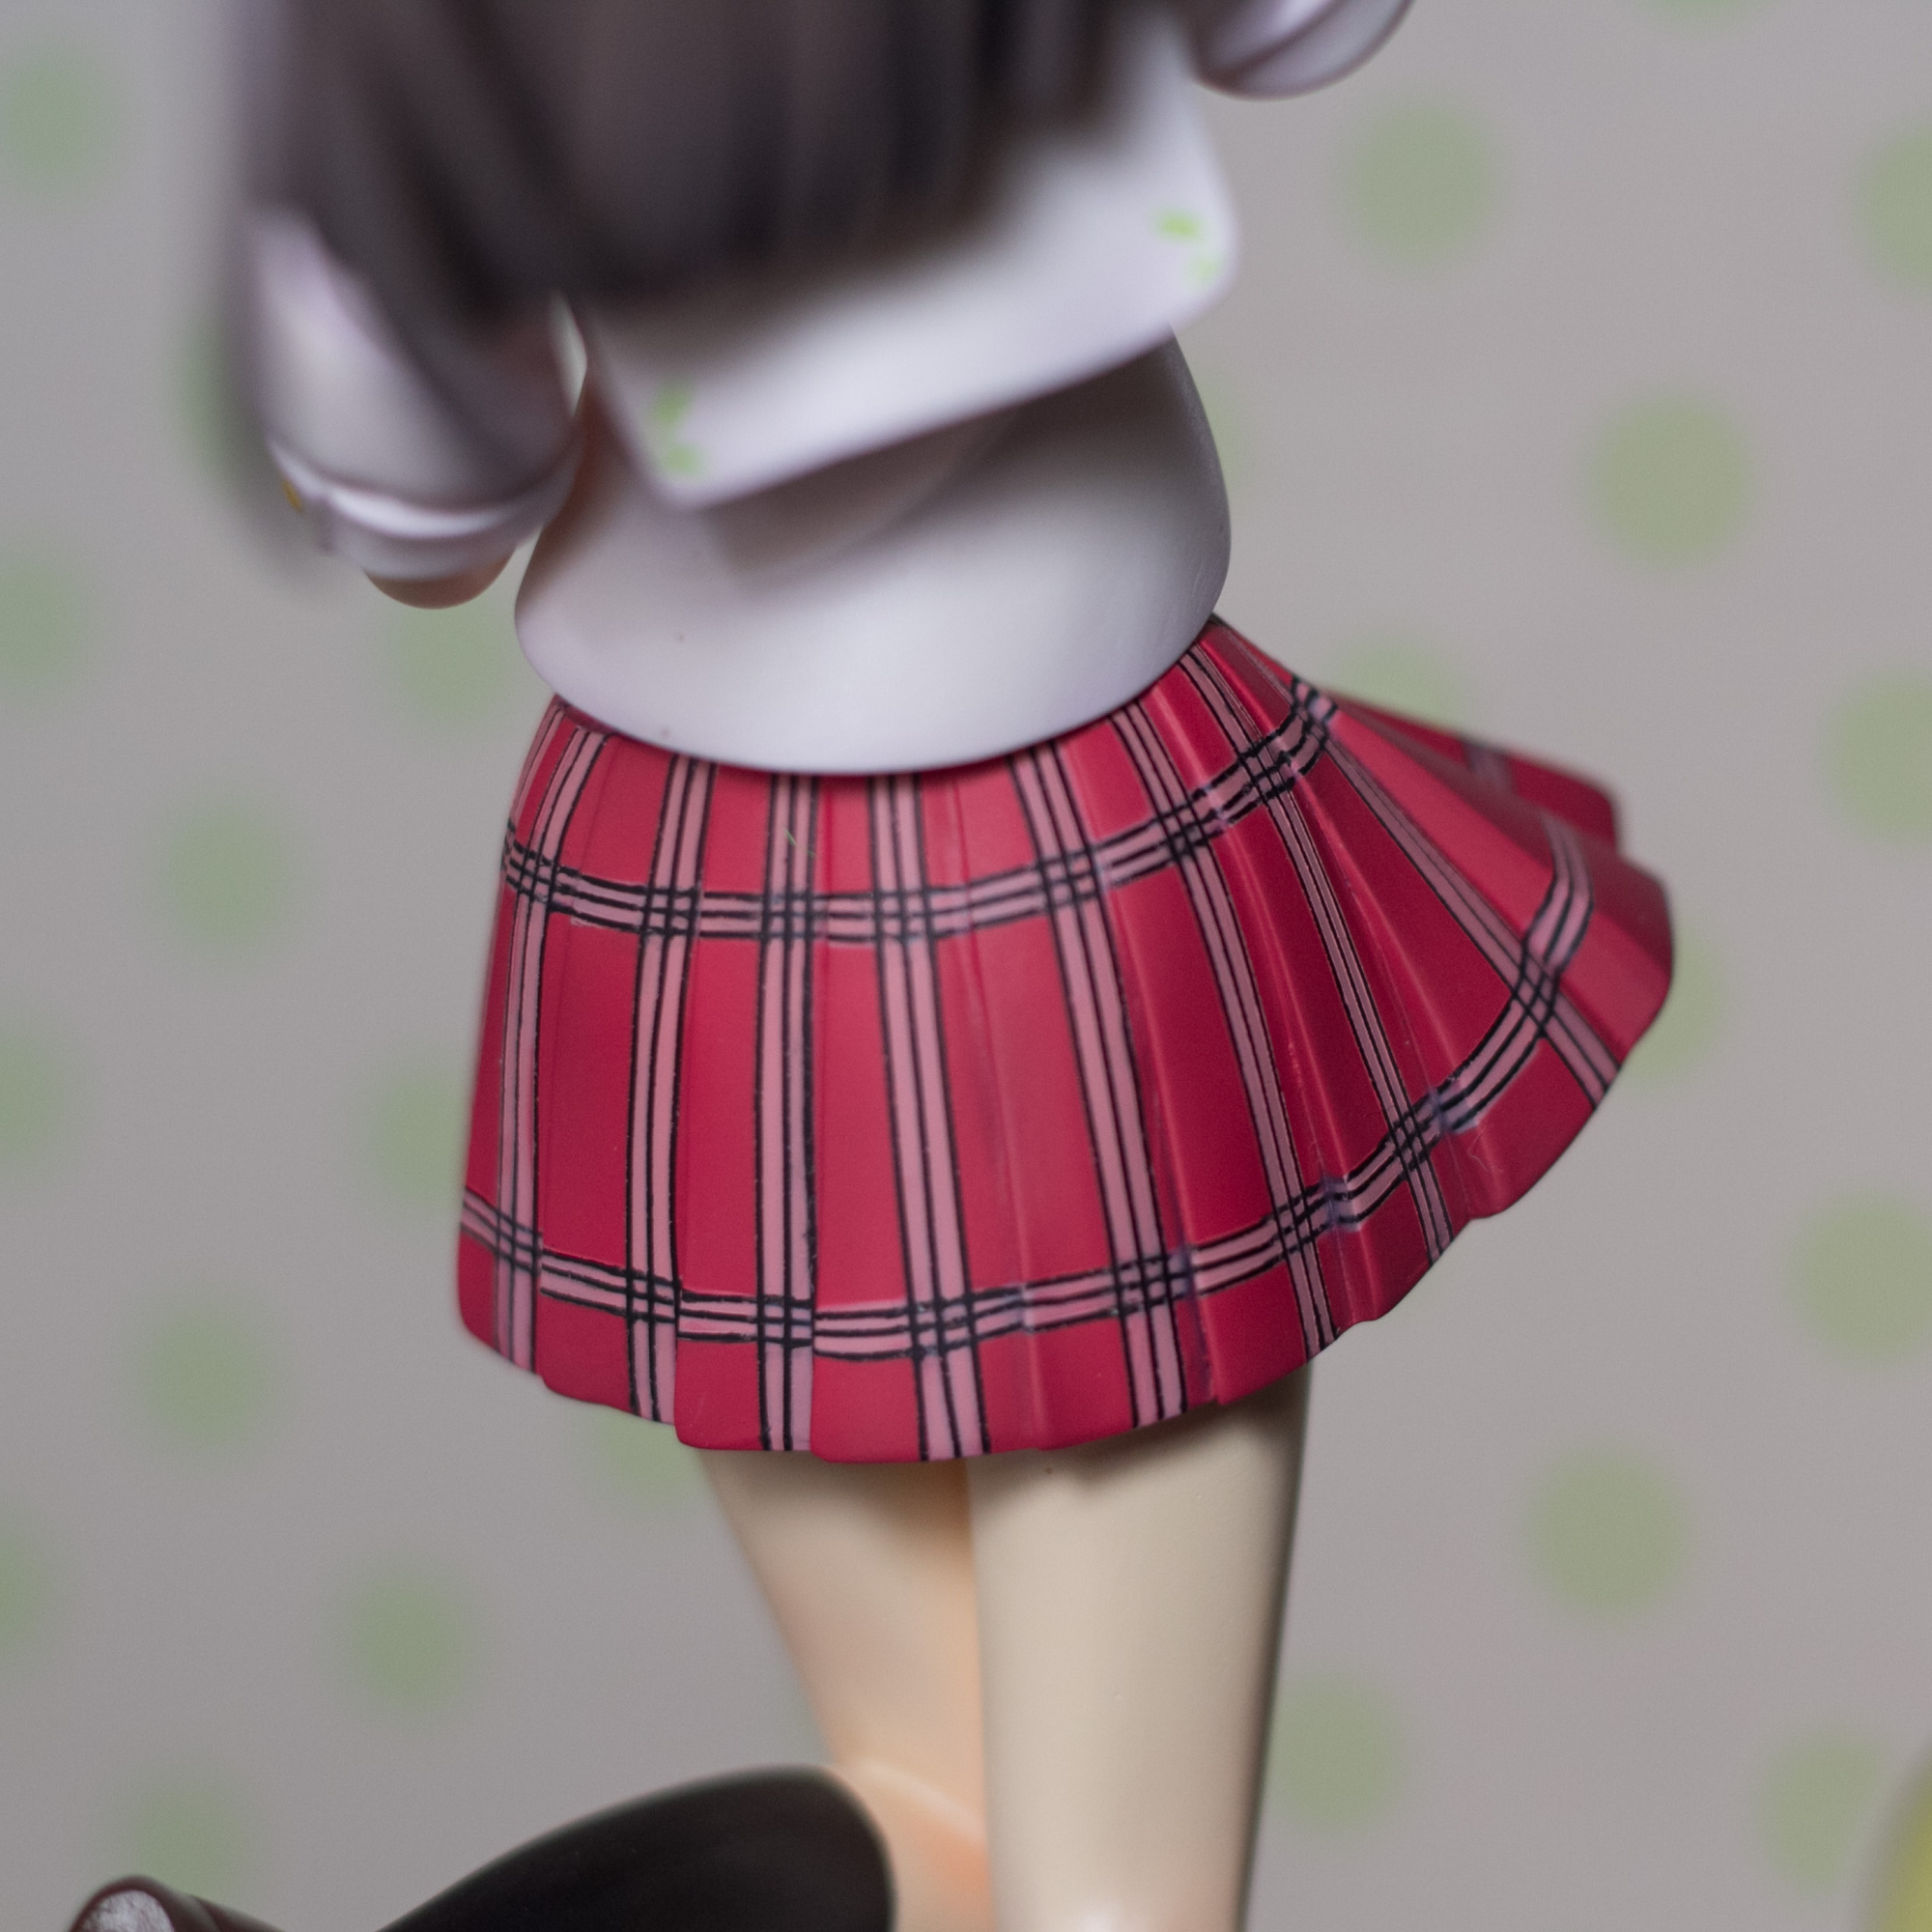
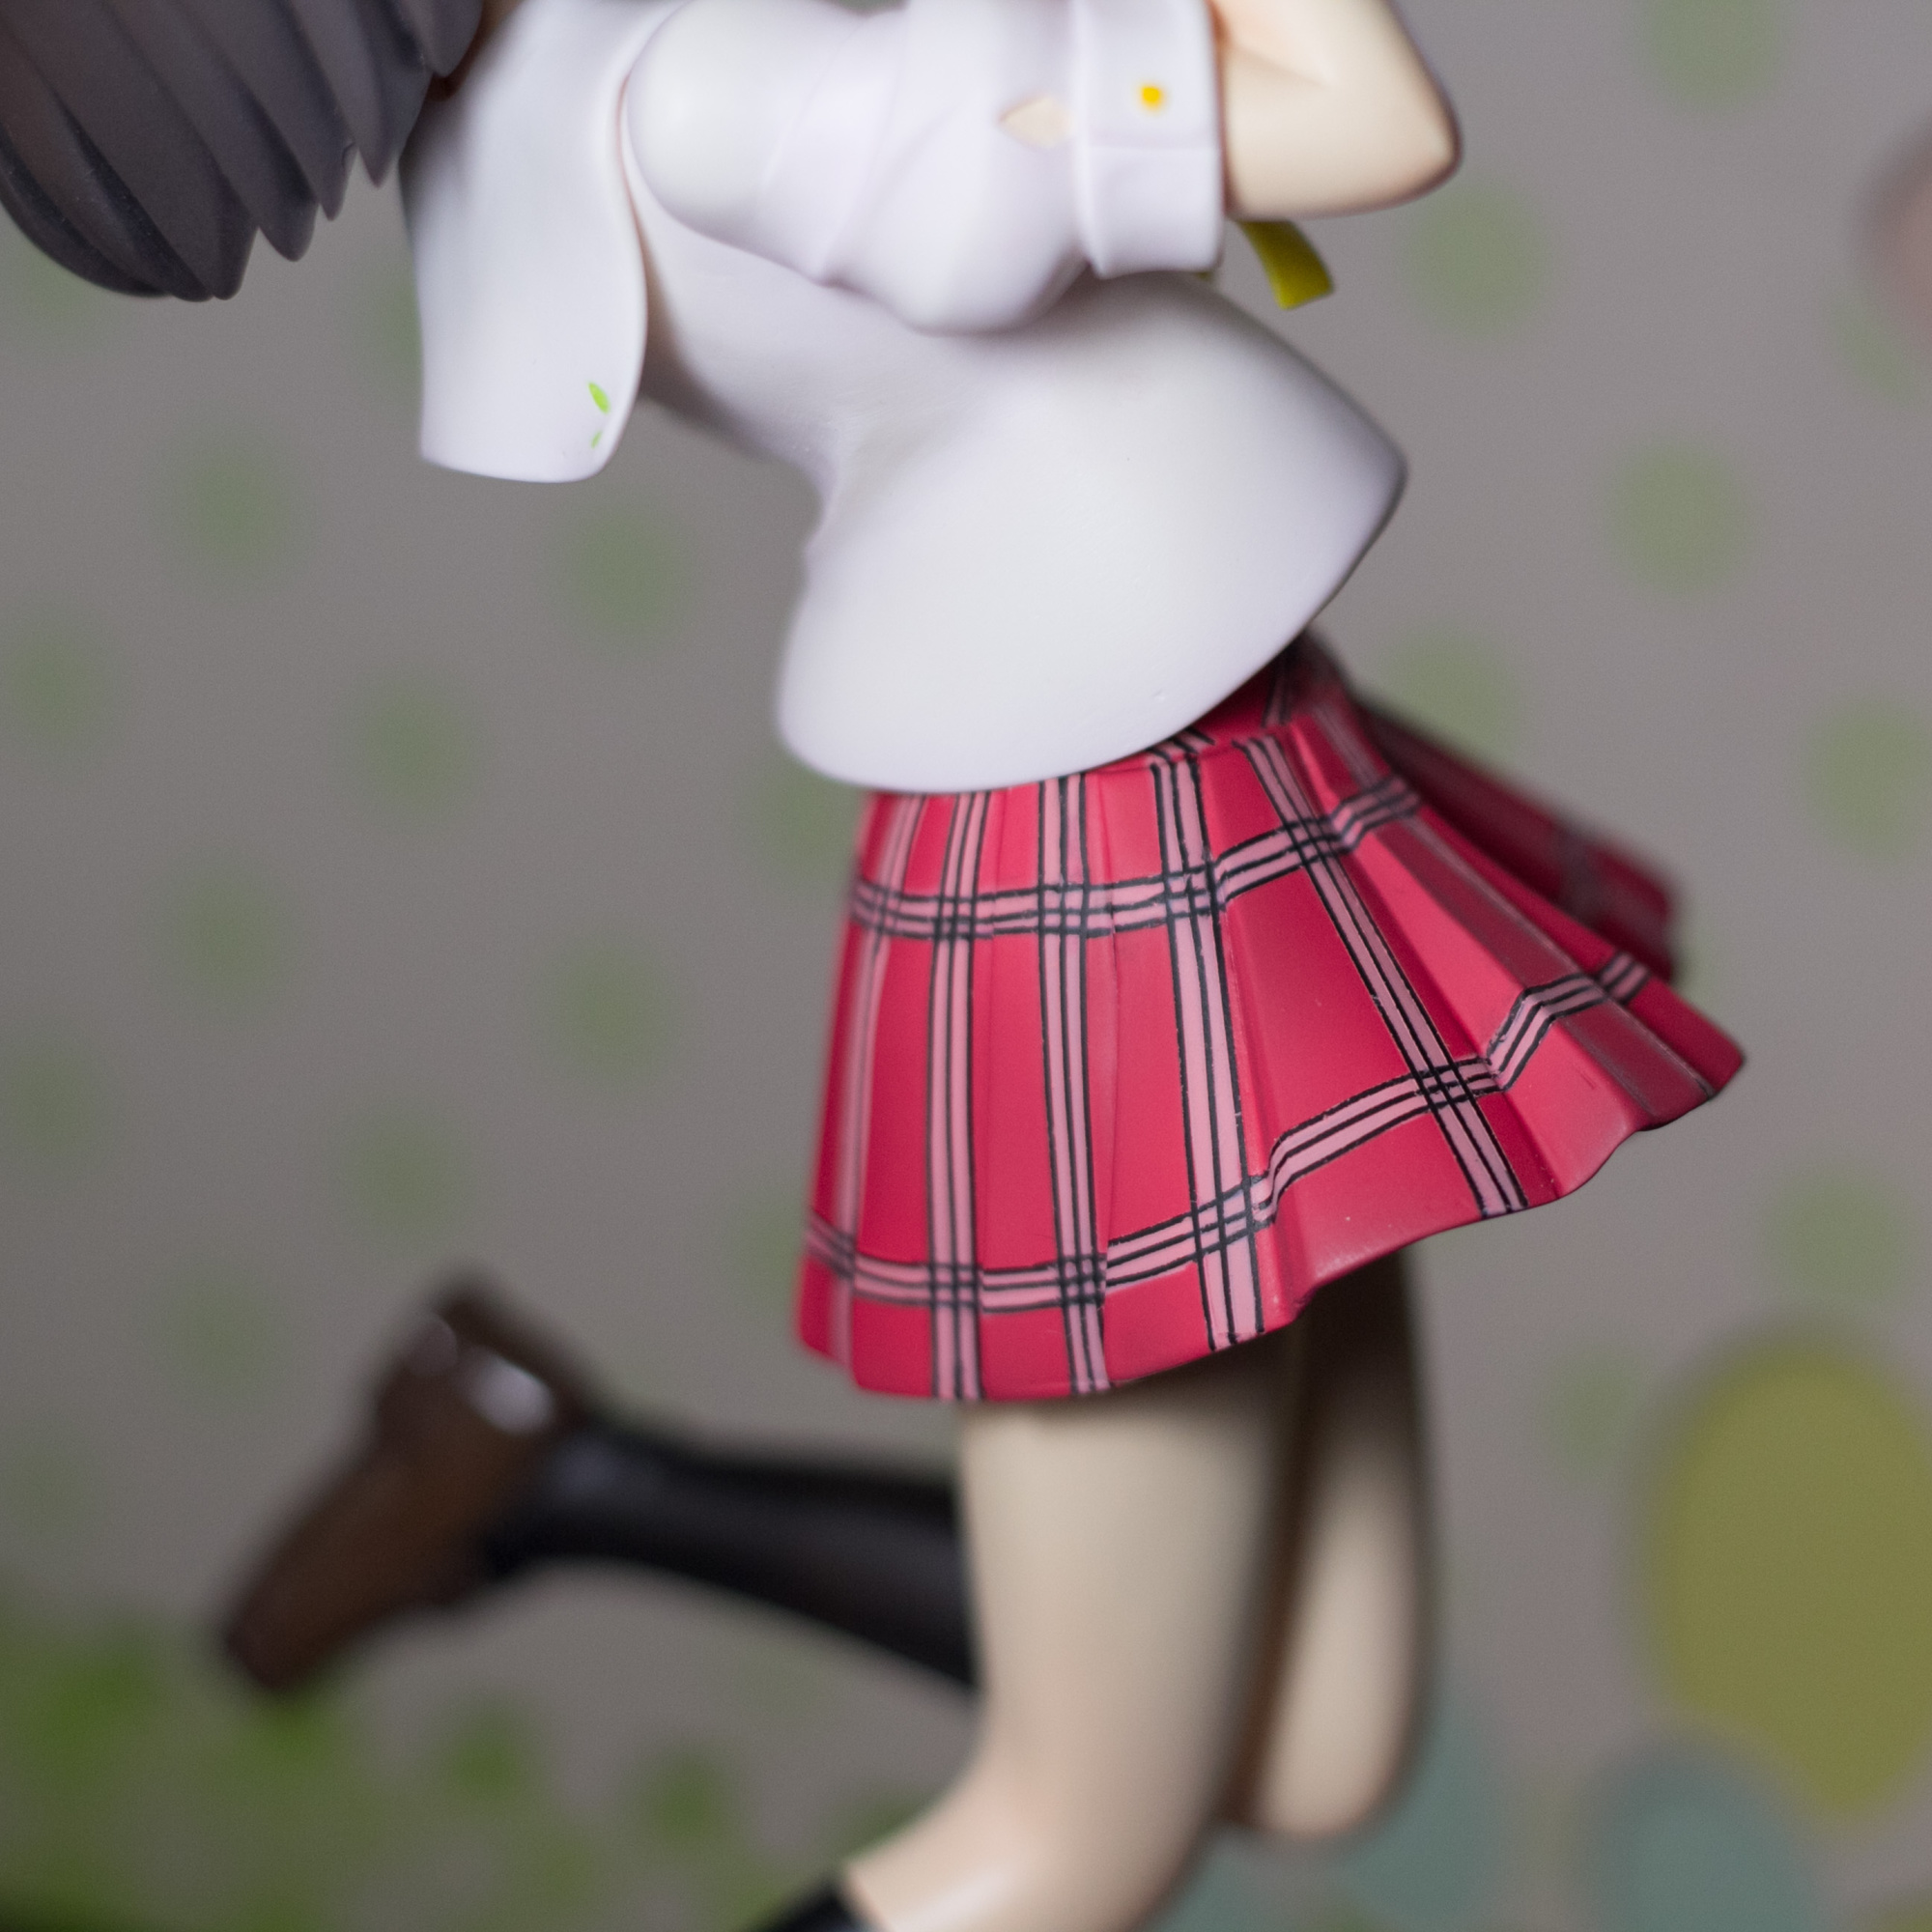
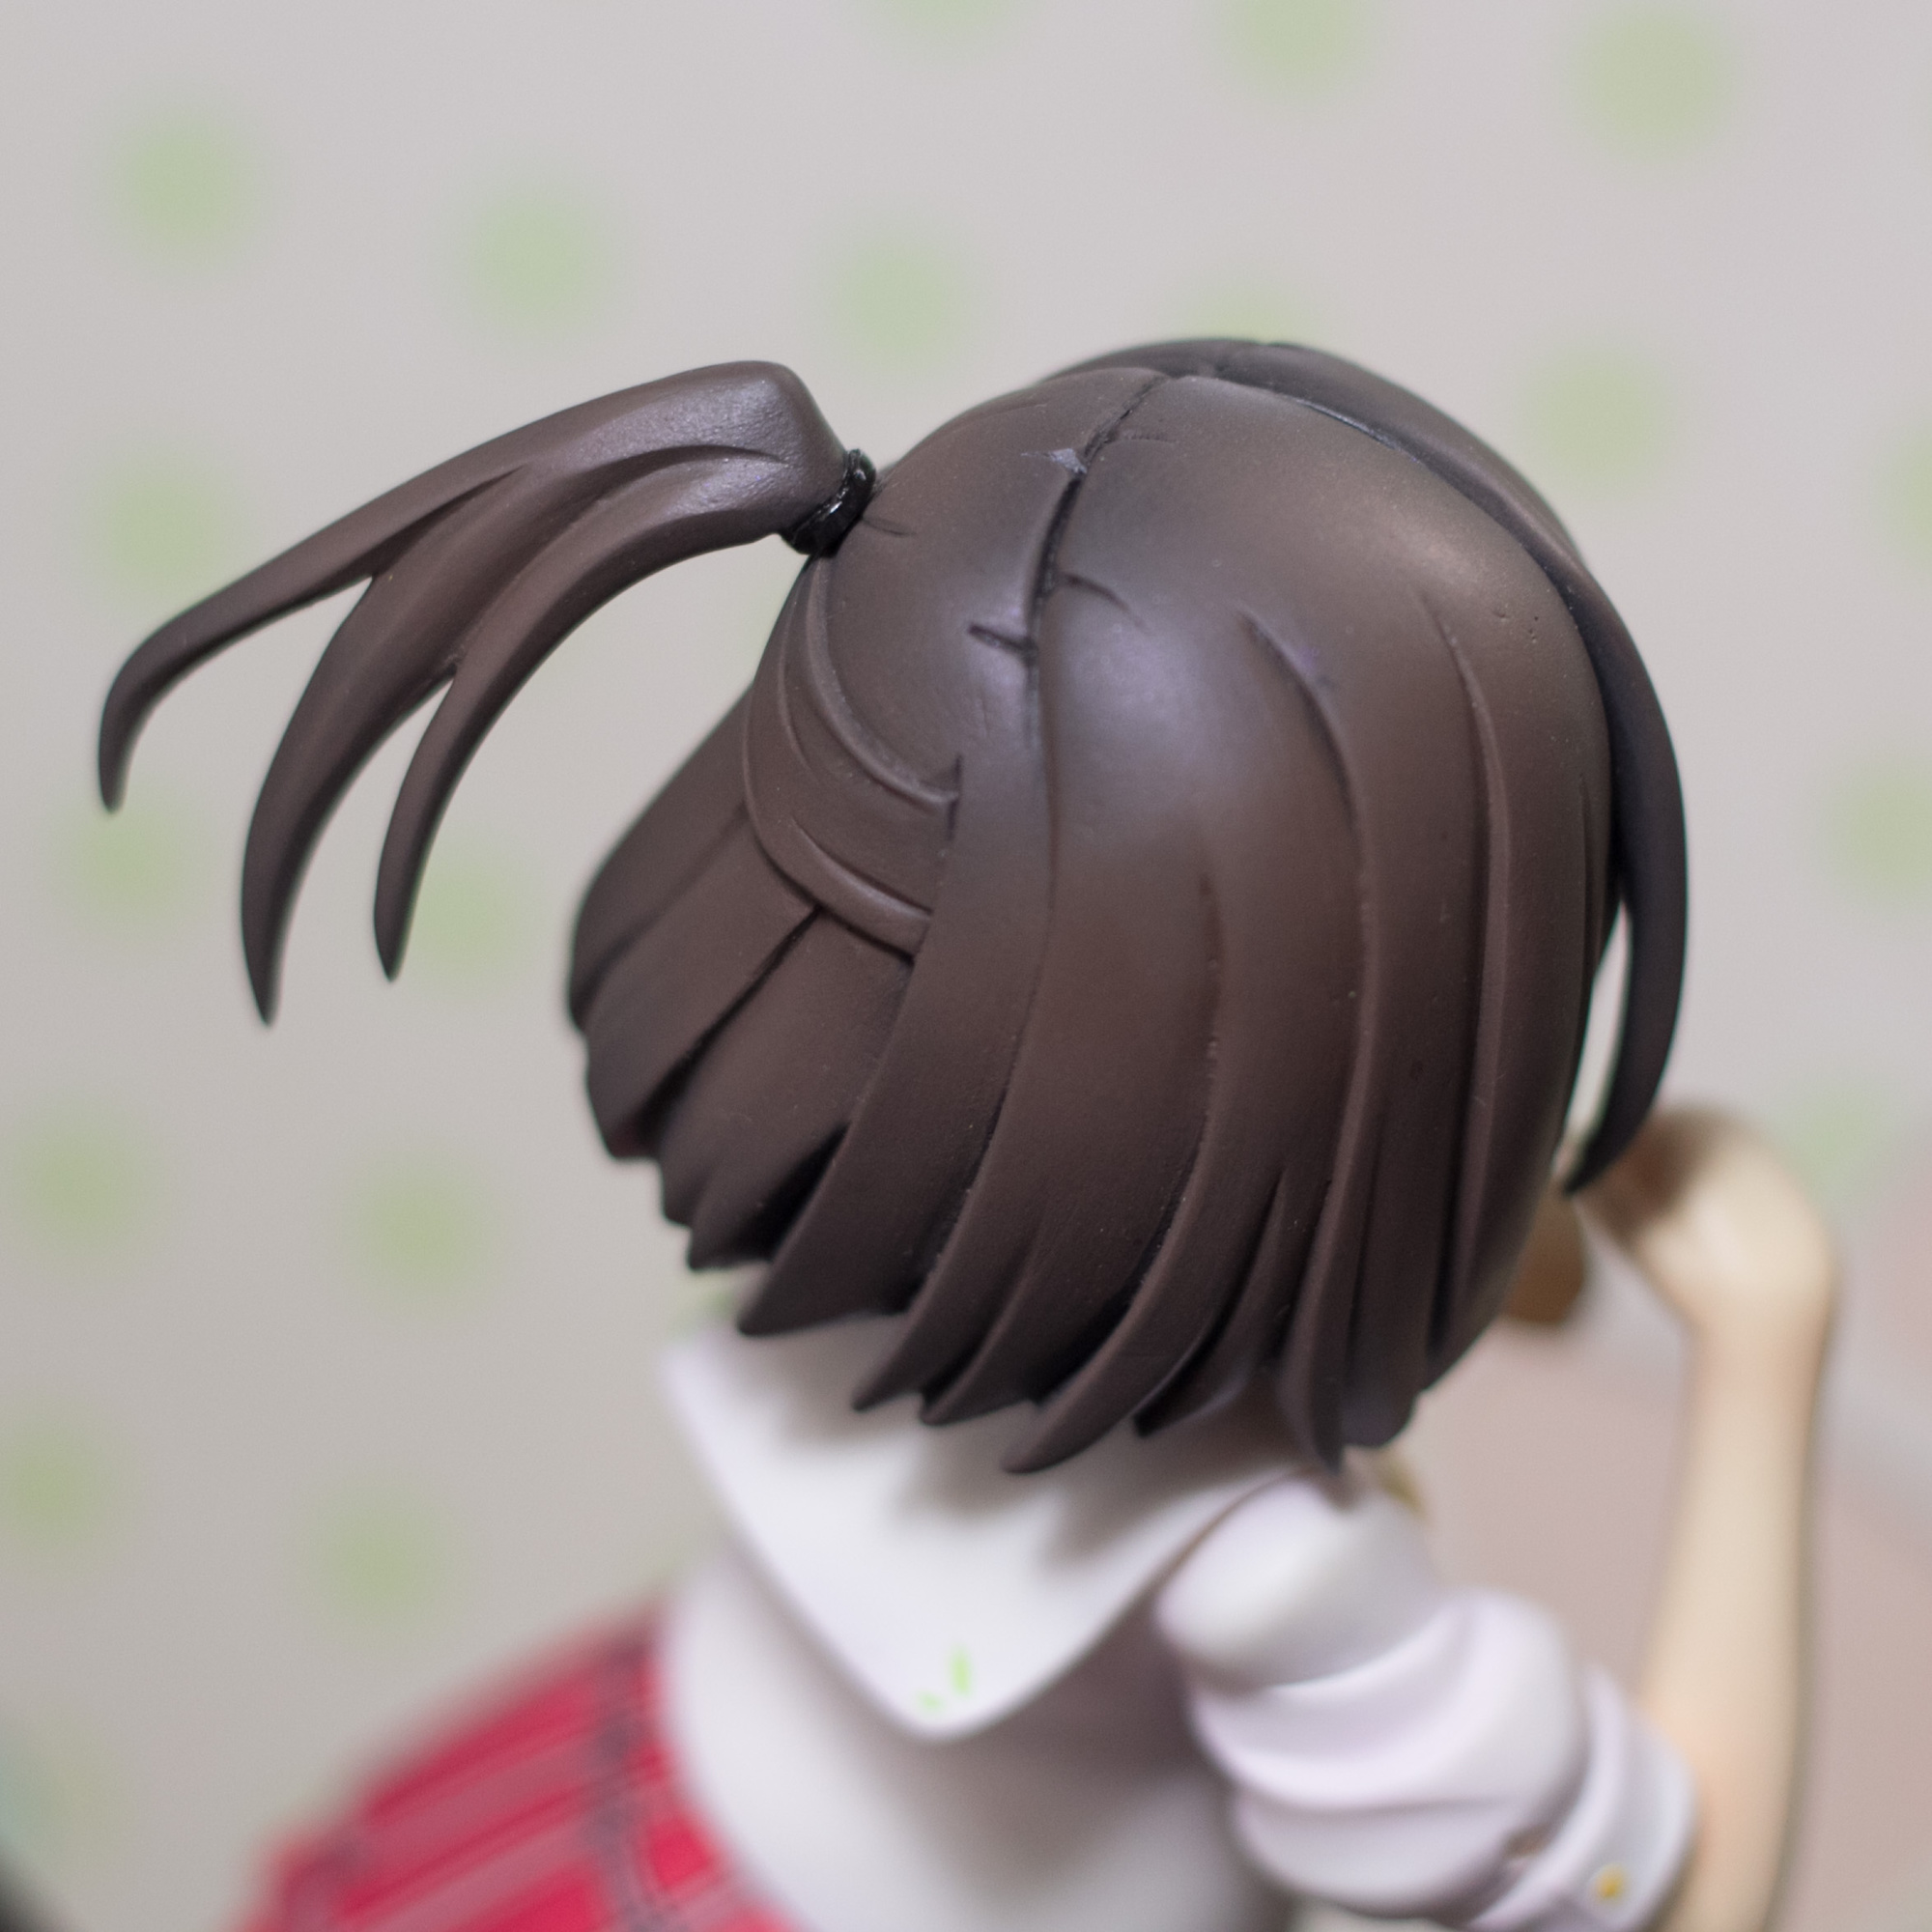
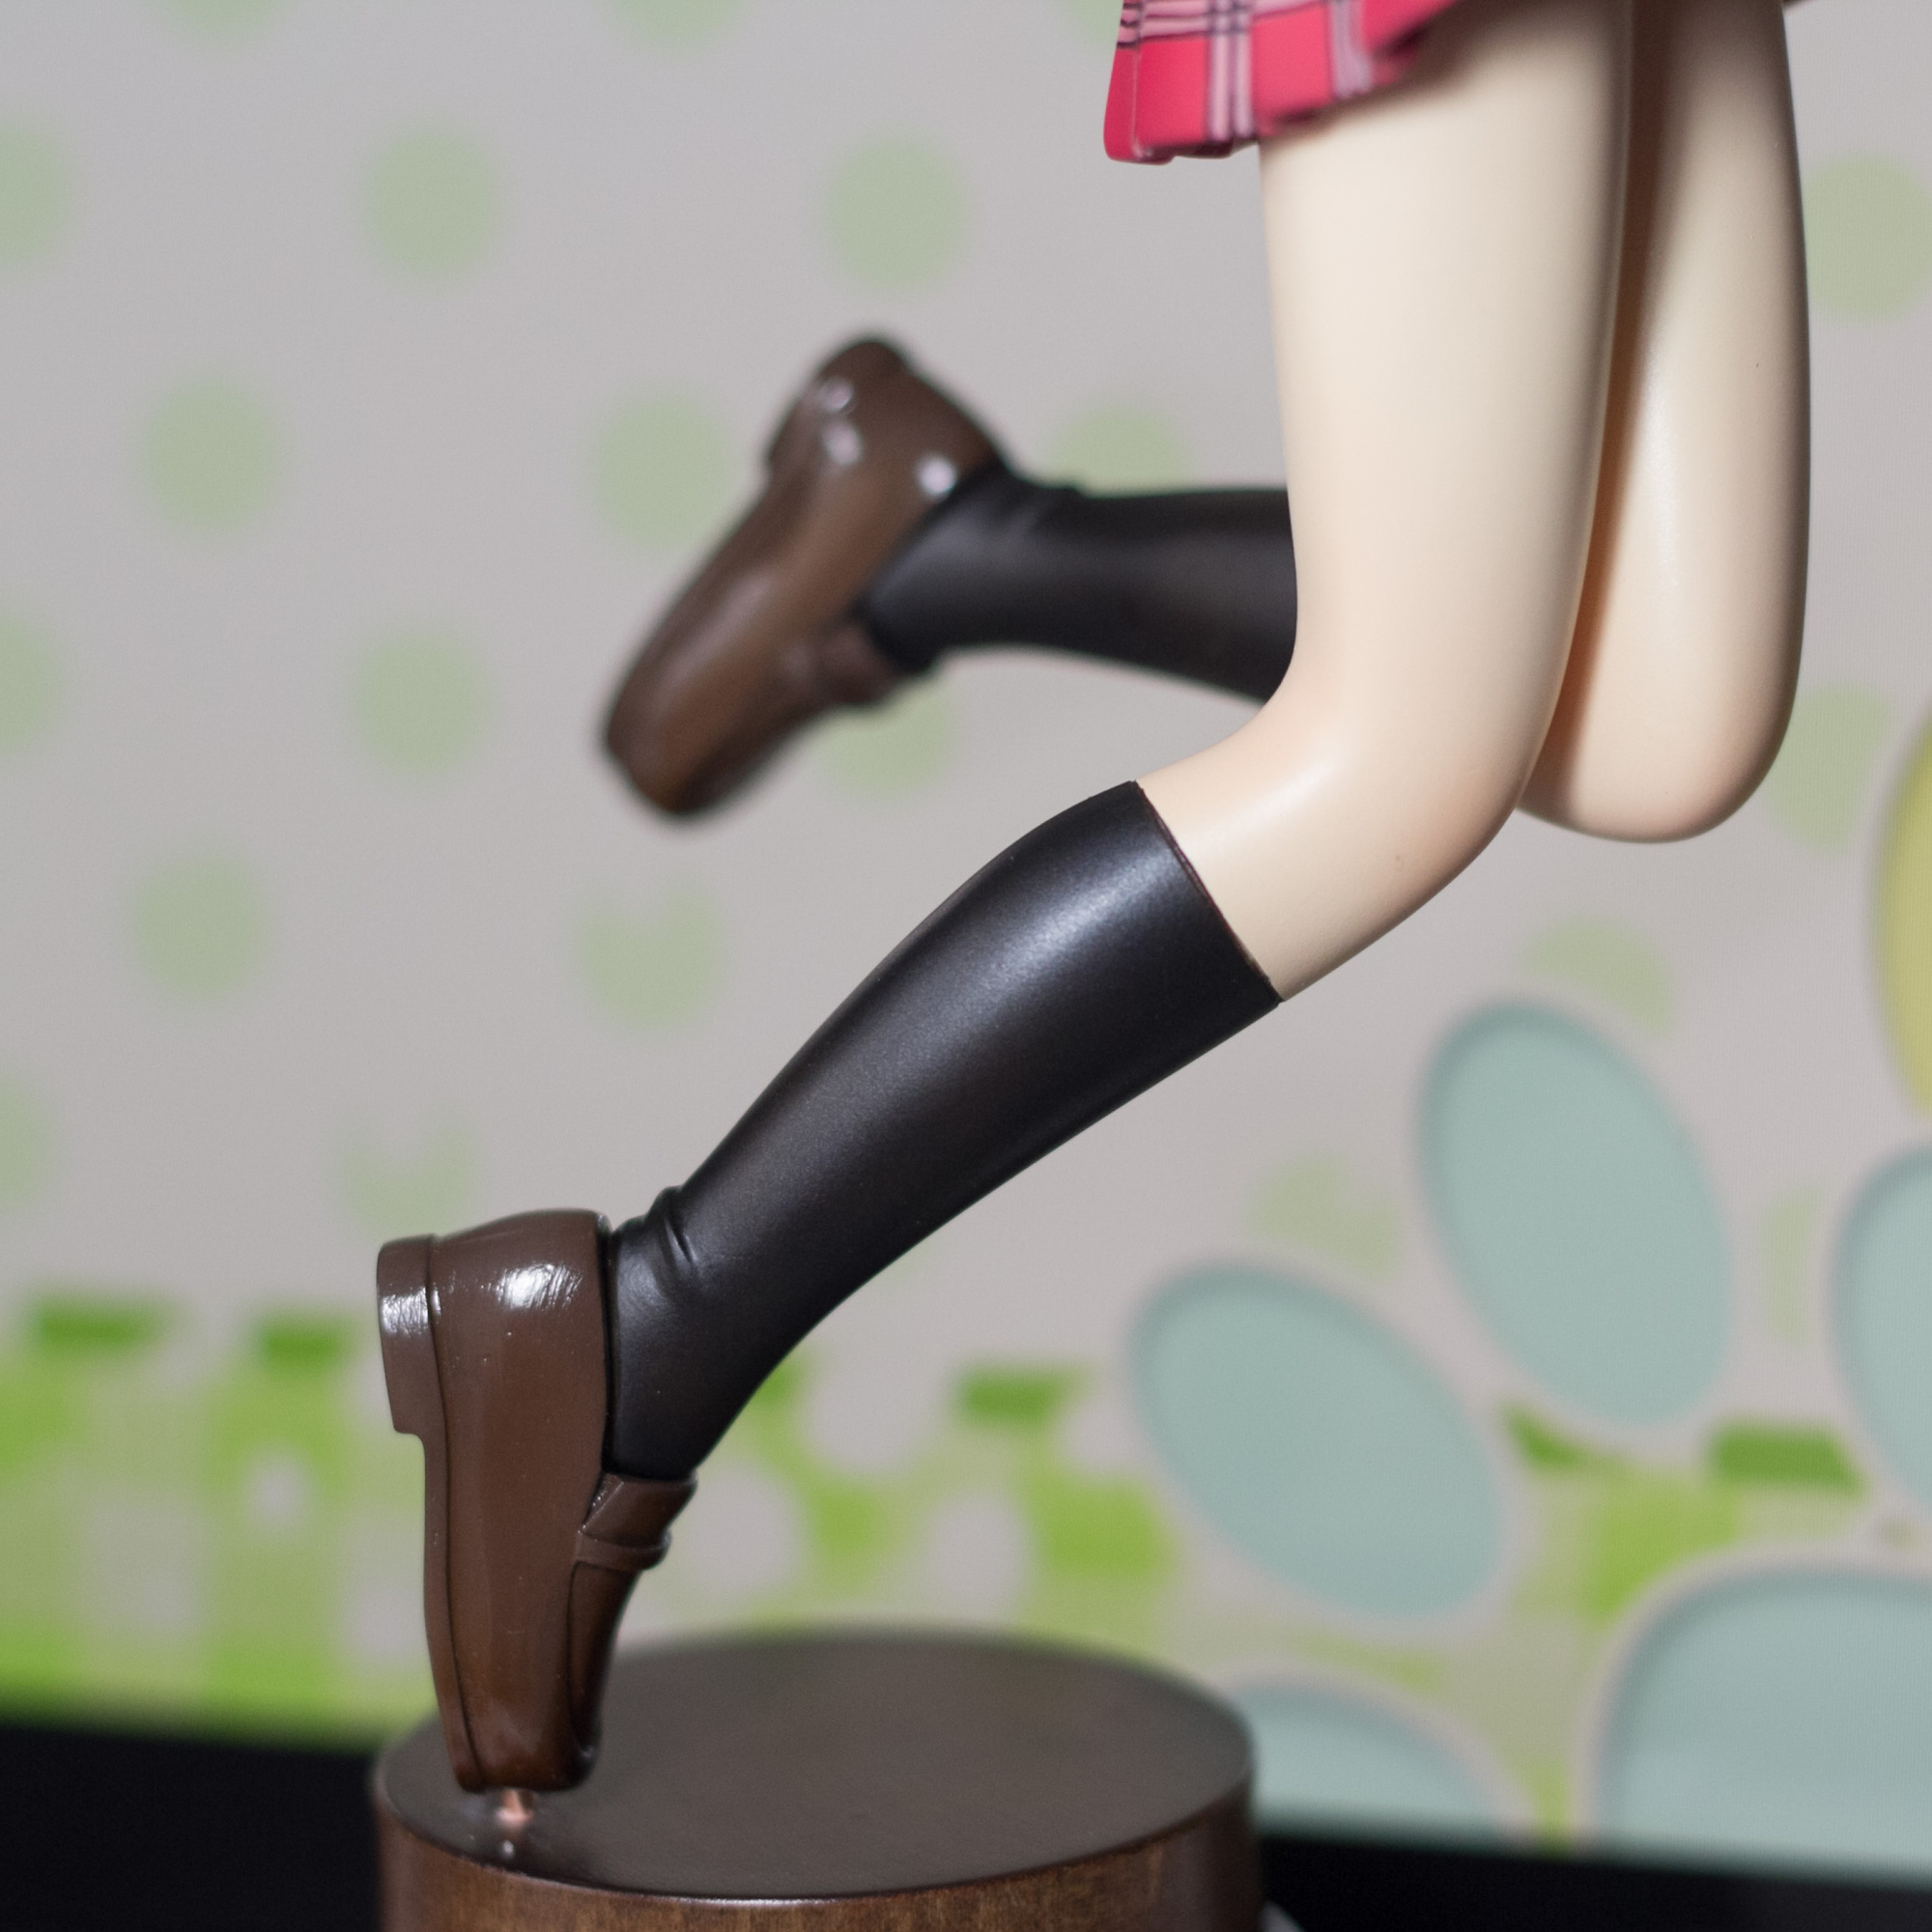
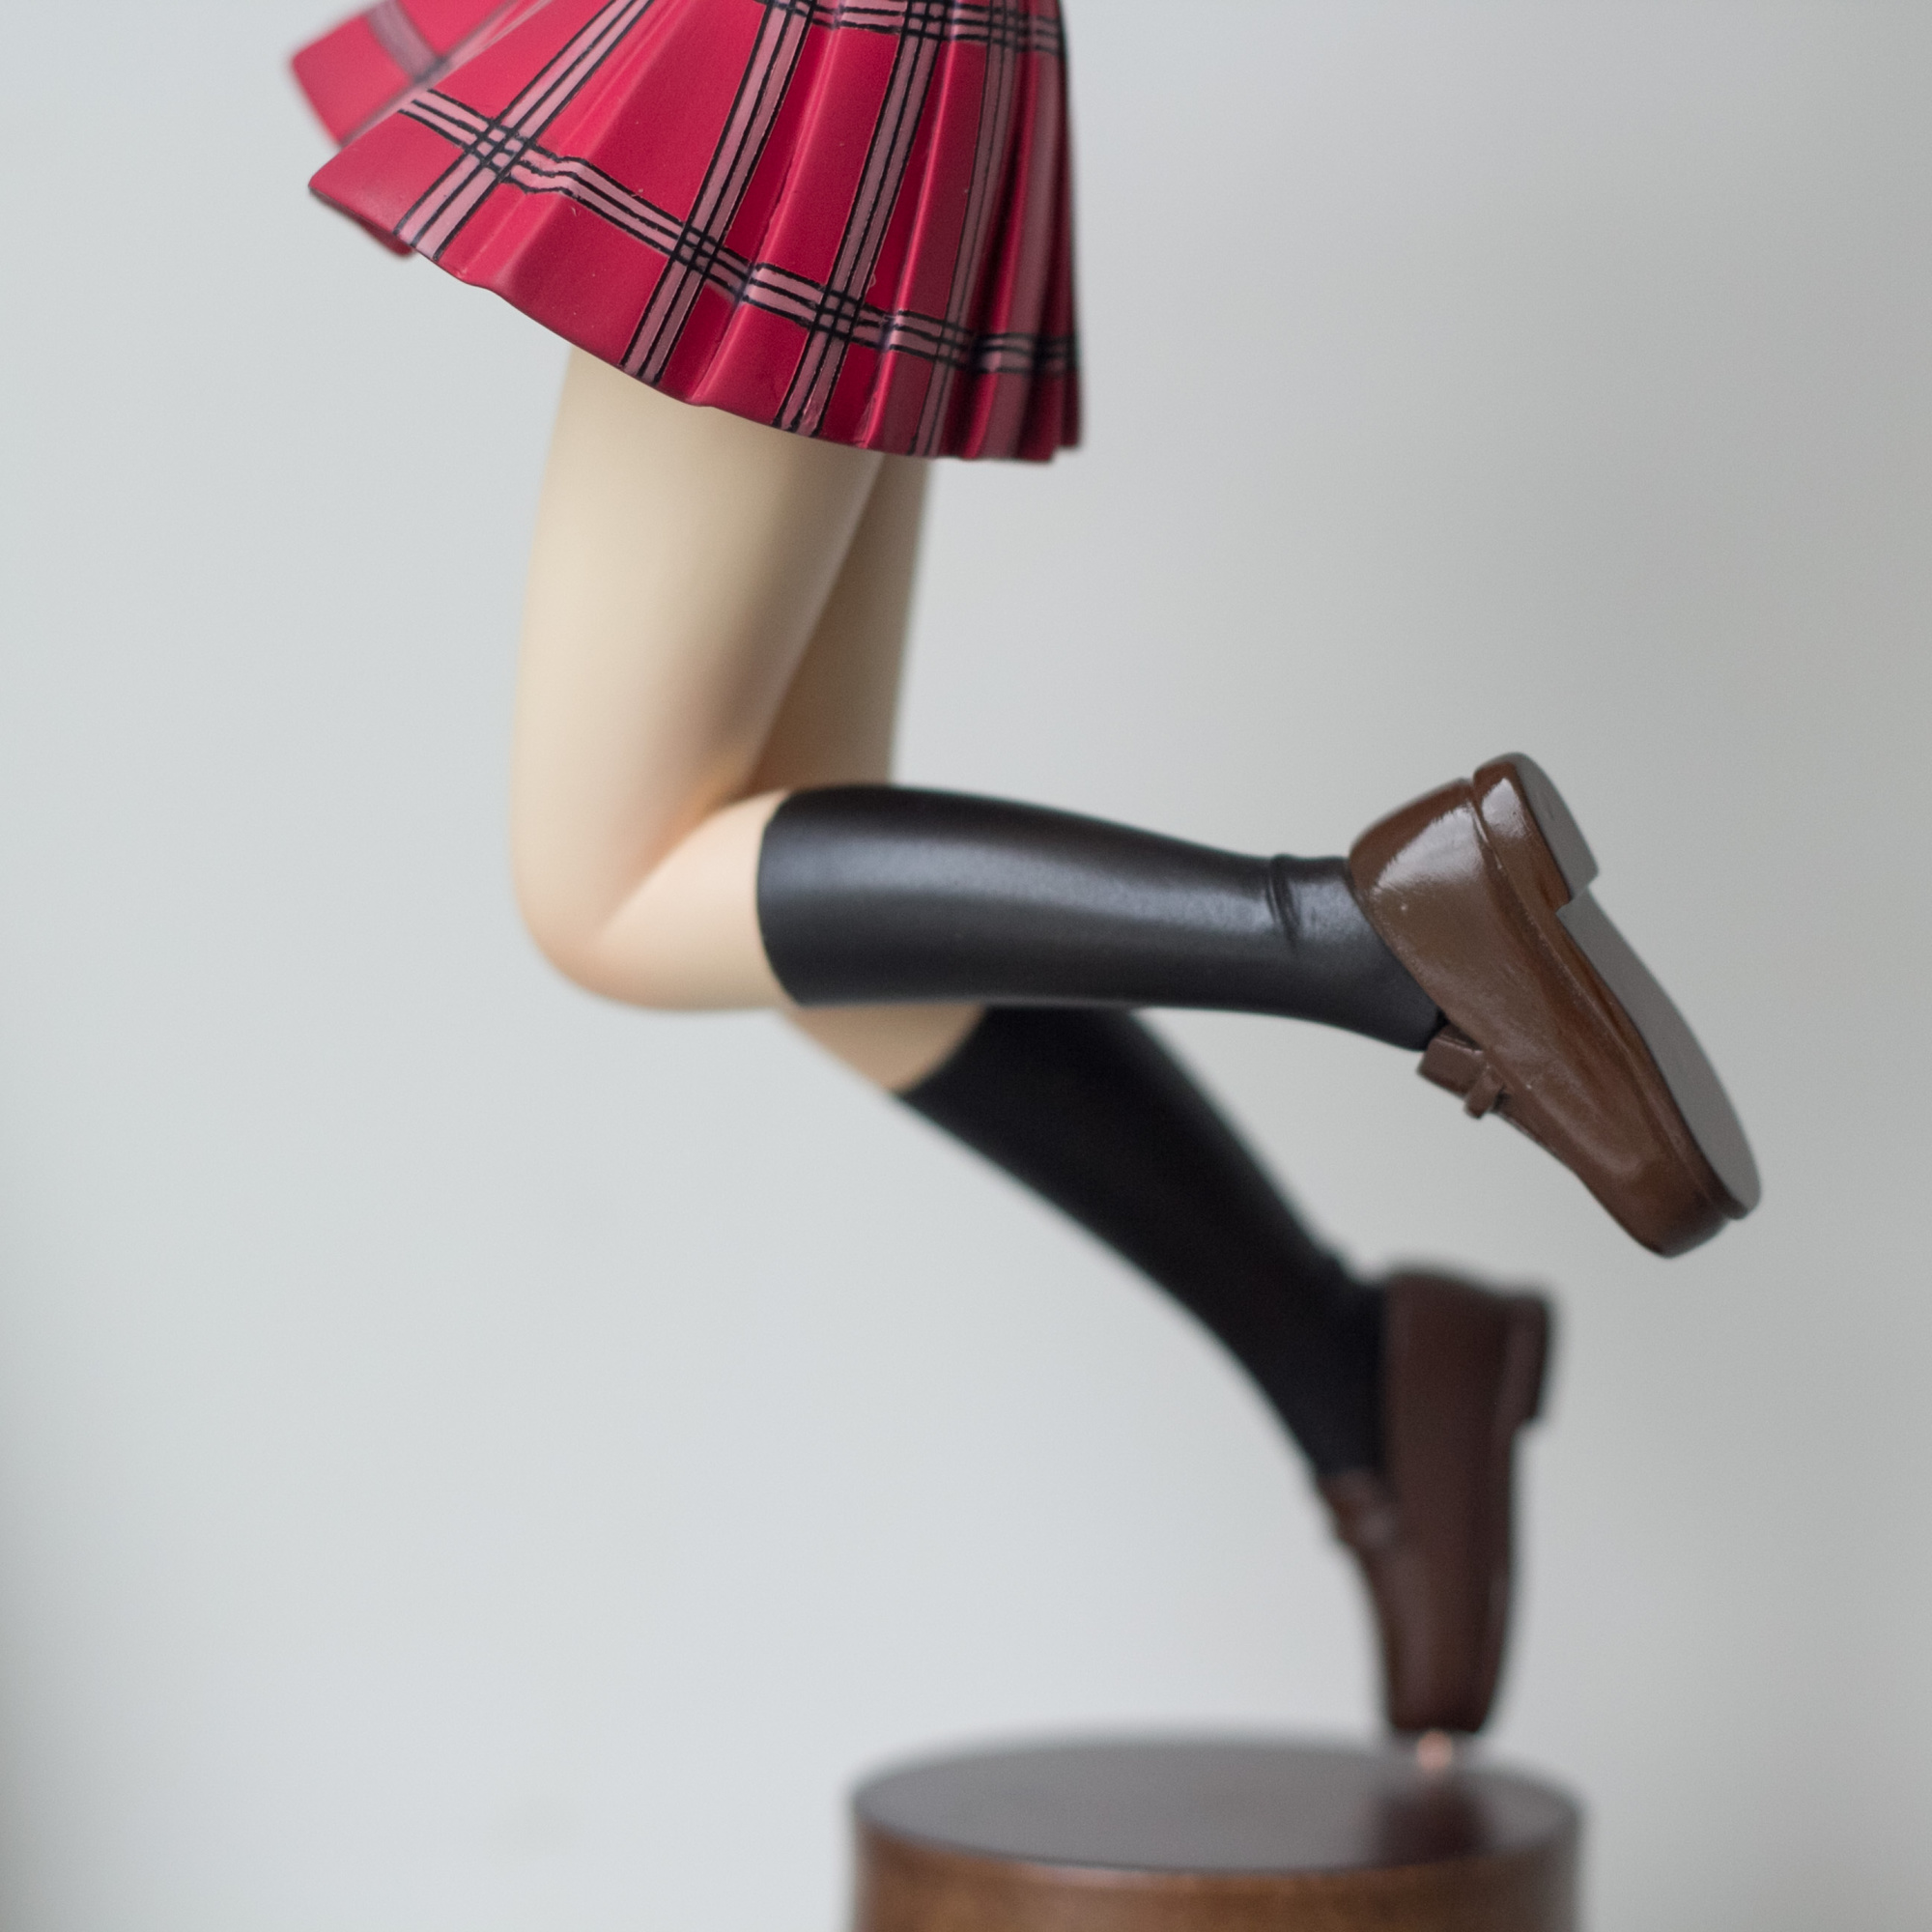
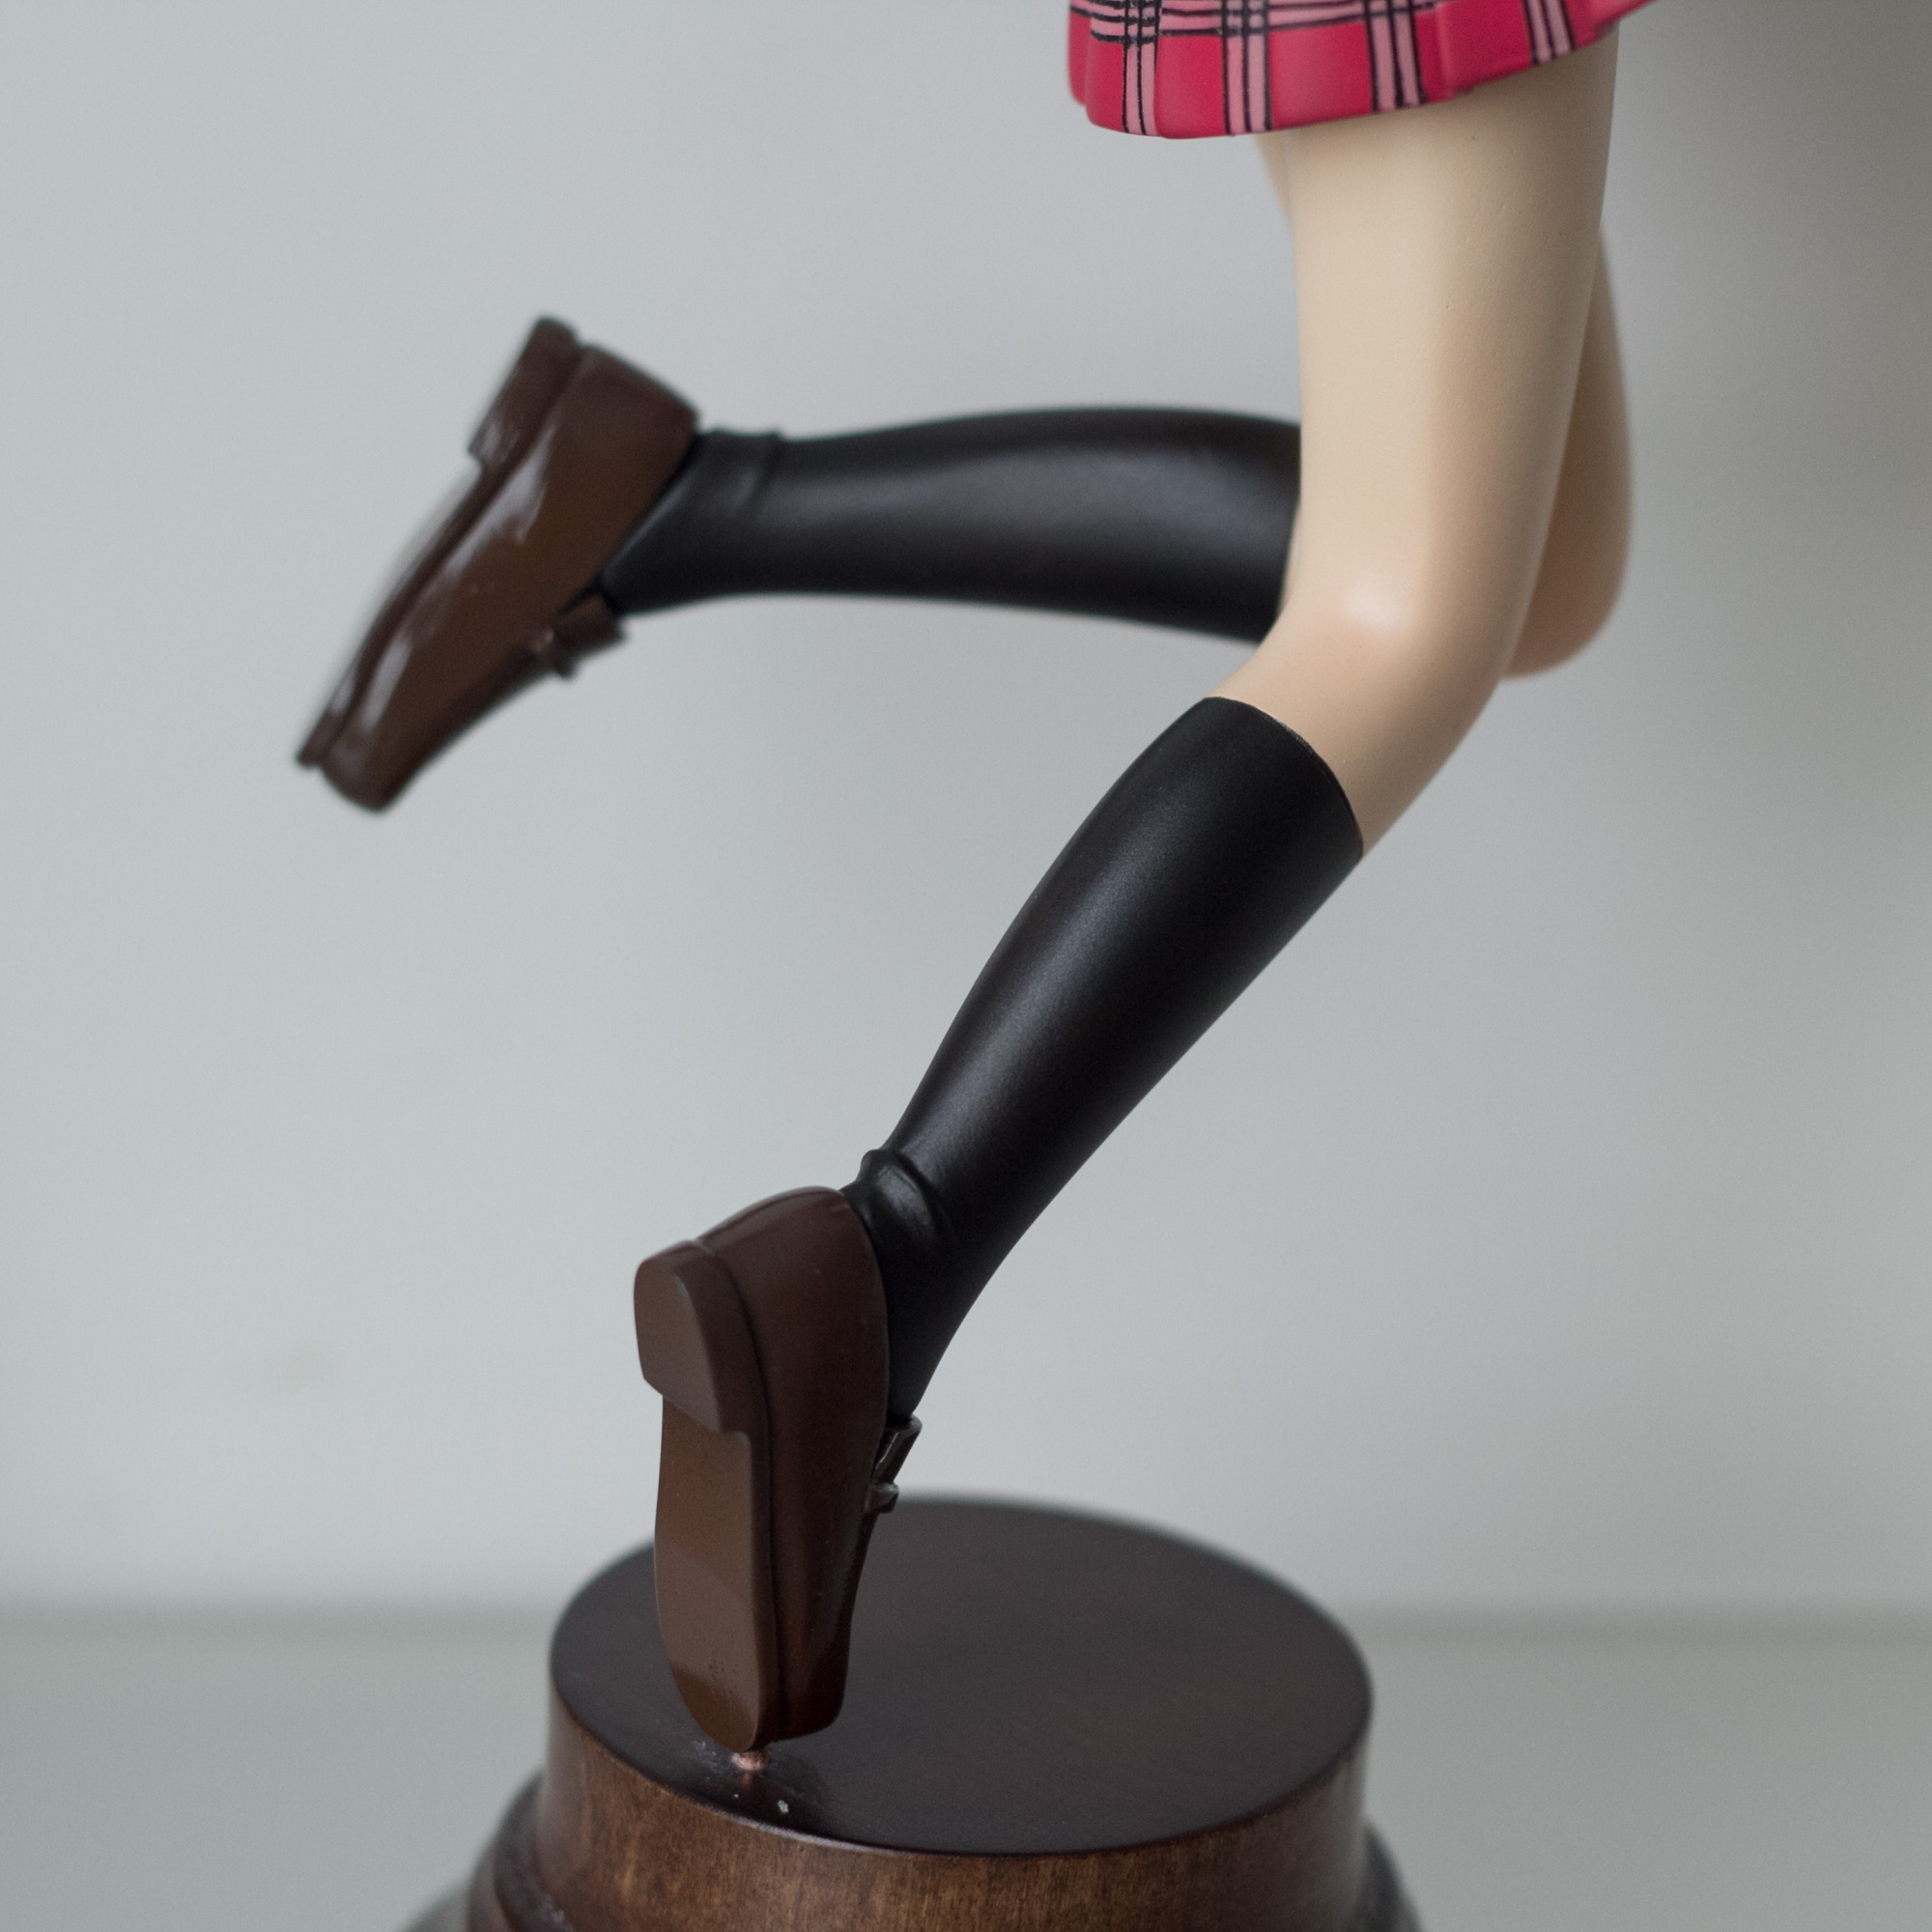
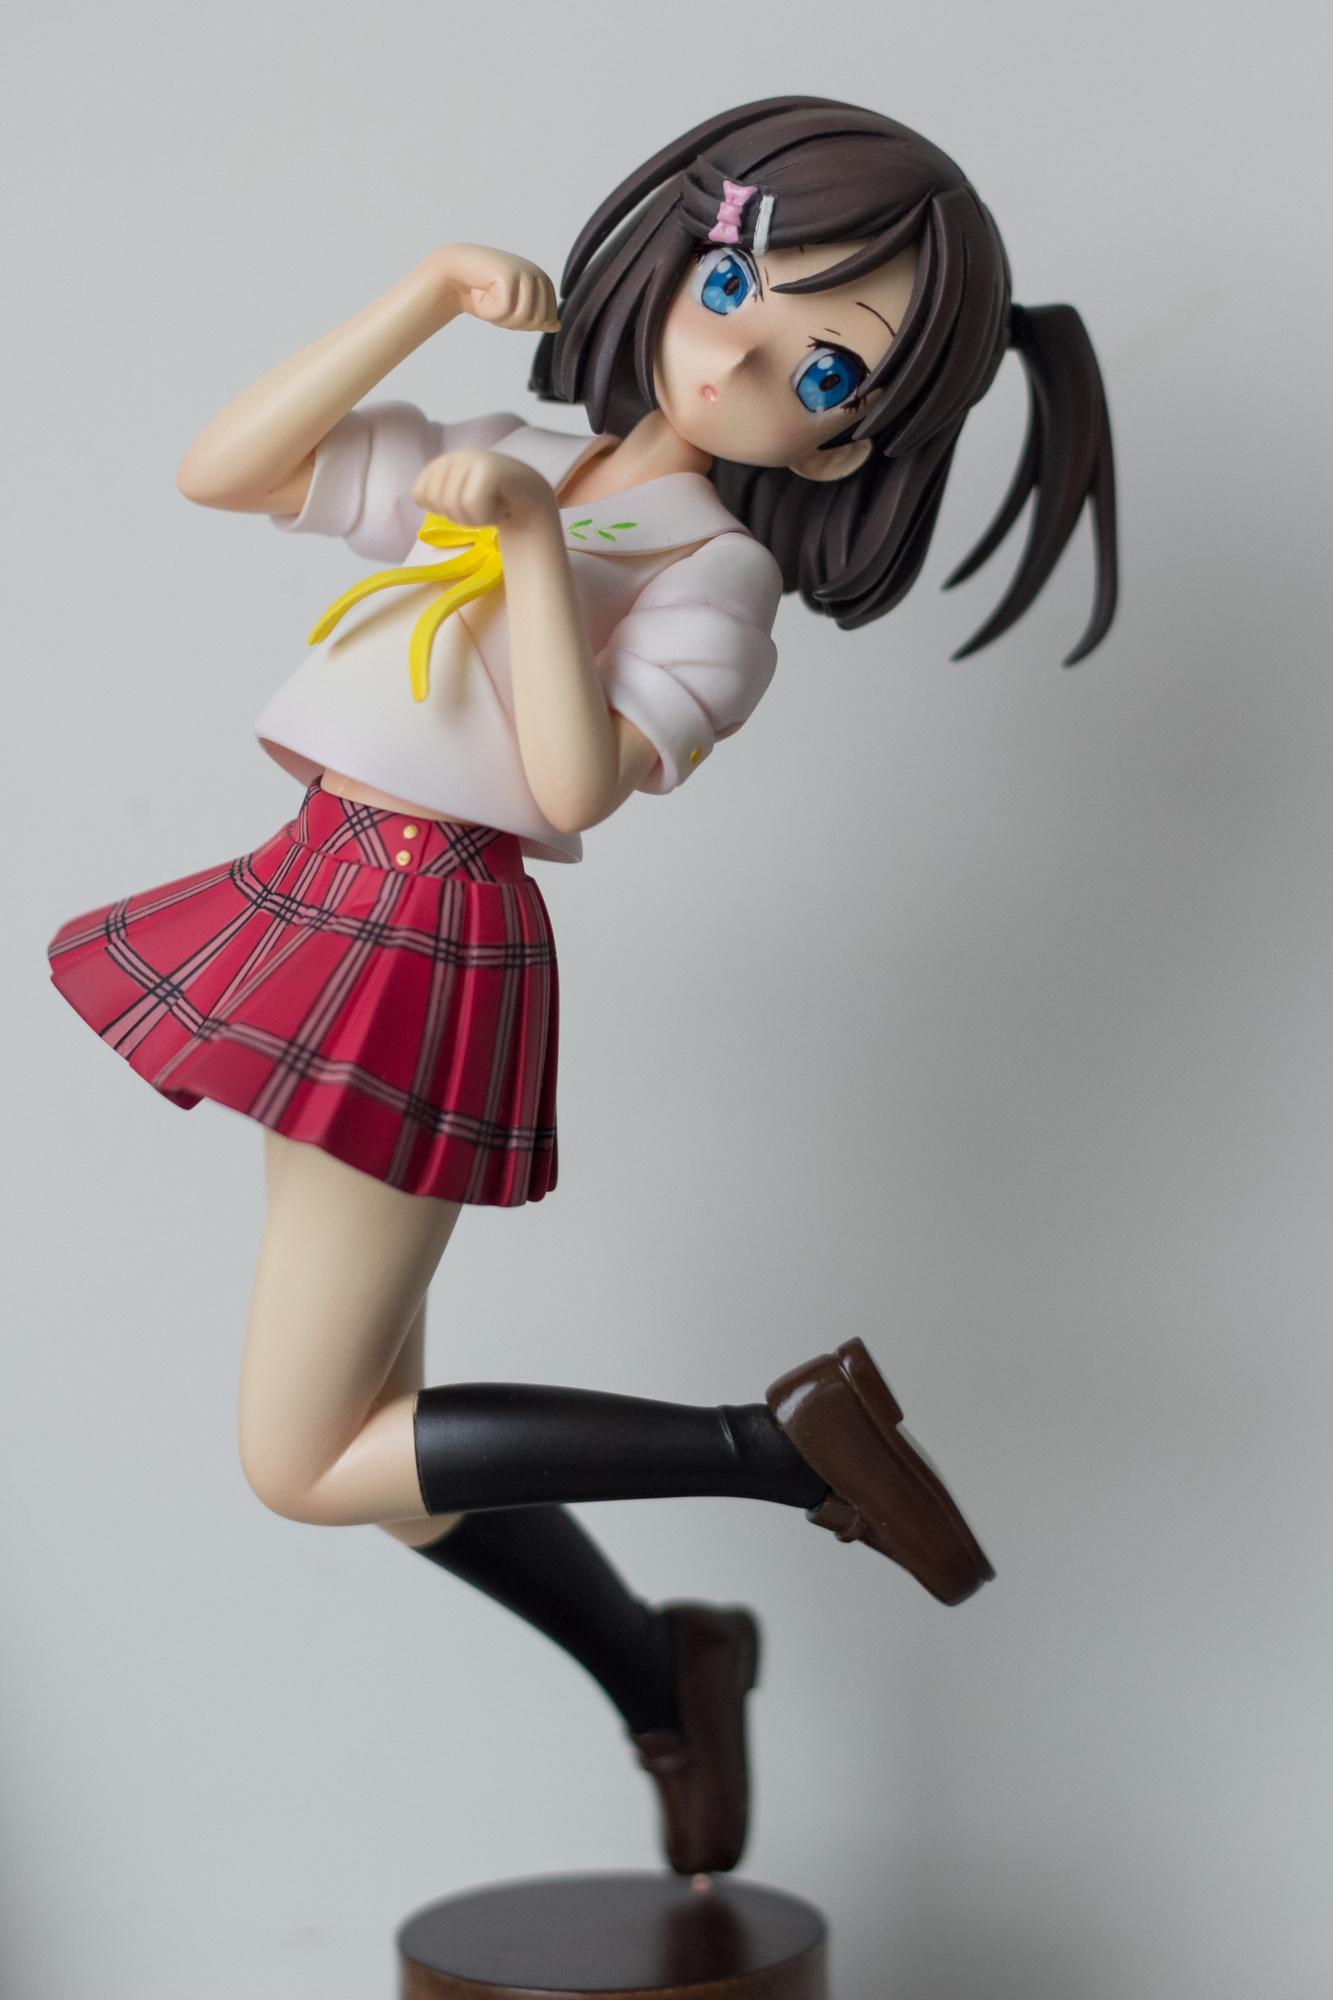
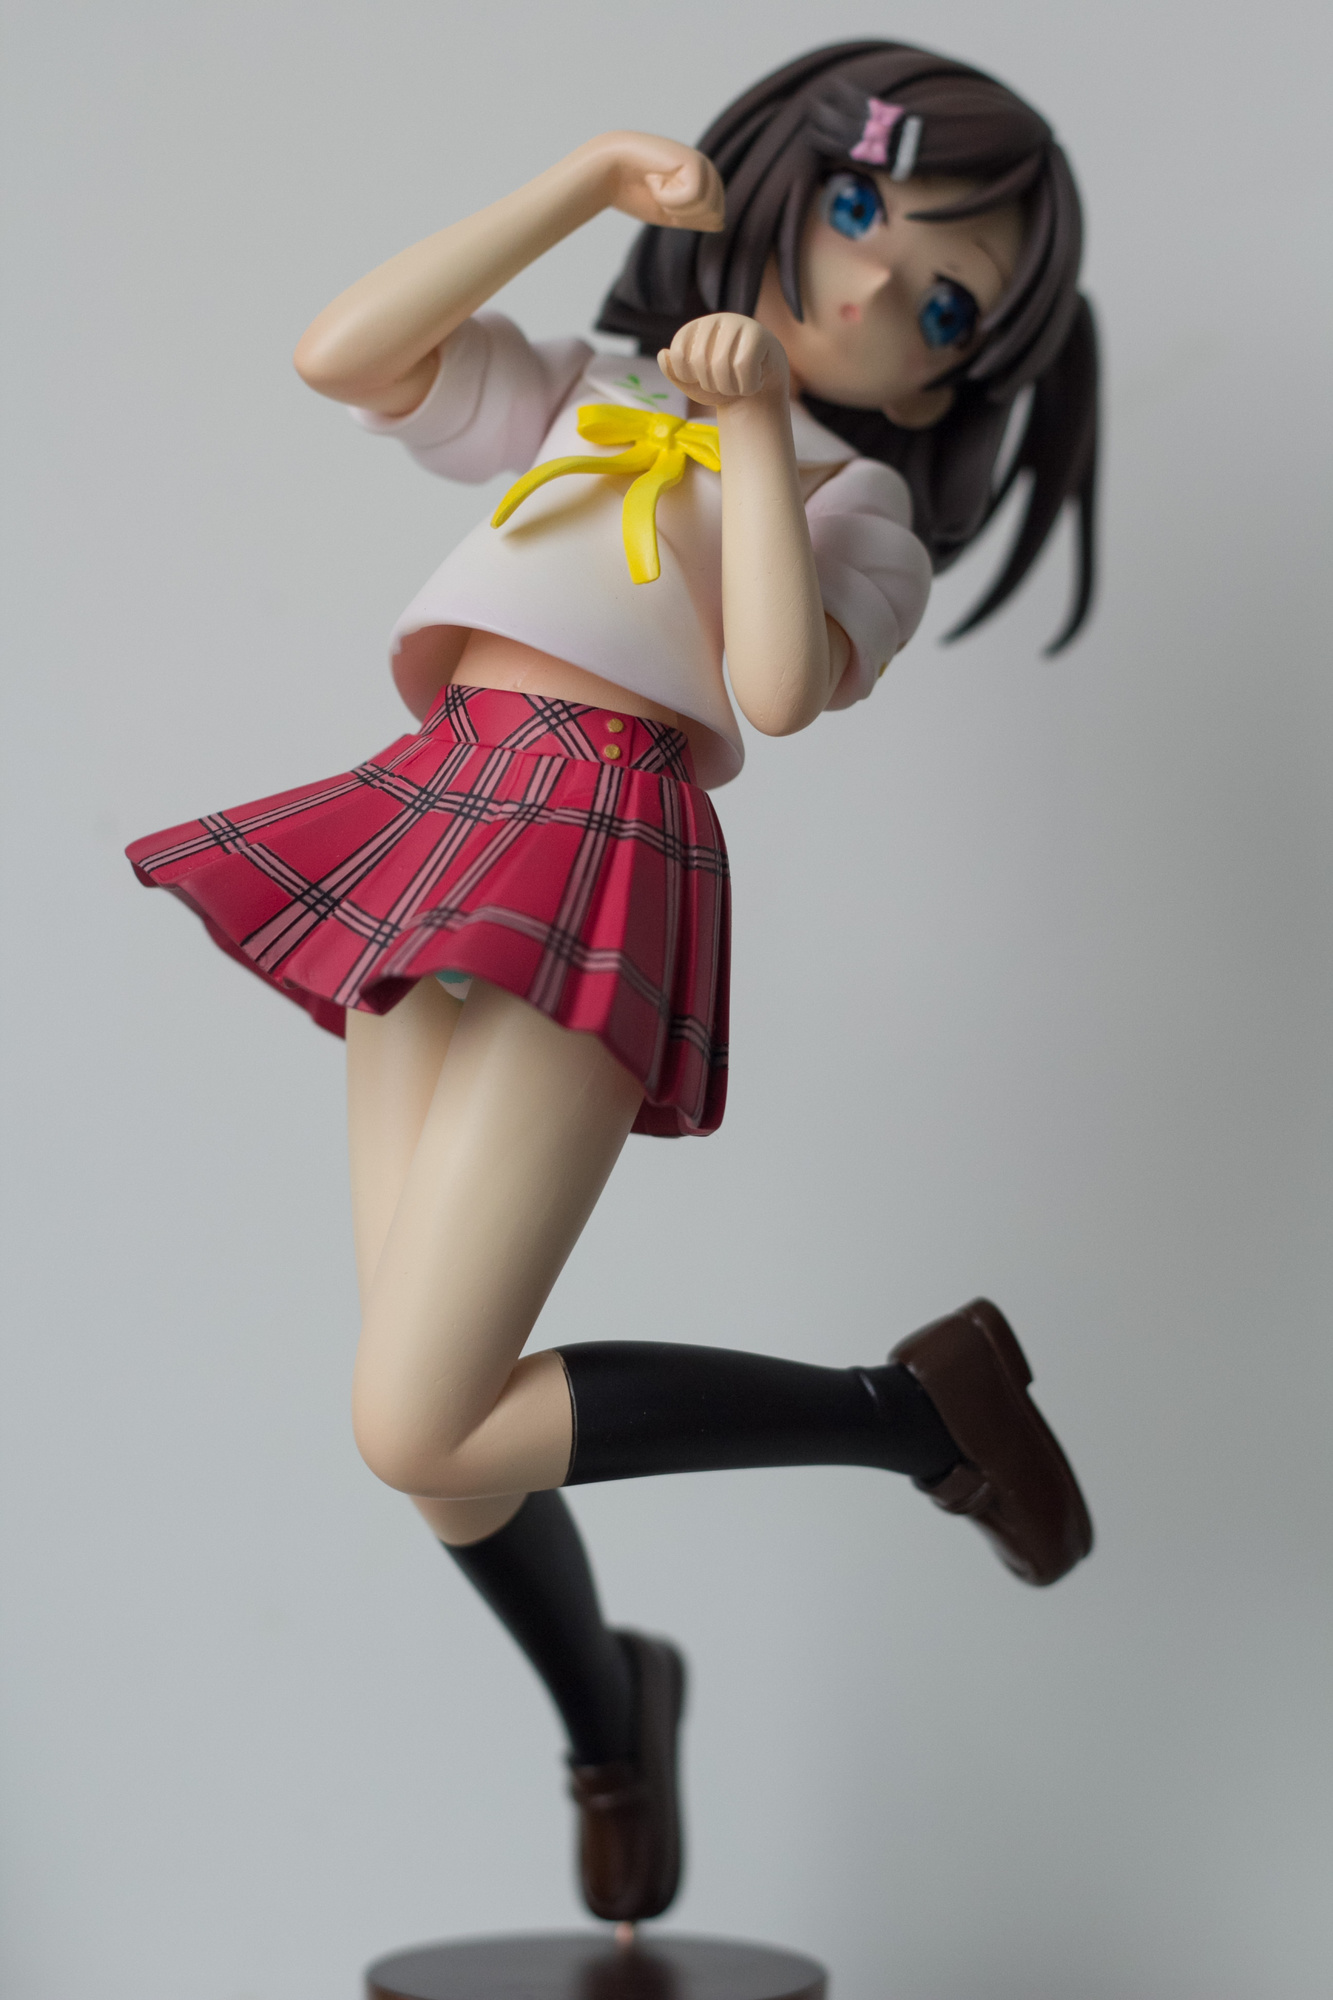
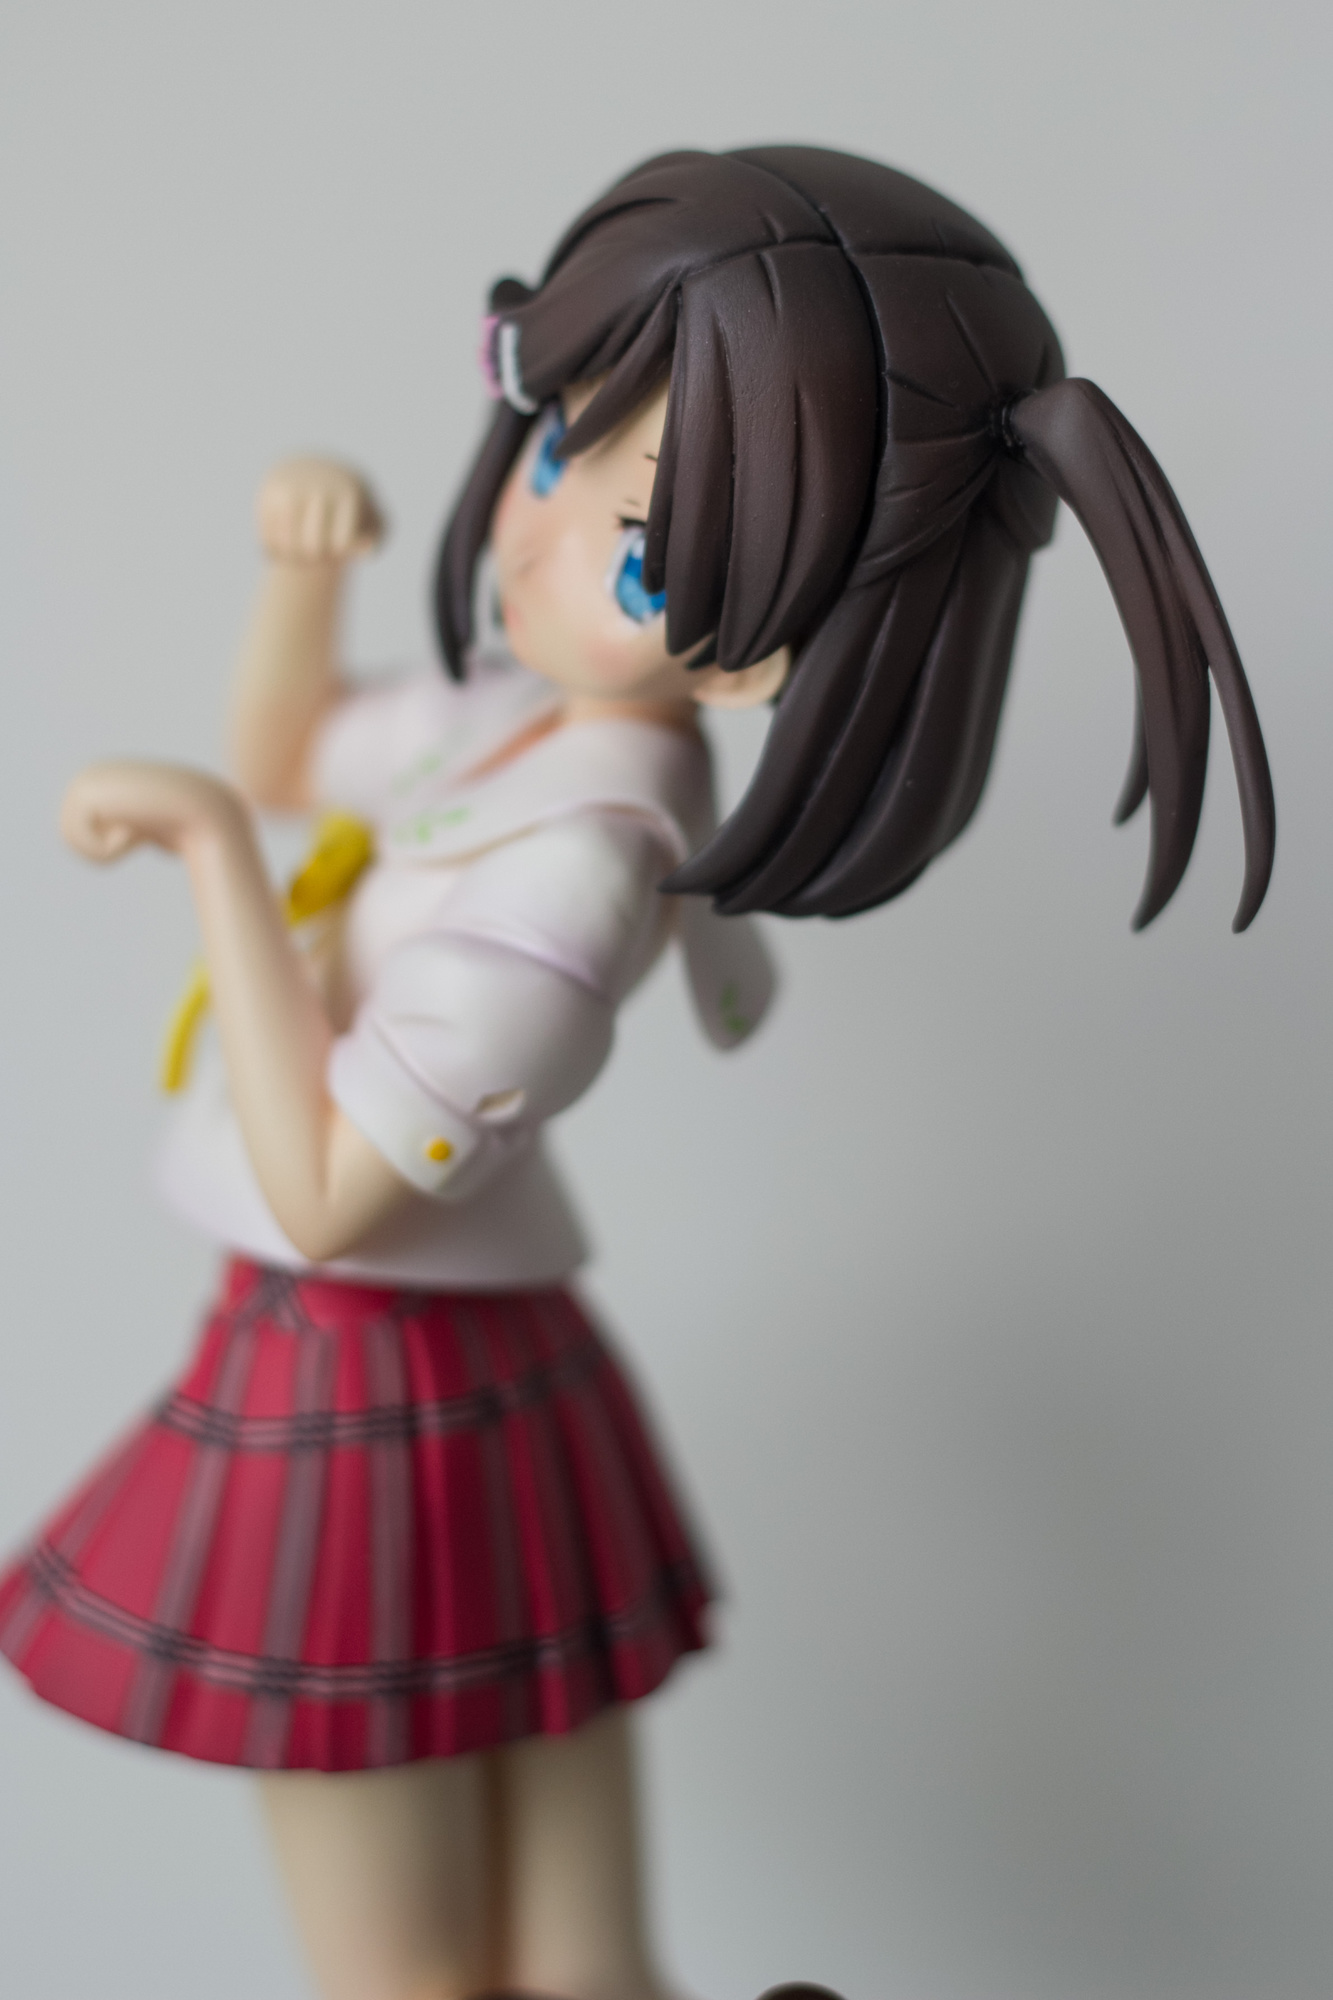
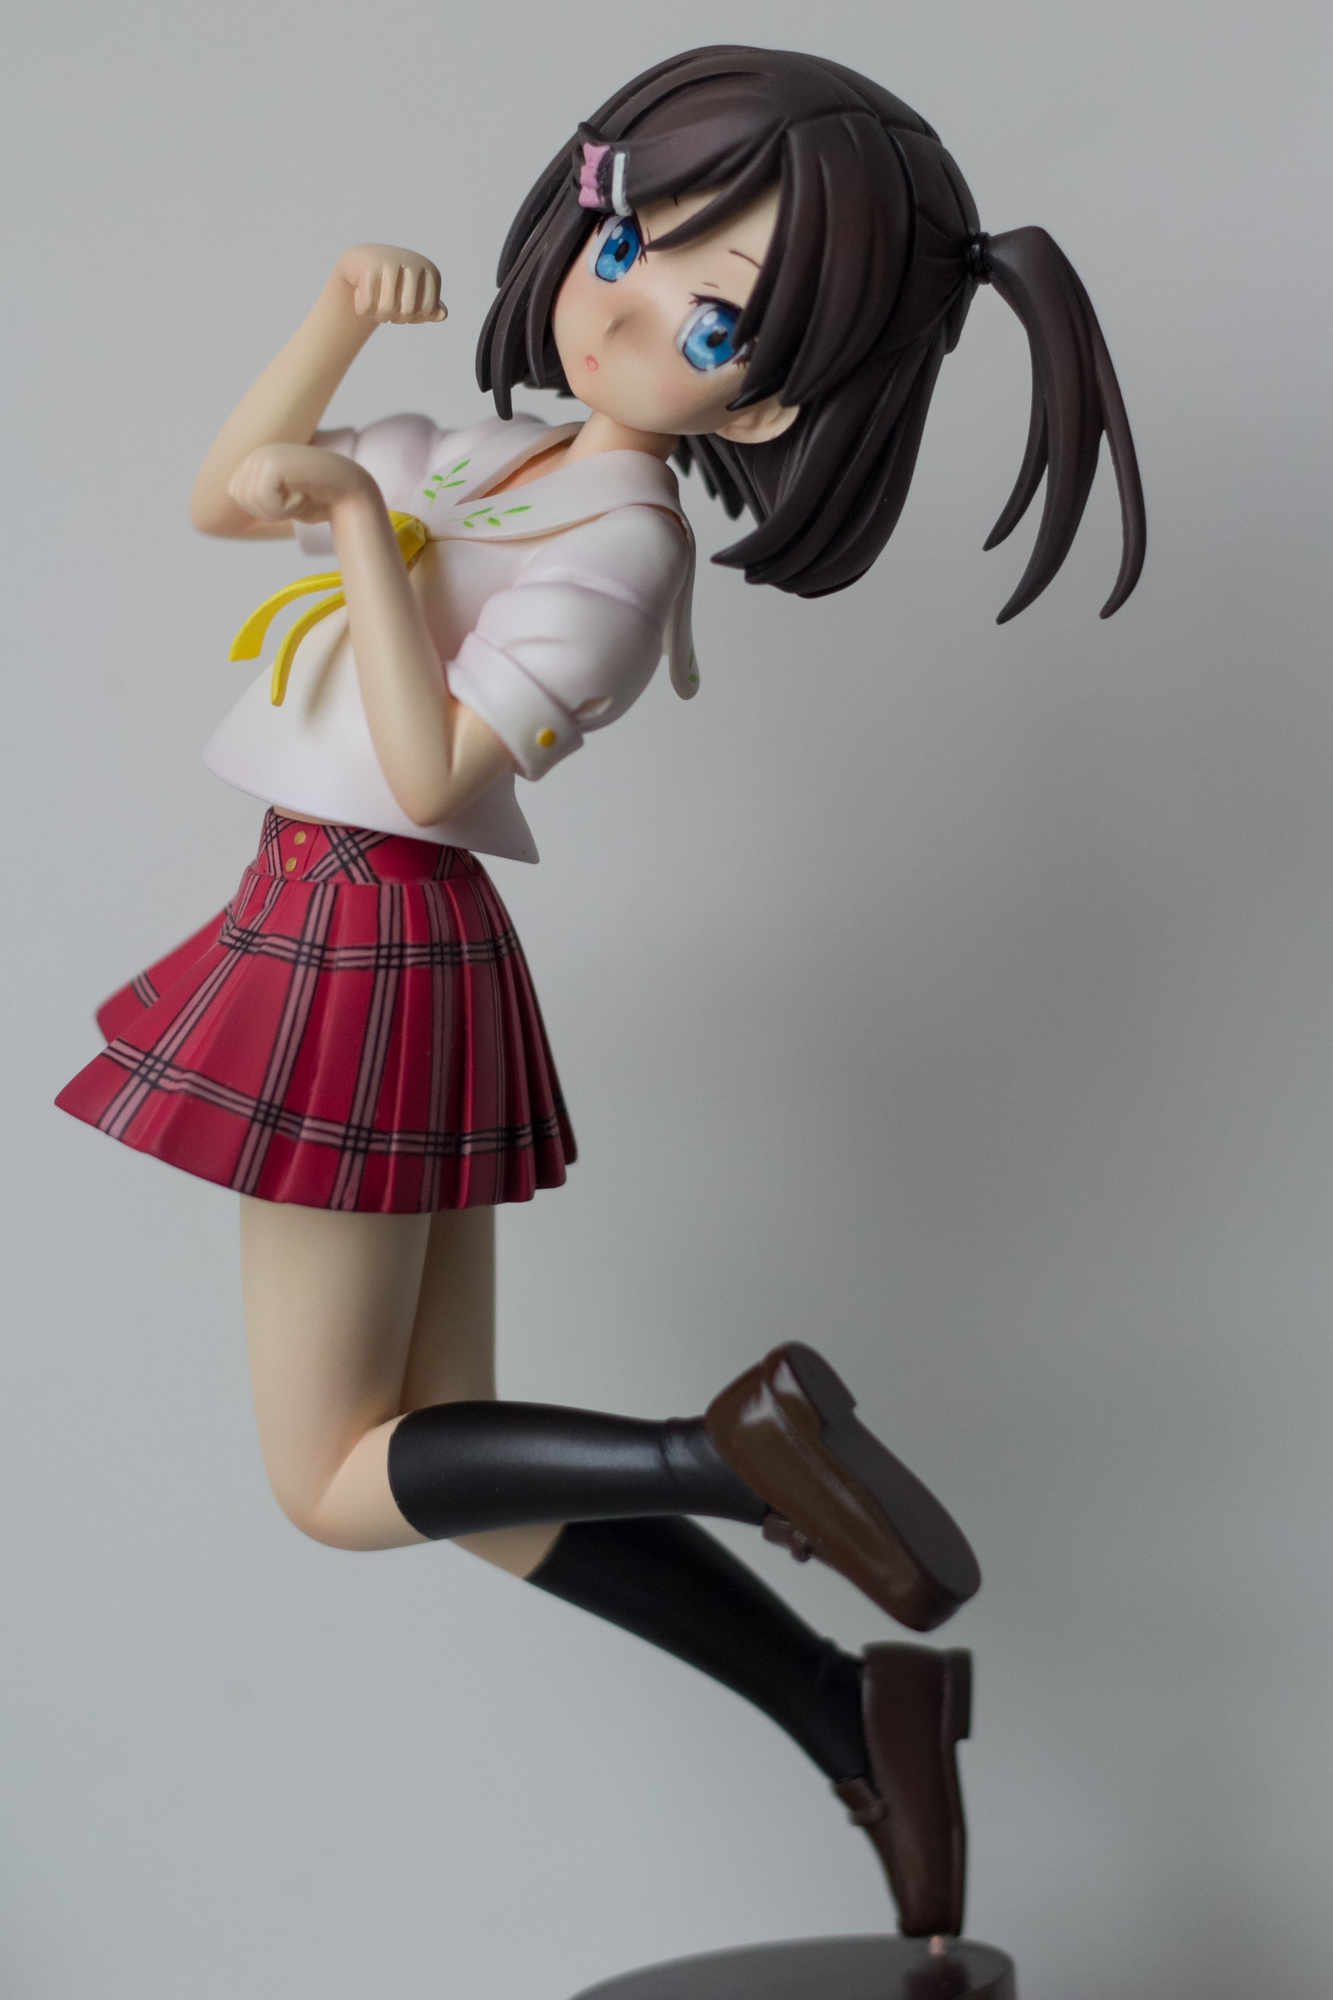
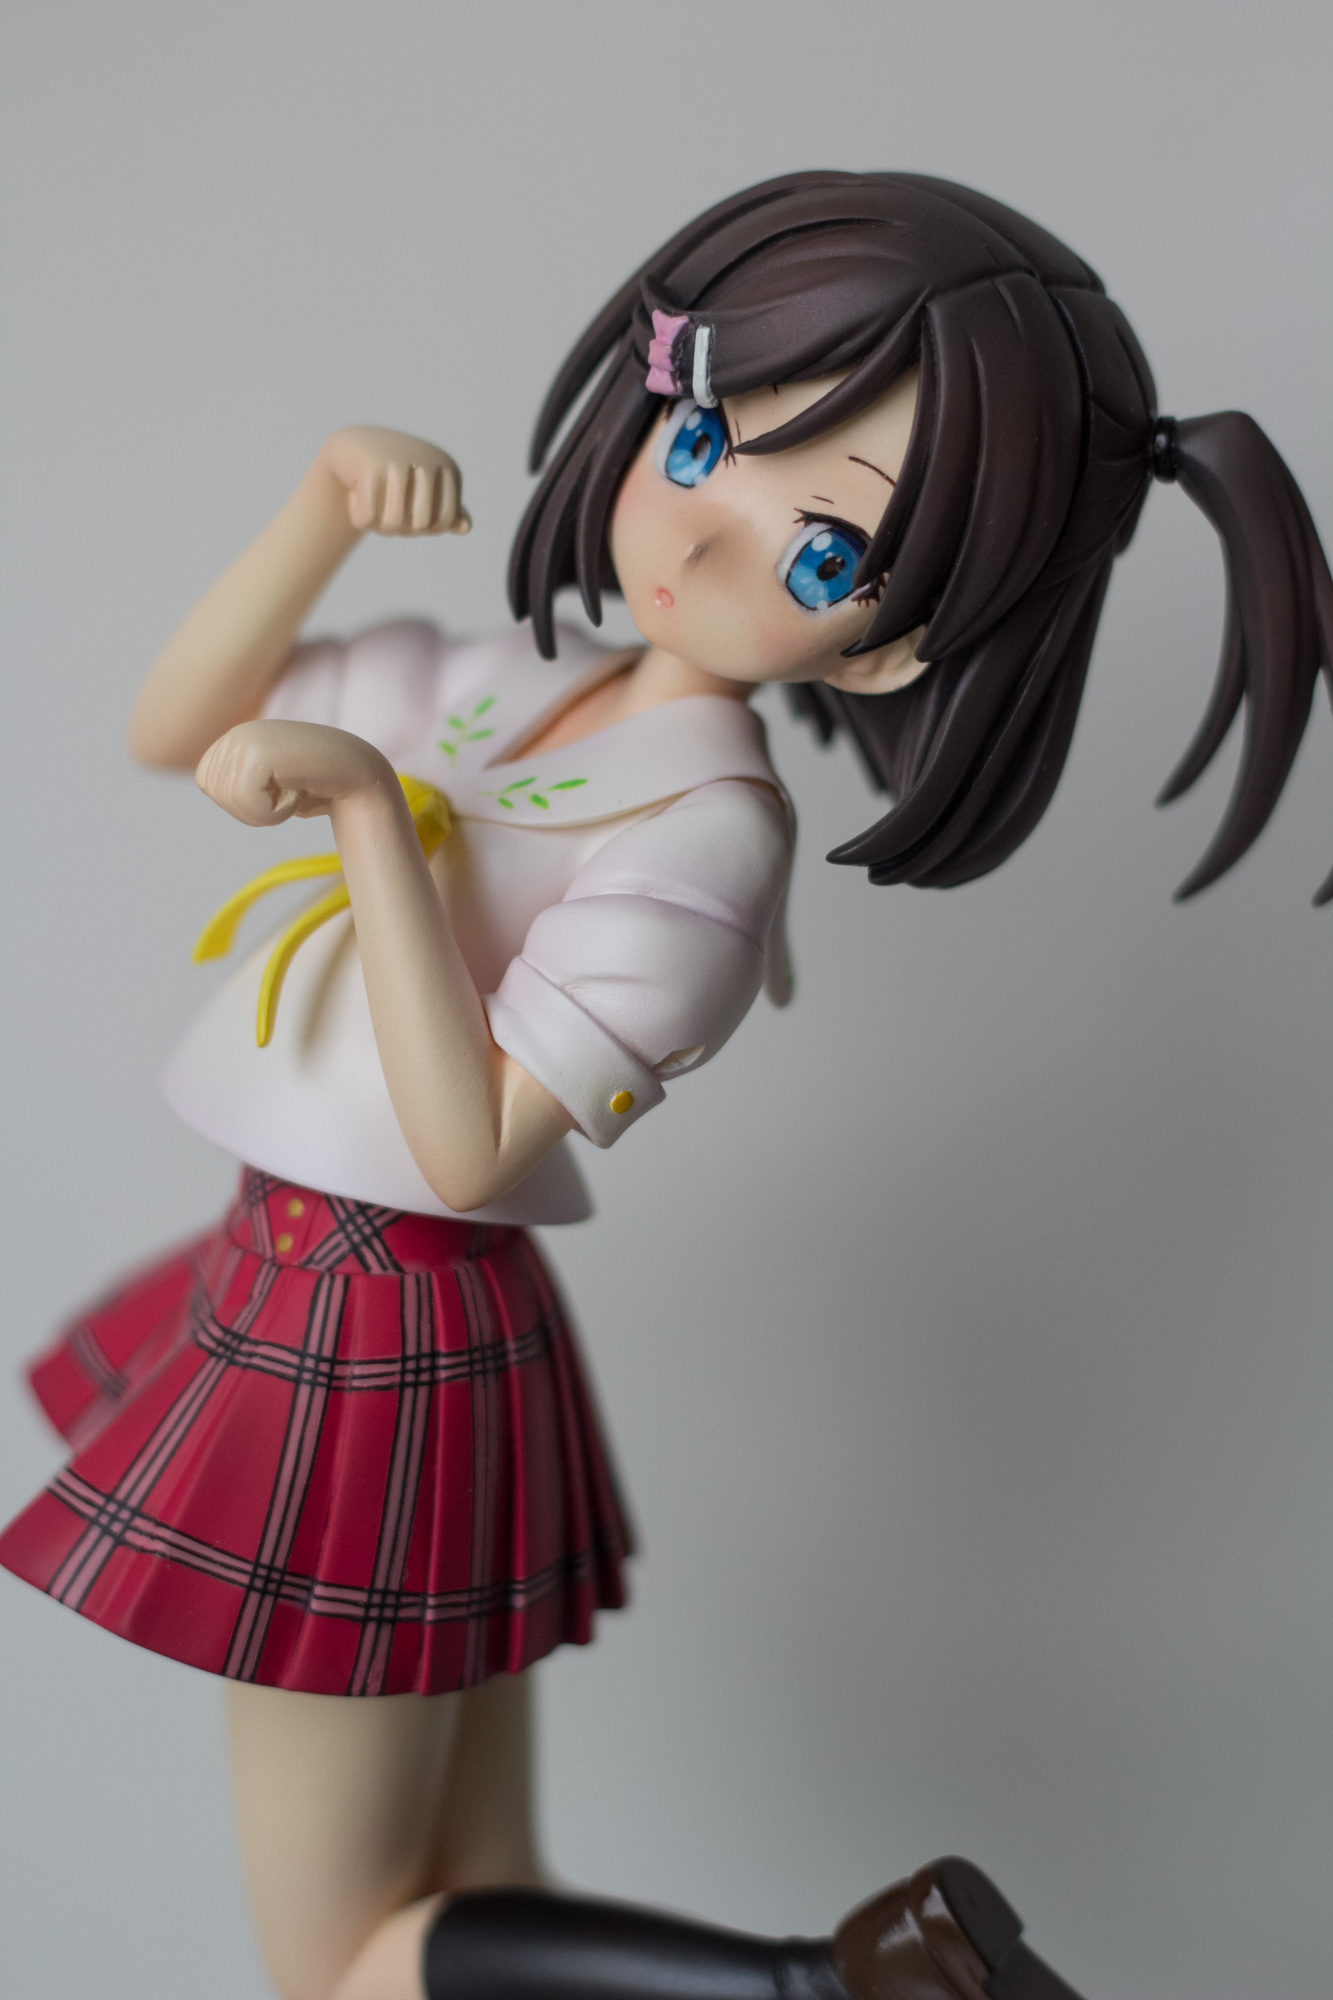
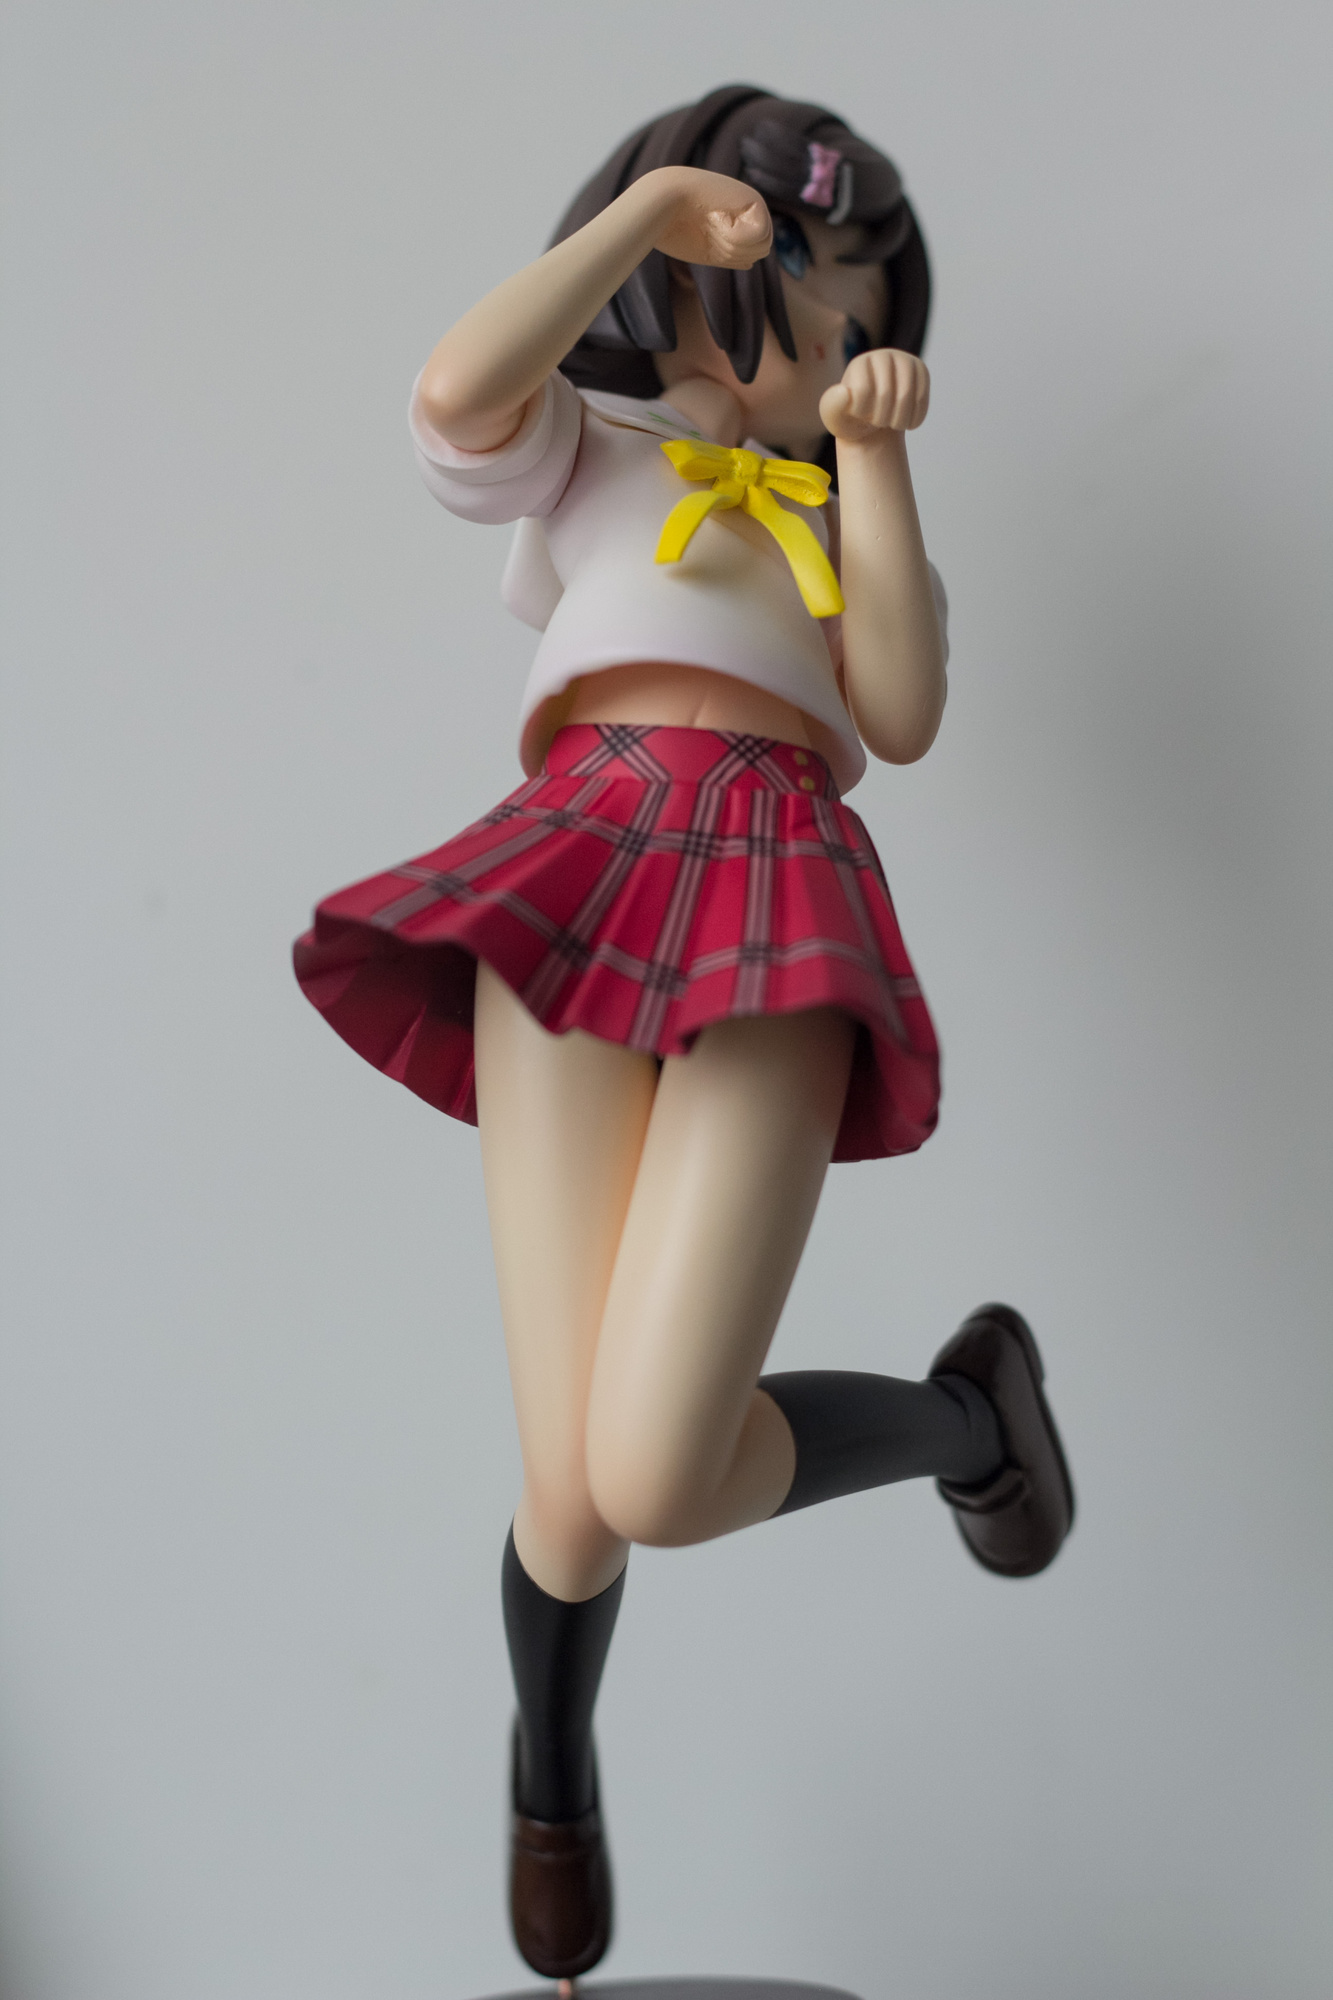
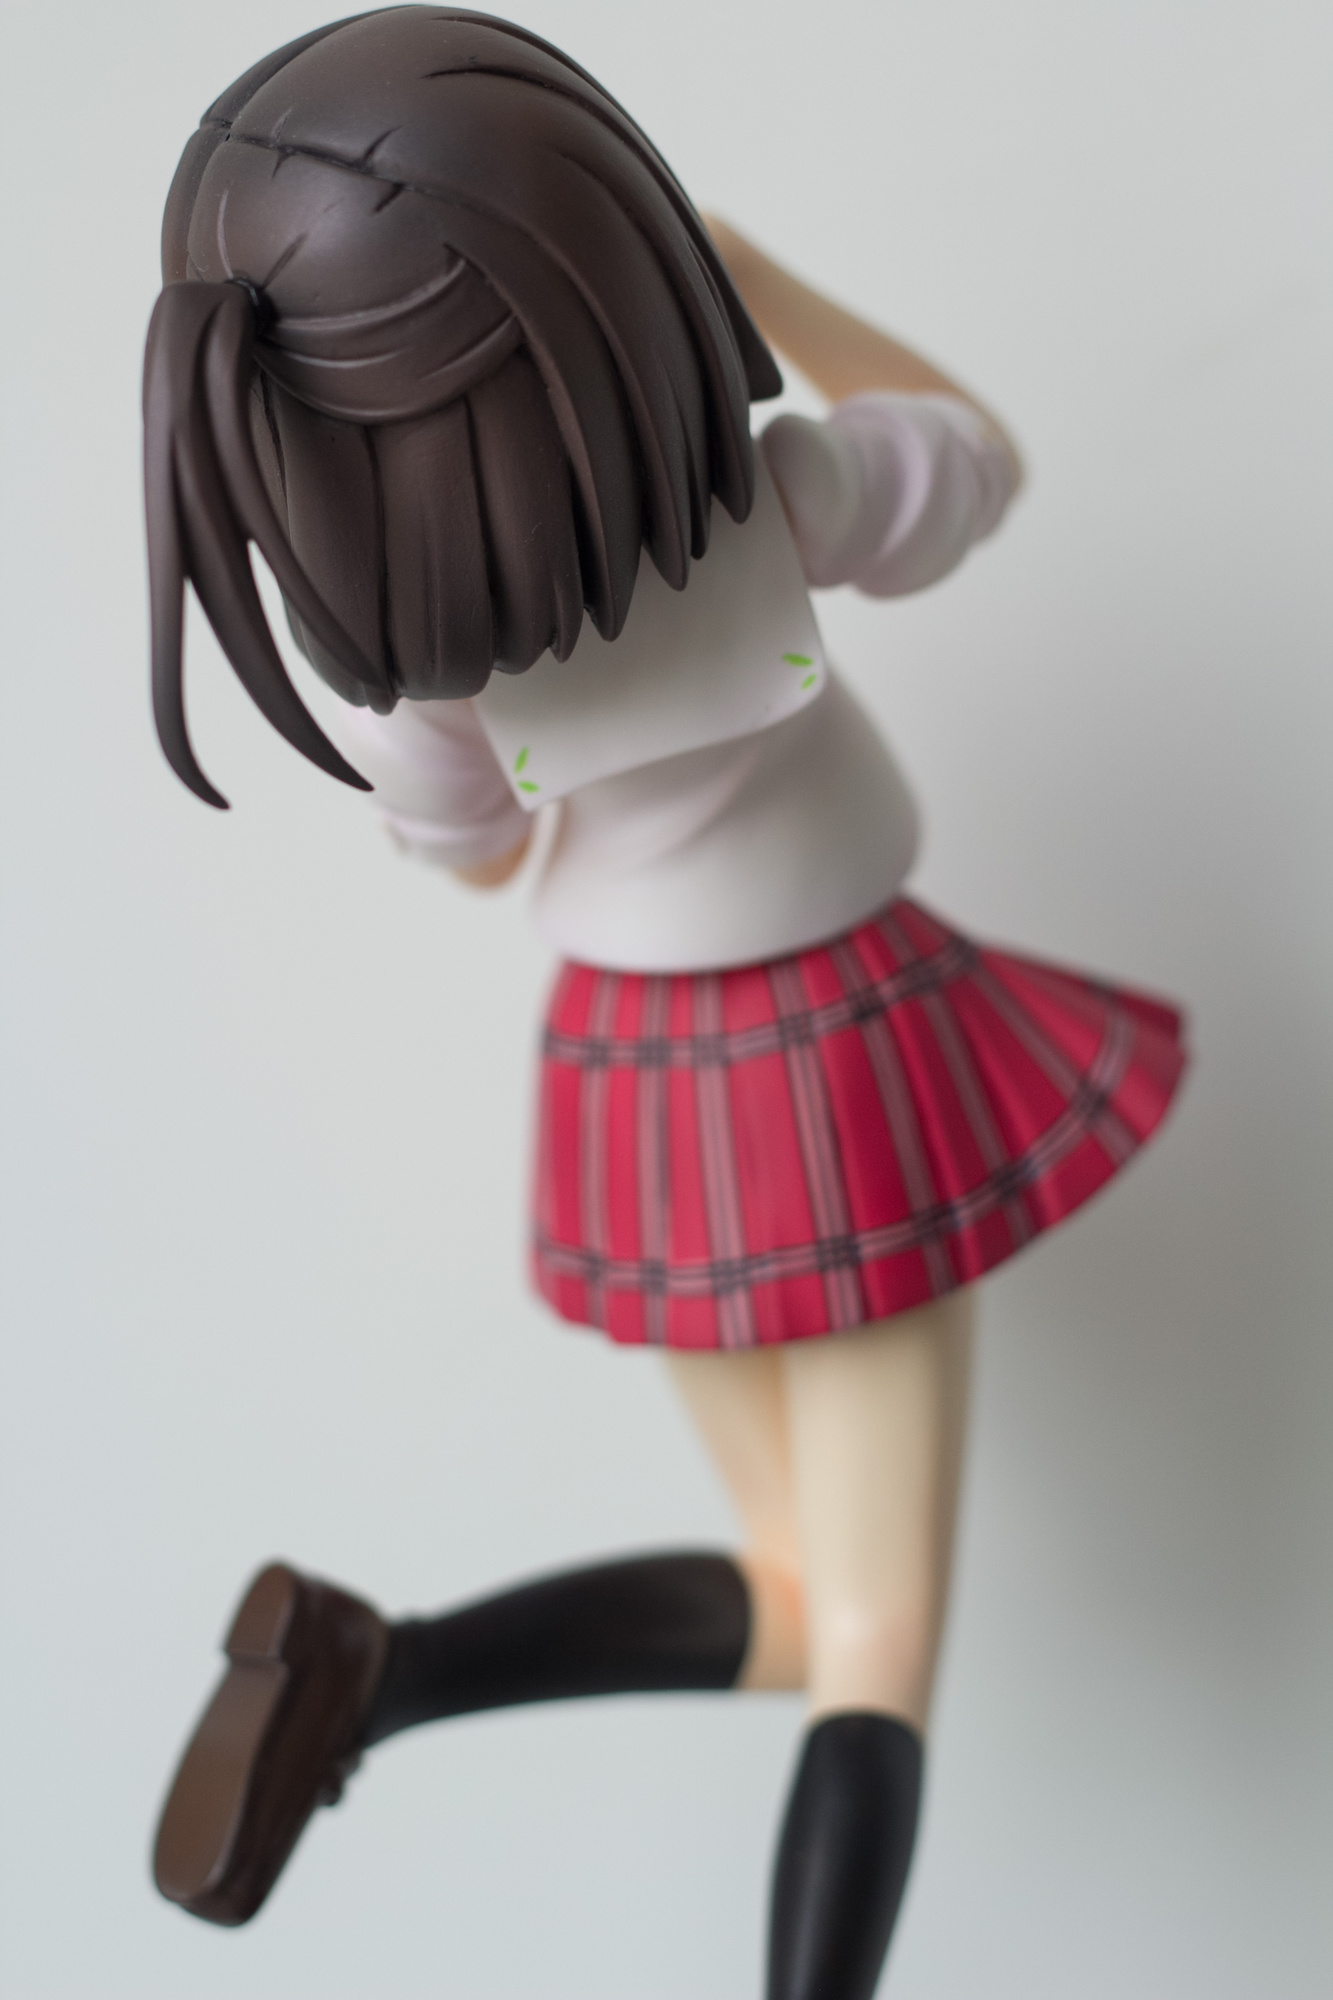
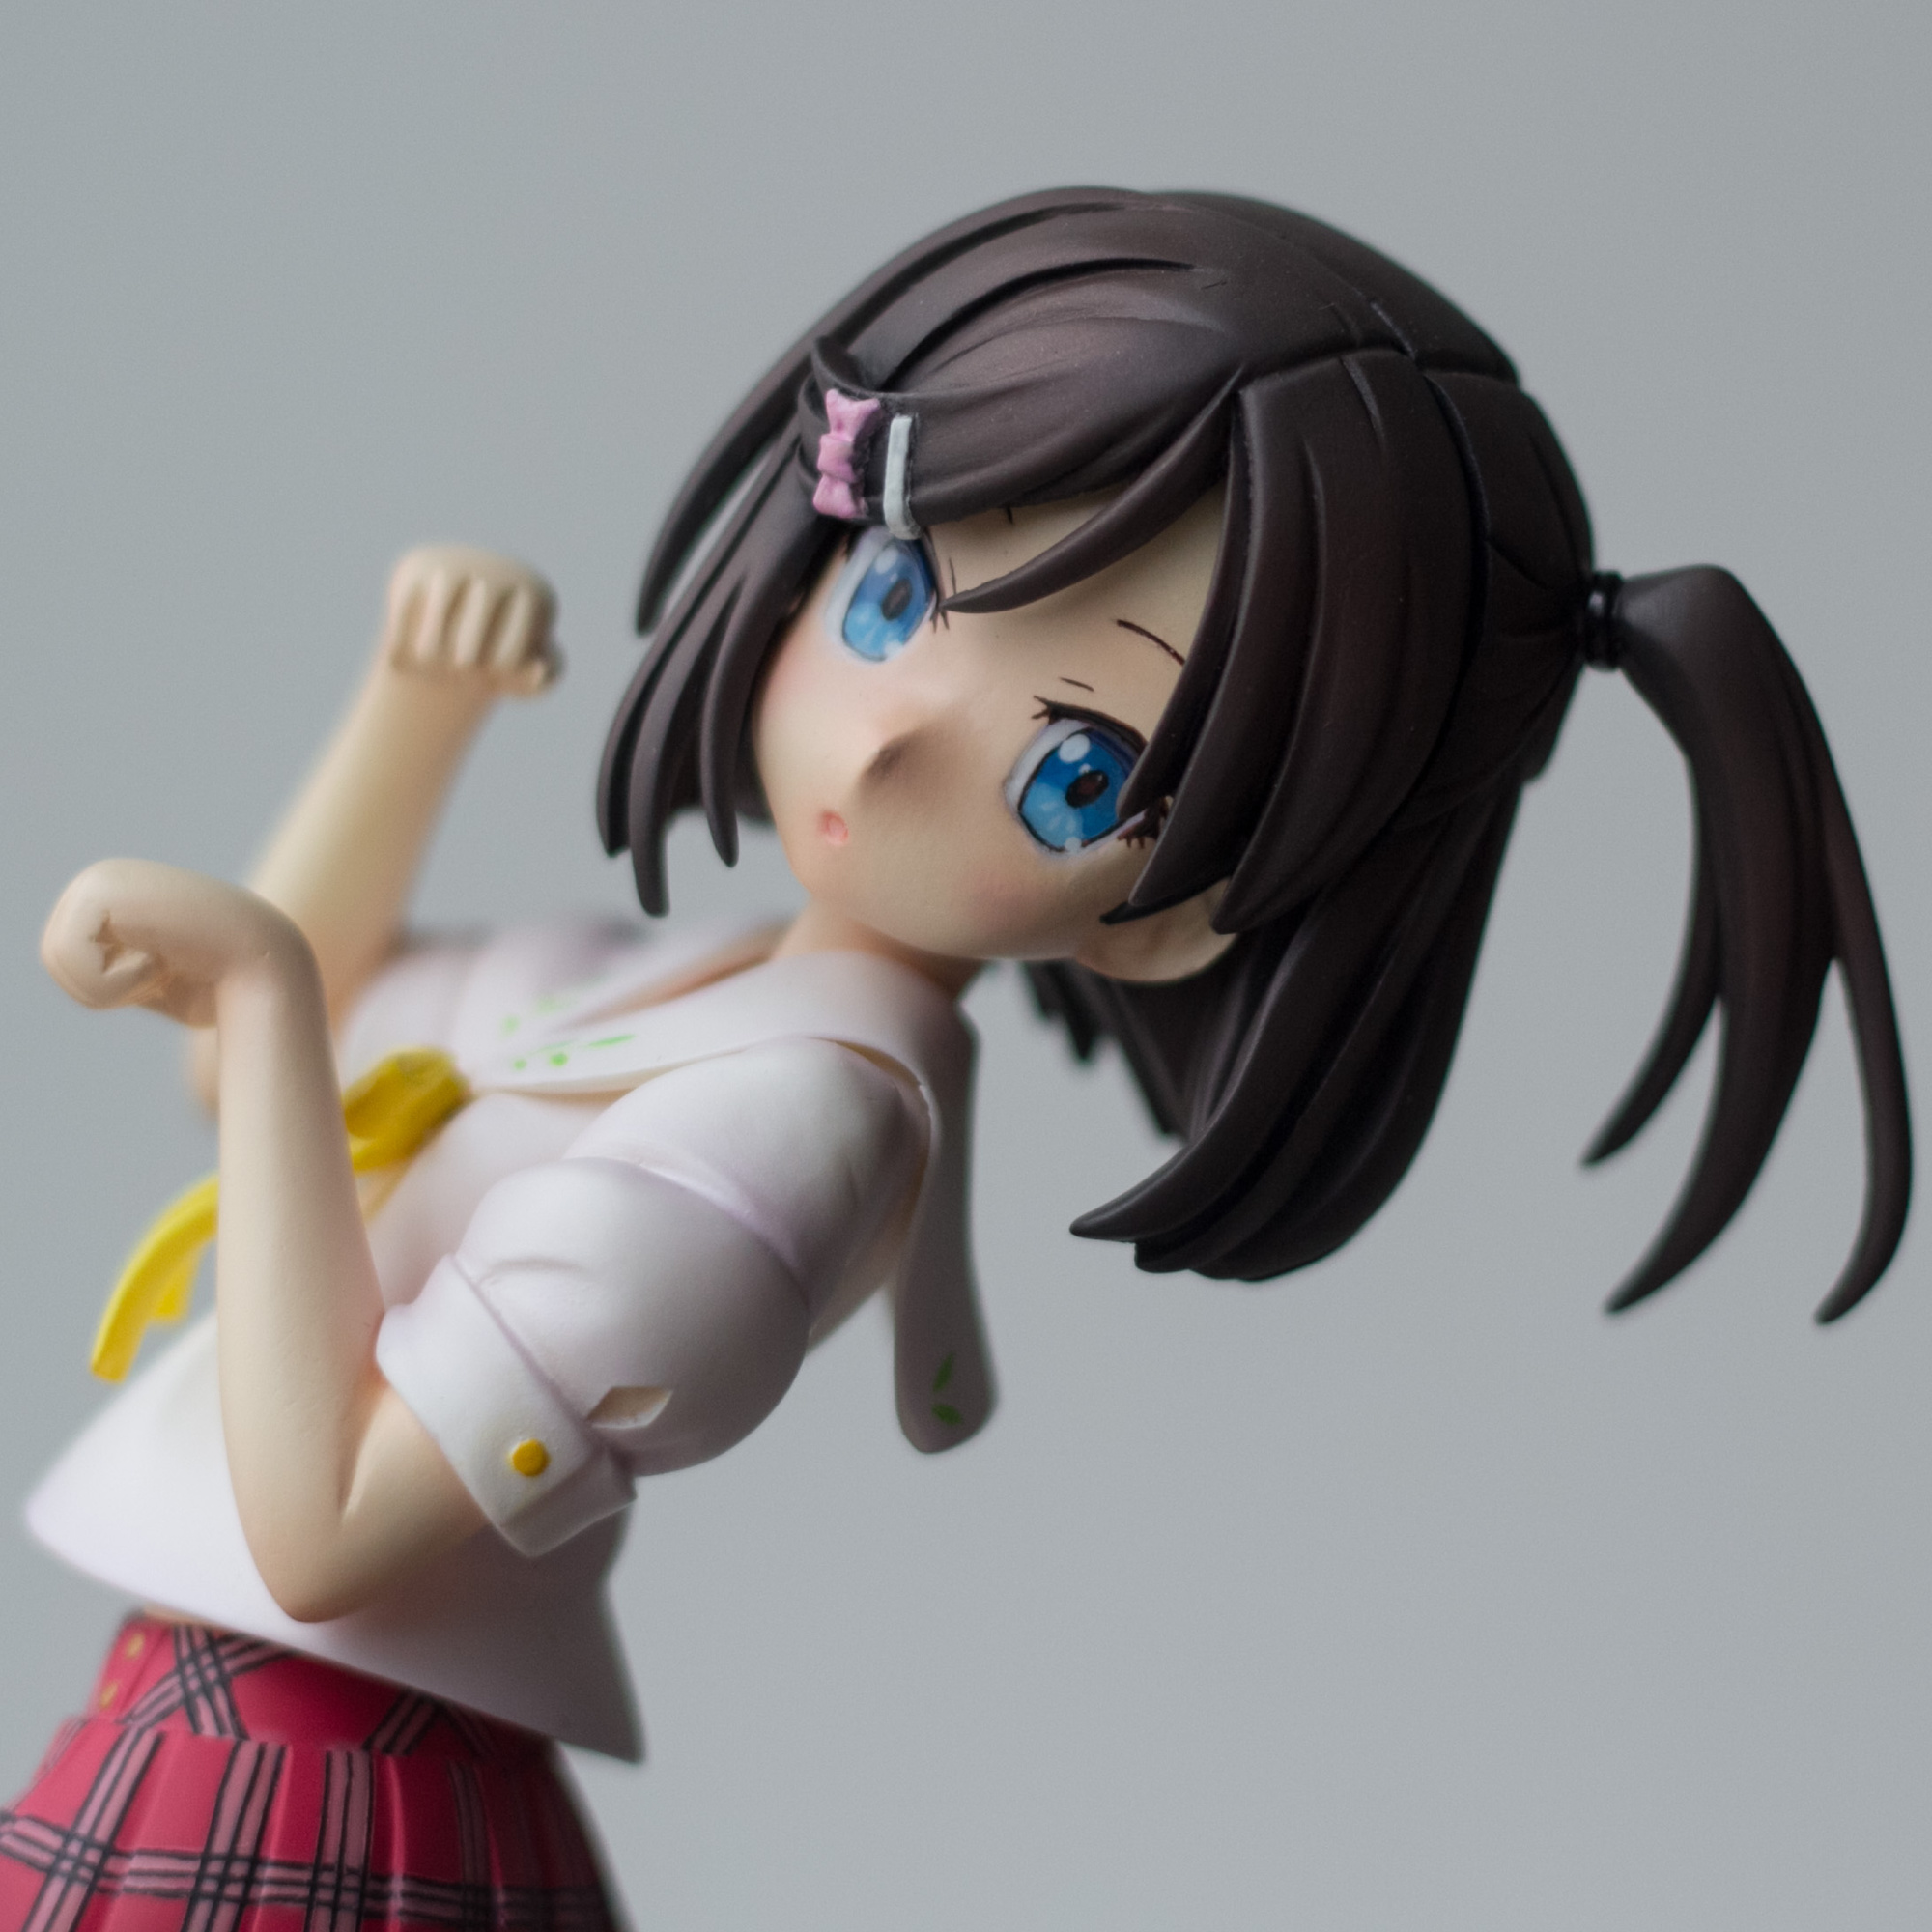
And for scale:
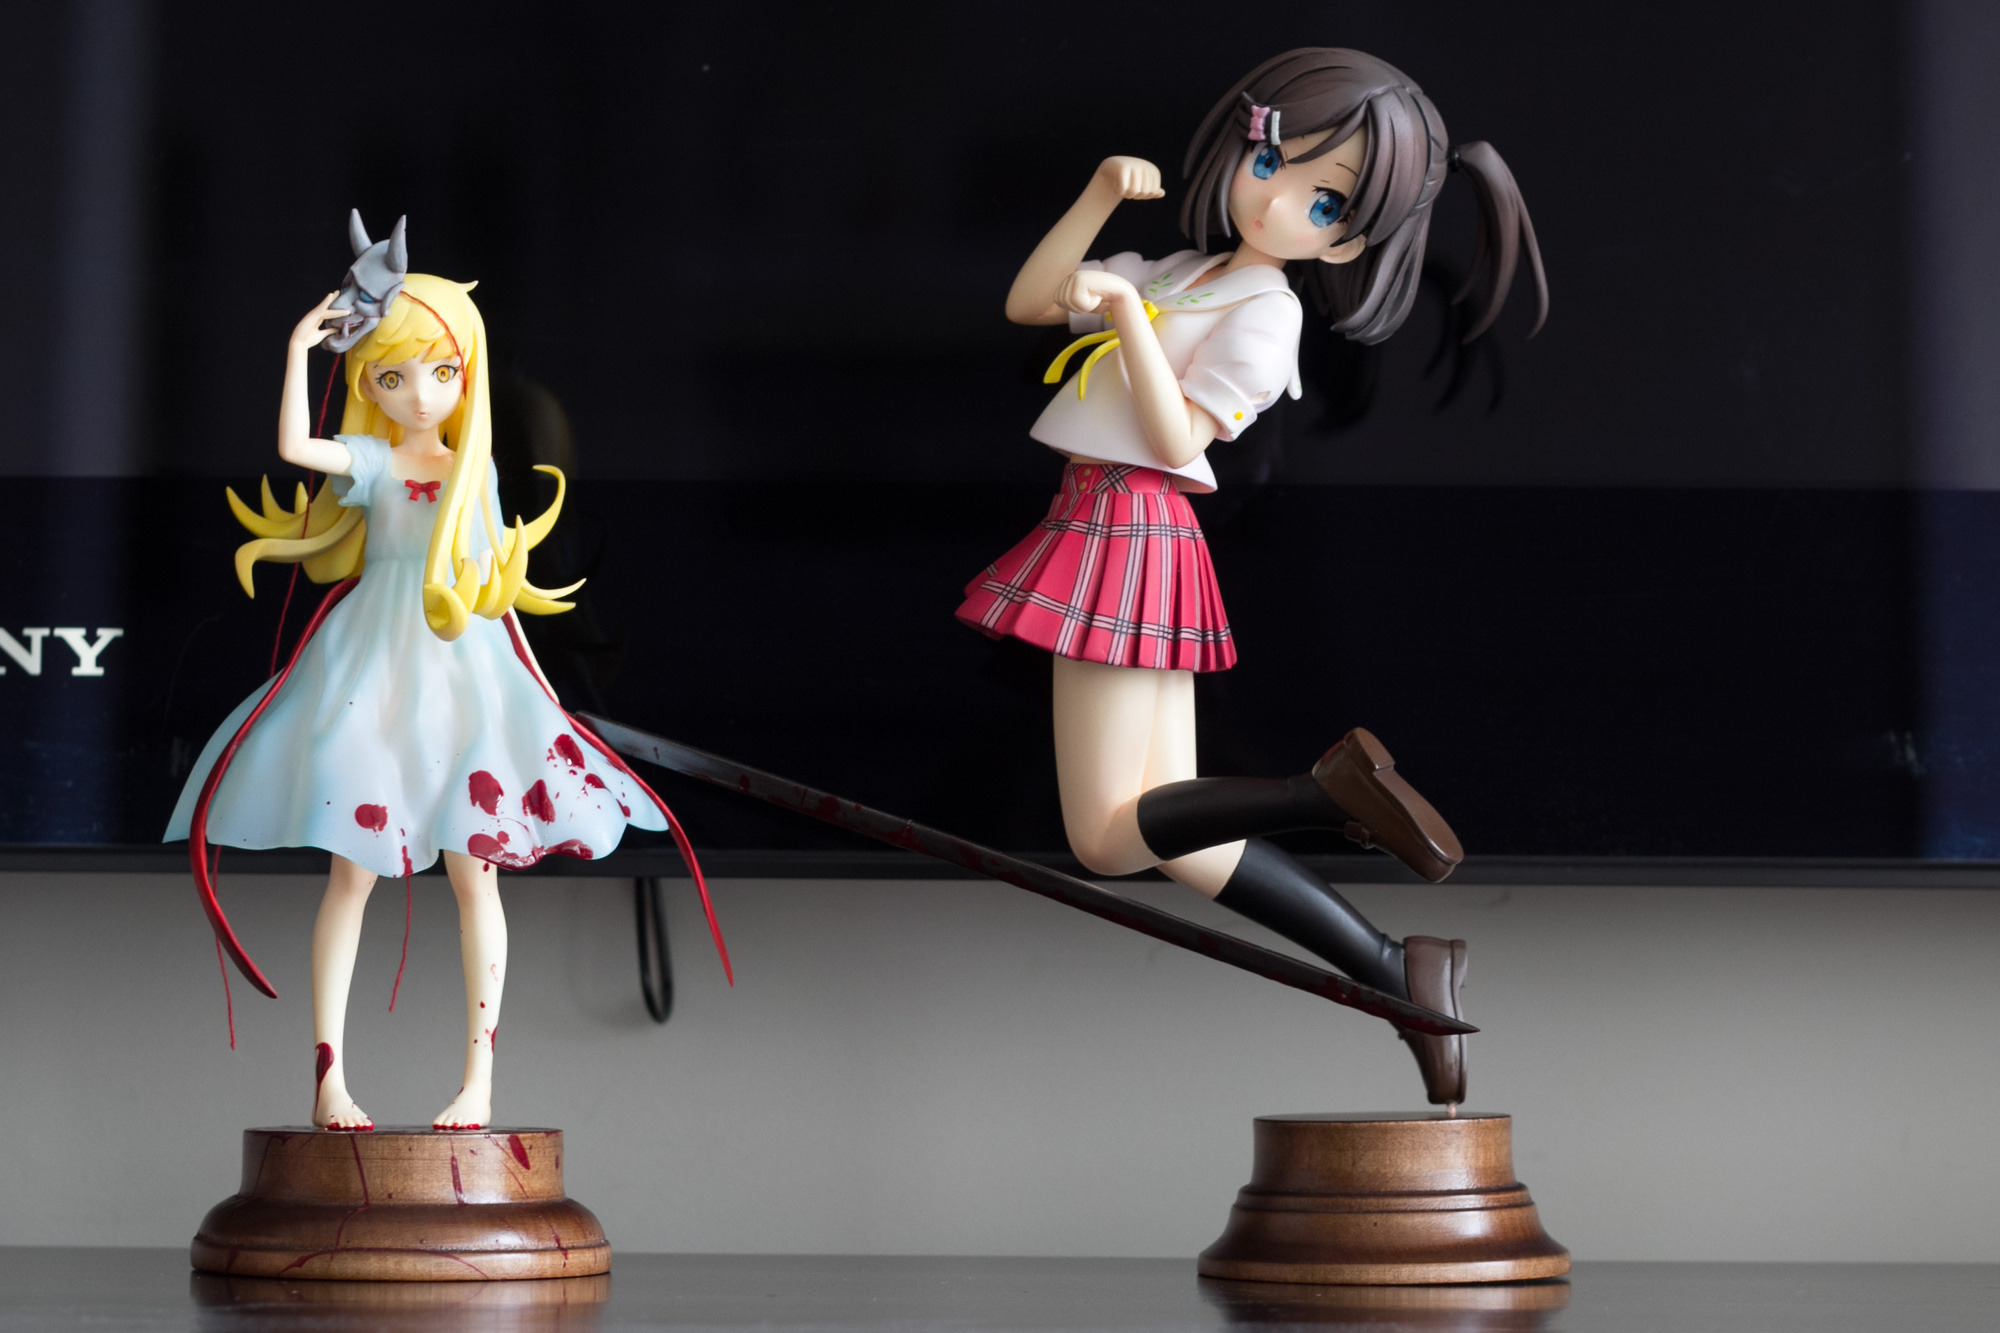
The kitty is big and heavy!
But she was quick. That’s exactly what I love about builds like this: even if they’re not without flaws, they’re perfect for getting some practice and trying out techniques. And there you have it. ![The Complete BiBi Lineup! [GK] - inline emoticon 131](/api/media/file/starsy-518054-130-emoticon.gif)
Thank you all for reading, and have a wonderful week!